How To Place Your First Printify Order
by Michael Essek · Updated: March 23, 2020Are you thinking of trying out Printify as a potential Print on Demand Fulfilment Partner – but not sure where to start?
If so – I got you. In this article I’ll show you how you can place a sample order with Printify, without having to integrate with any marketplace or storefront.
In other words, you can test the quality of various Printify providers, without the effort of setting up a full integration.
I’ll show you:
So let’s dive in!
Legal note: This article contains affiliate links to products and services I use and recommend.
1. Get A Free Printify Account
The first thing you need to do is to setup your free Printify account.
(If you already have a Printify account, you can skip down to step number 2.)
Setting up your Printify account is very straightforward – let’s get into it:
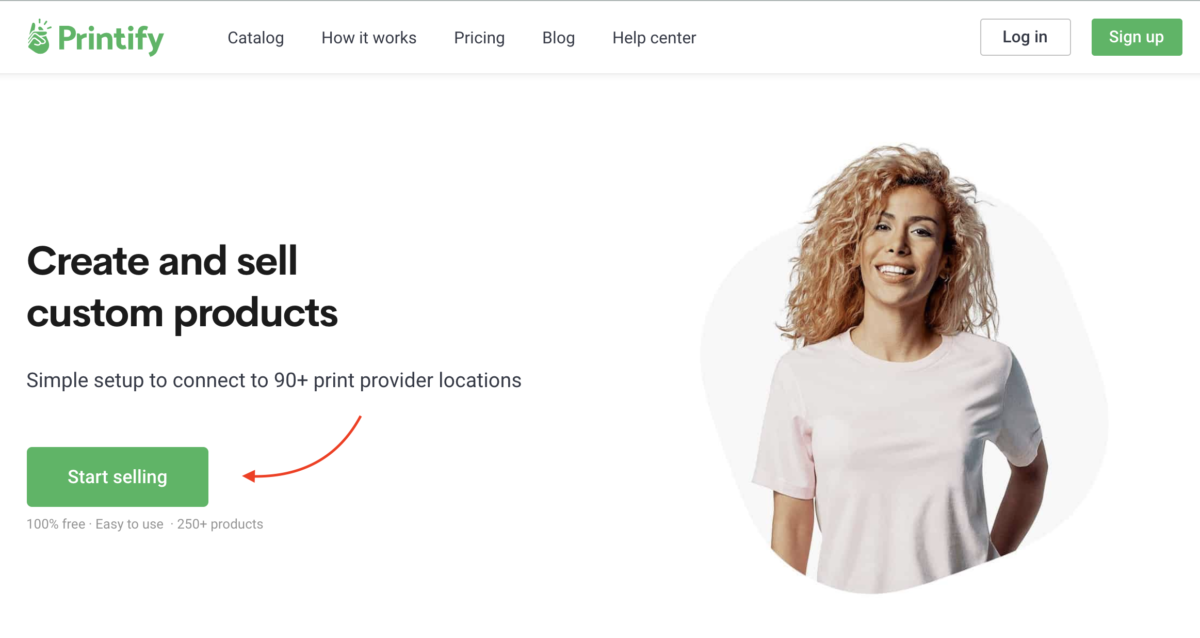
- First, click the button below to visit Printify.com, then click on the big ‘Start Selling‘ button.
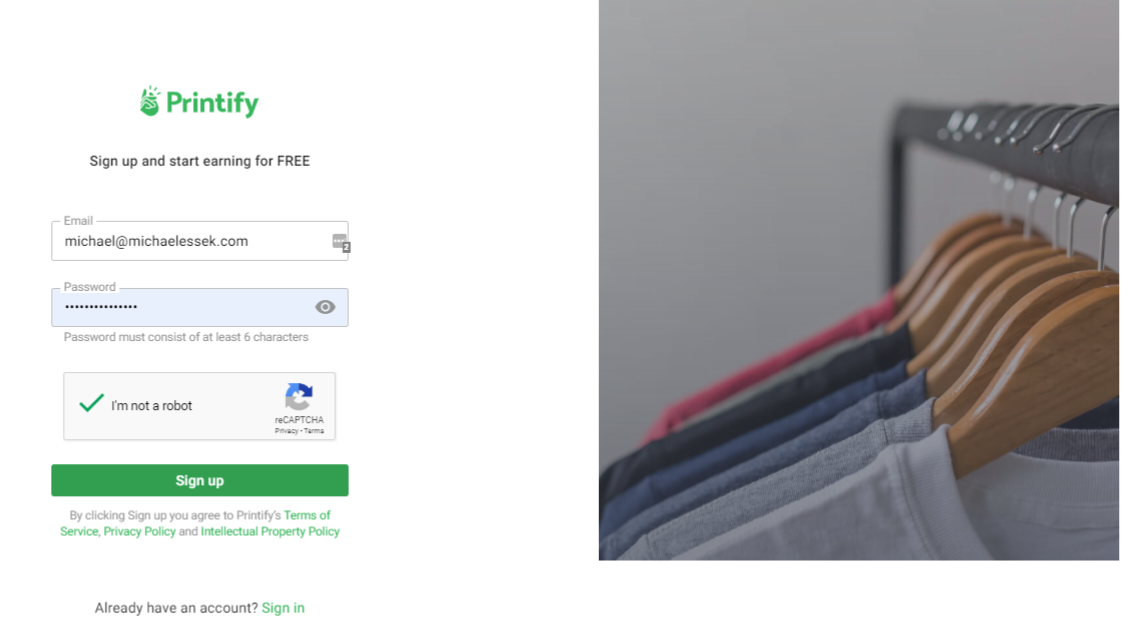
- To create your new account enter your email and create a password.
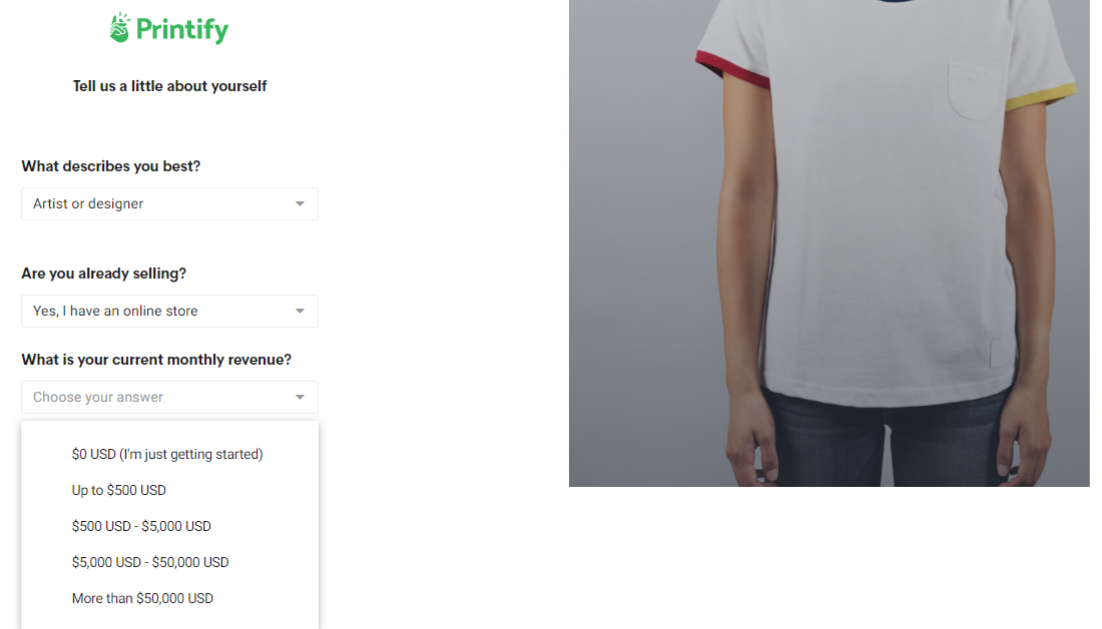
- Printify will then ask you 3 simple questions about your business: (you can answer whatever you like – this won’t impact anything else)
- What describes you best? (ie. artist or designer)
- Are you already selling? (ie. Yes, I have an online store)
- What’s your current monthly revenue? ( ie. Just getting started)
-
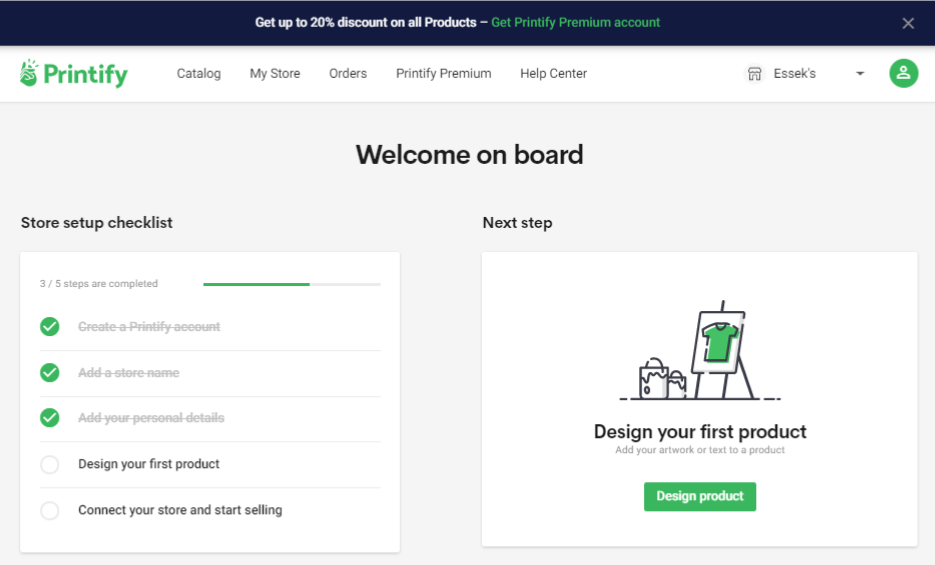
Once done – that’s it – your Printify account is live!
Make sure you’ve saved your password somewhere!
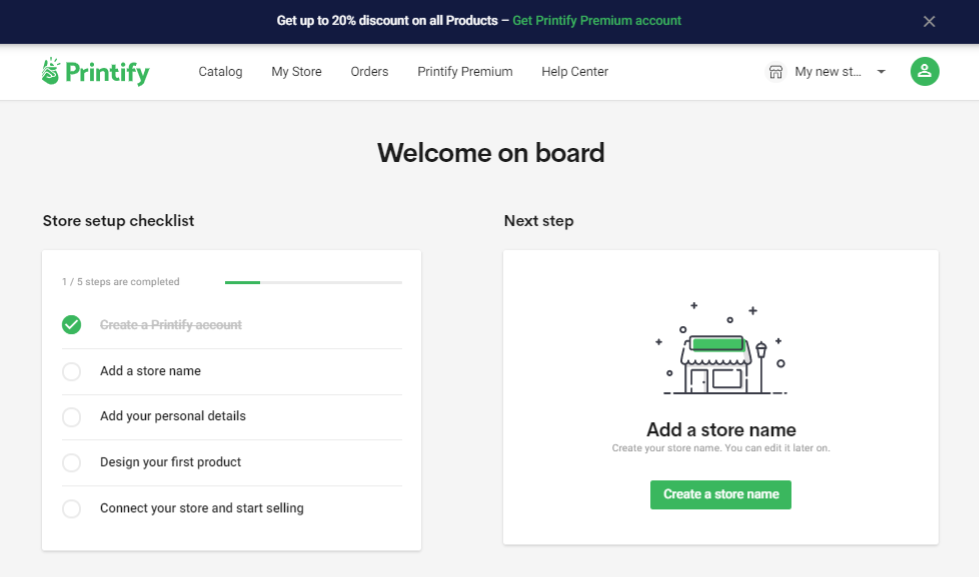
2. Setting up your ‘Store’
You can have up to 5 different “stores” in one Printify account (for different marketplaces, or multiple stores in one marketplace – i.e for different etsy stores), so before you can place an order you will need to first set up a ‘store’.
Here’s how:
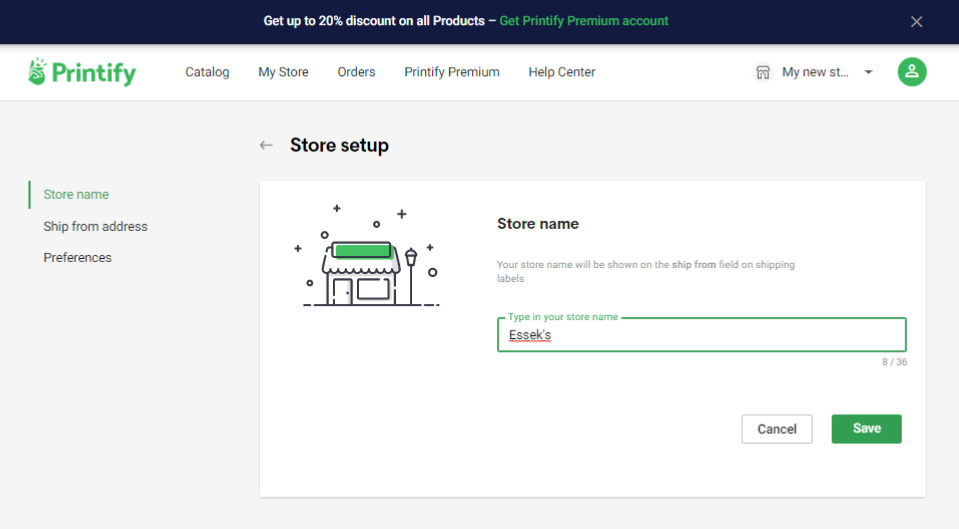
- click – Add a store name
- Enter a name for your store (internal use only – this won’t be visible to the public)
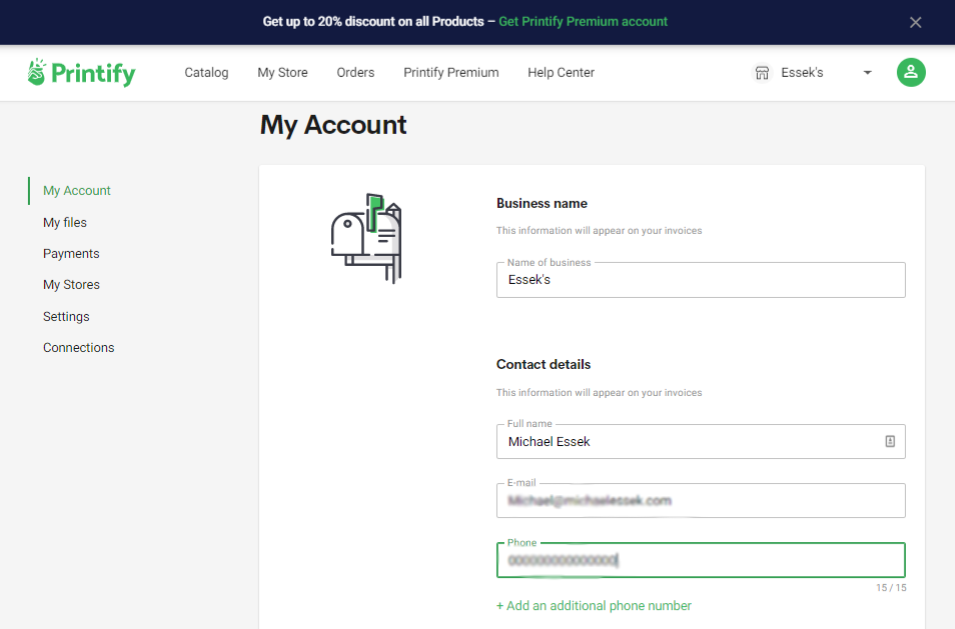
- Enter the contact details for your store.
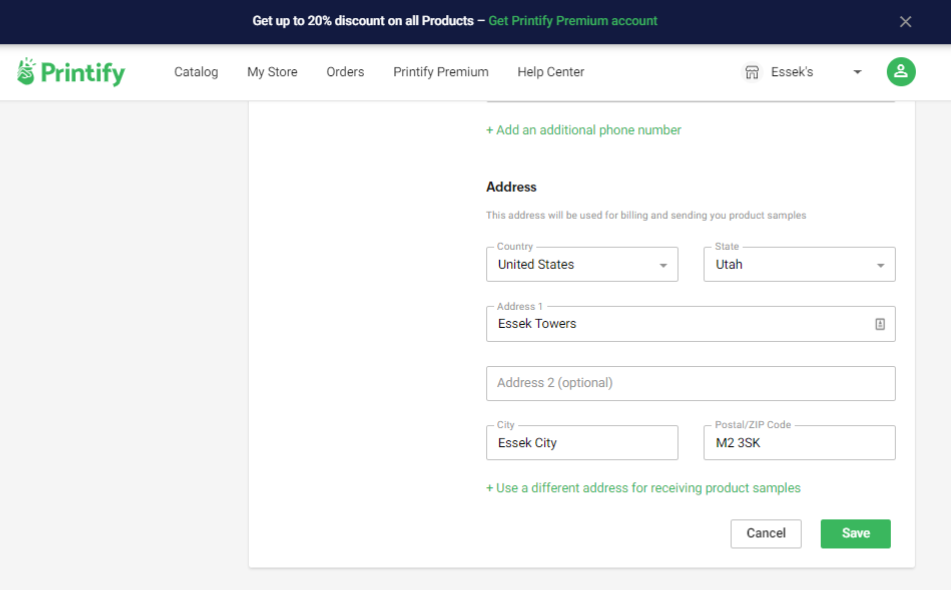
- Complete the address fields for your store.
2. Designing your first Printify product
- Click Design product to take you through to the next step.
- Select the product you wish to print onto. You can browse all products under the “Catalog” Tab.
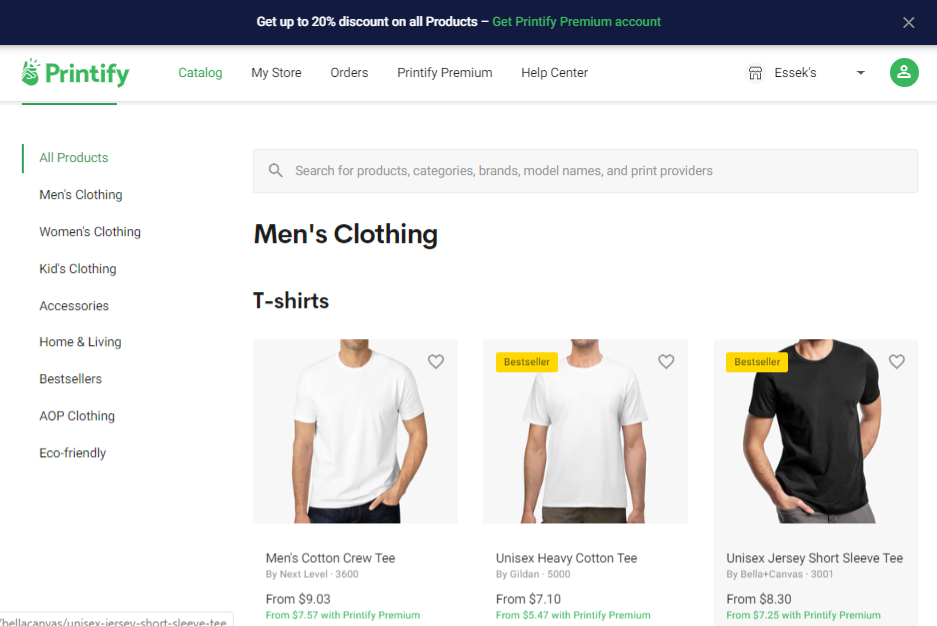
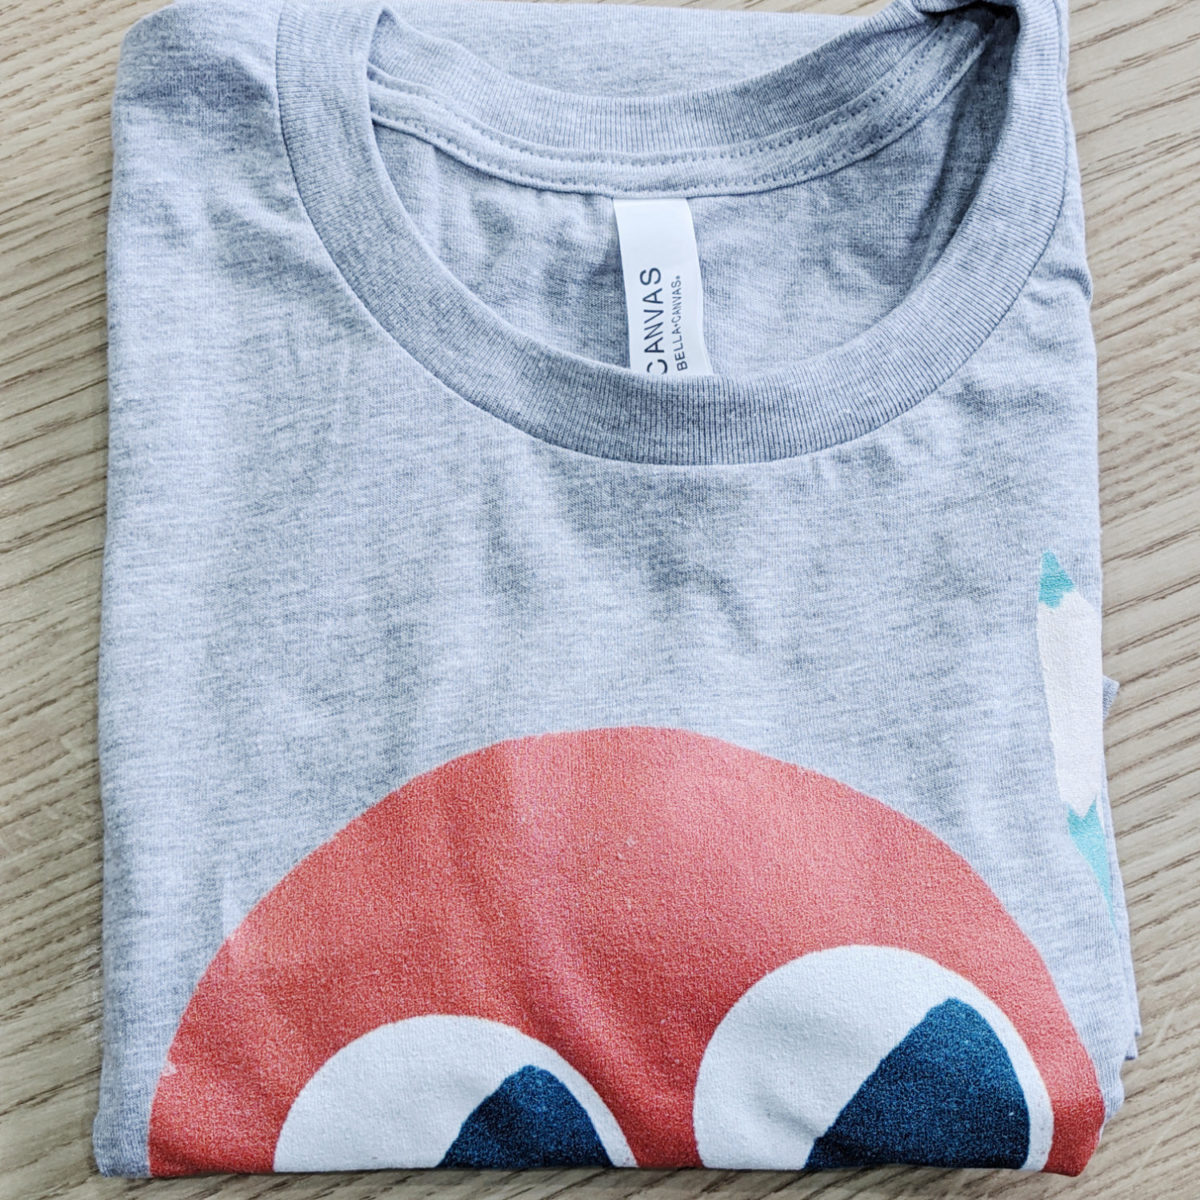
- Once your have selected your garment, check the fit is as required. I’m going with my most popular t-shirt, a Bella and Canvas 3001 for this sample product.
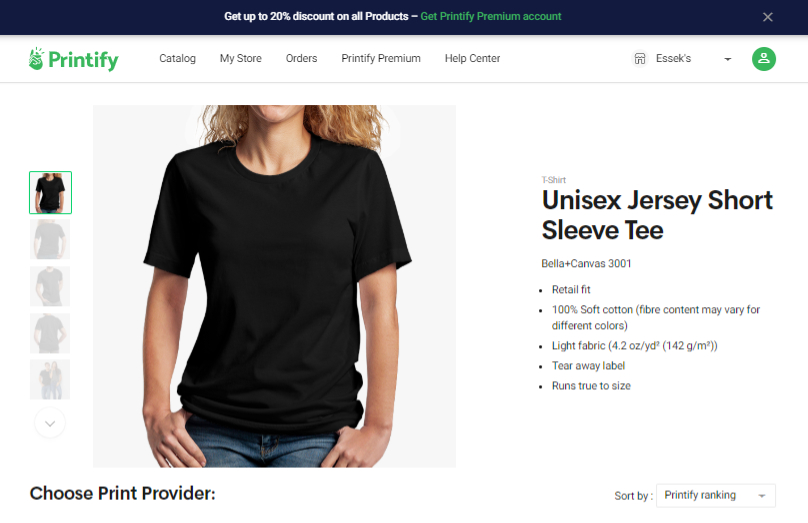
- From here you can scroll down to choose your print provider.
This is where Printify differs to other “in-house” POD providers. Printify essentially acts an agent for fulfilment companies around the world, as opposed to having their own printing facility (like Printful for example).
Note: once you have chosen a certain print-provider for a product, you cannot choose to fulfil that product with a different print-provider without creating a new product. So choose wisely.
- Each print provider has a rating (based on Product Reprint Ratio, Delayed Production Time Ratio, and User Reviews.) and will display their;
- Cost of product
- Shipping Costs
- Sizes Available
- Average Production Time
- Printing areas
- Colours Available
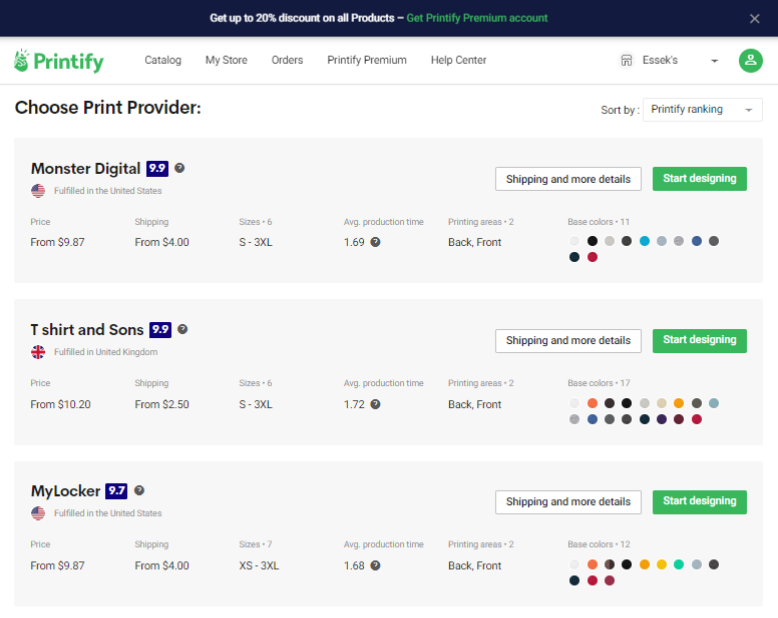
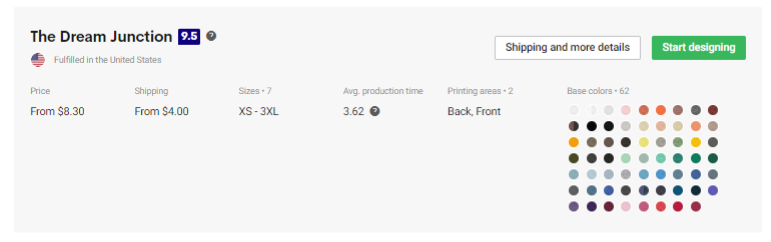
- I generally select based on price and the colors/sizes available. Once you have selected a print-provider click Start Designing
- Now Click Add your design
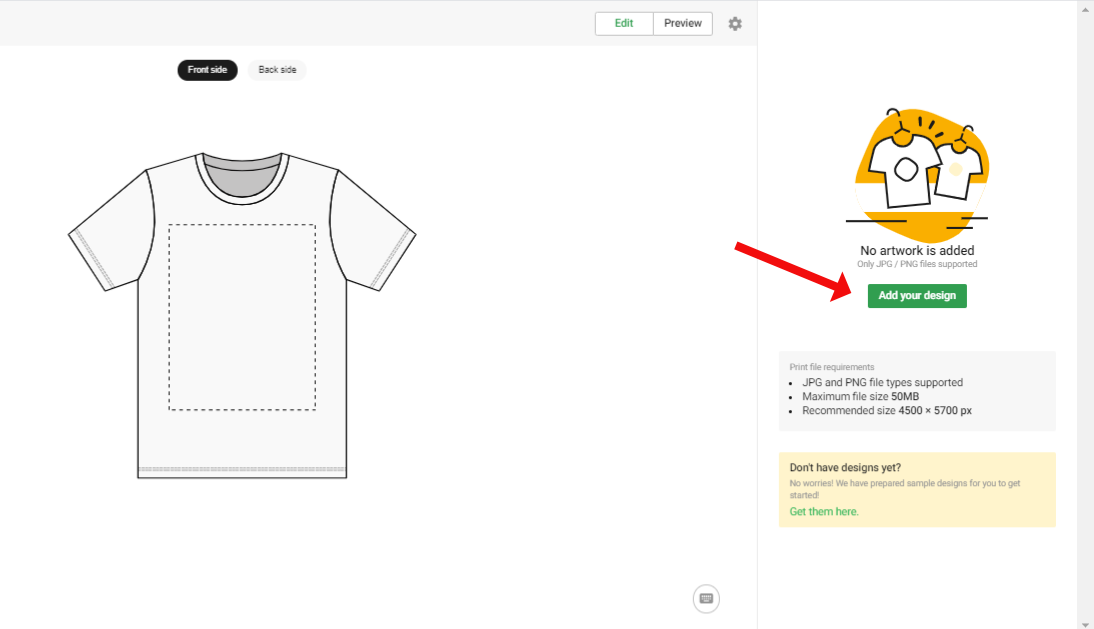
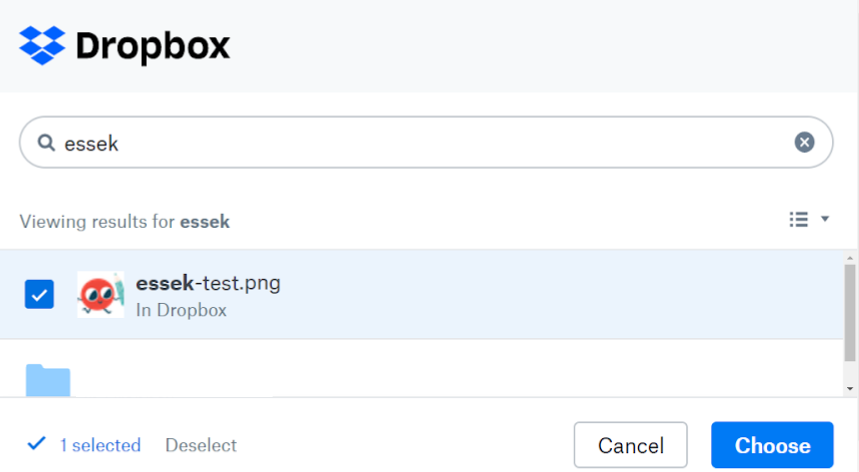
- Select the location of your image – My Device, Dropbox or Google drive.

- Now search for the image you would like to print
- The image will now appear on garment.
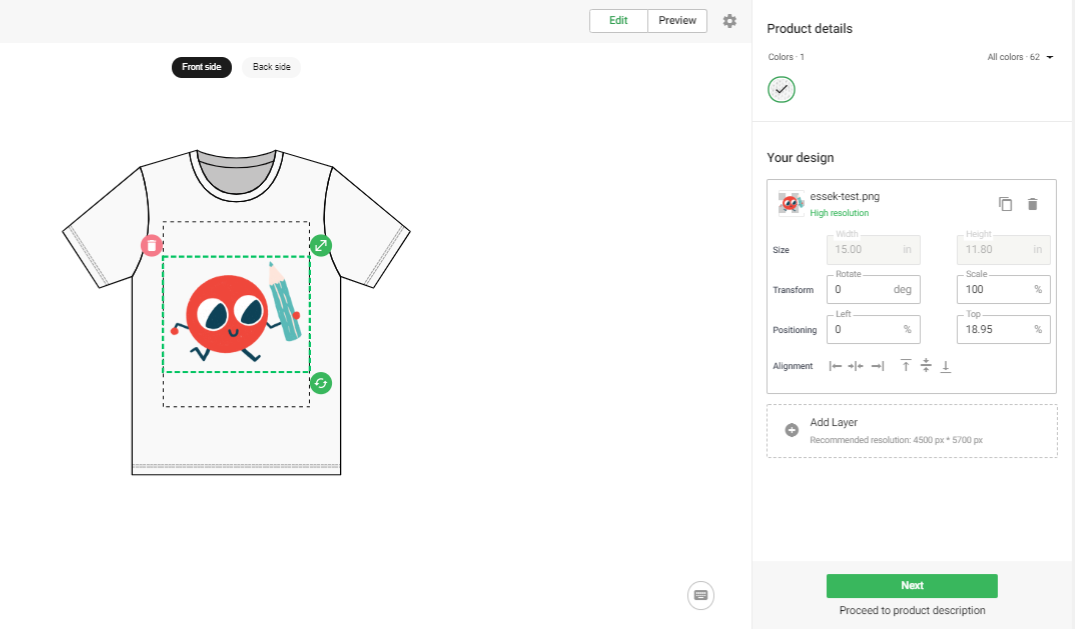
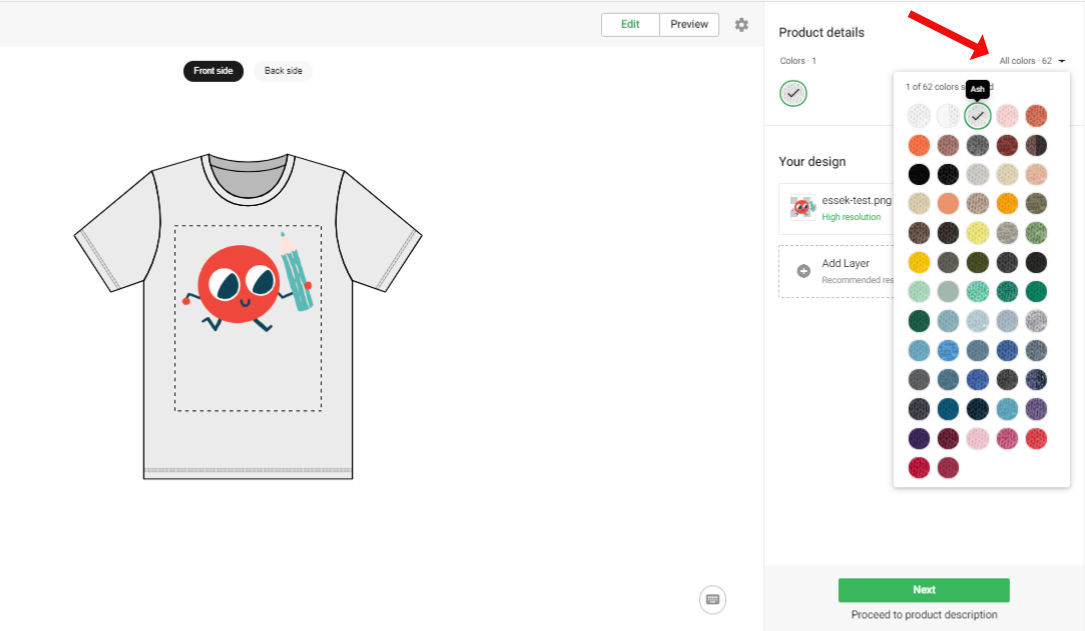
- Select the required colours. (You can only order those colours that you select here).
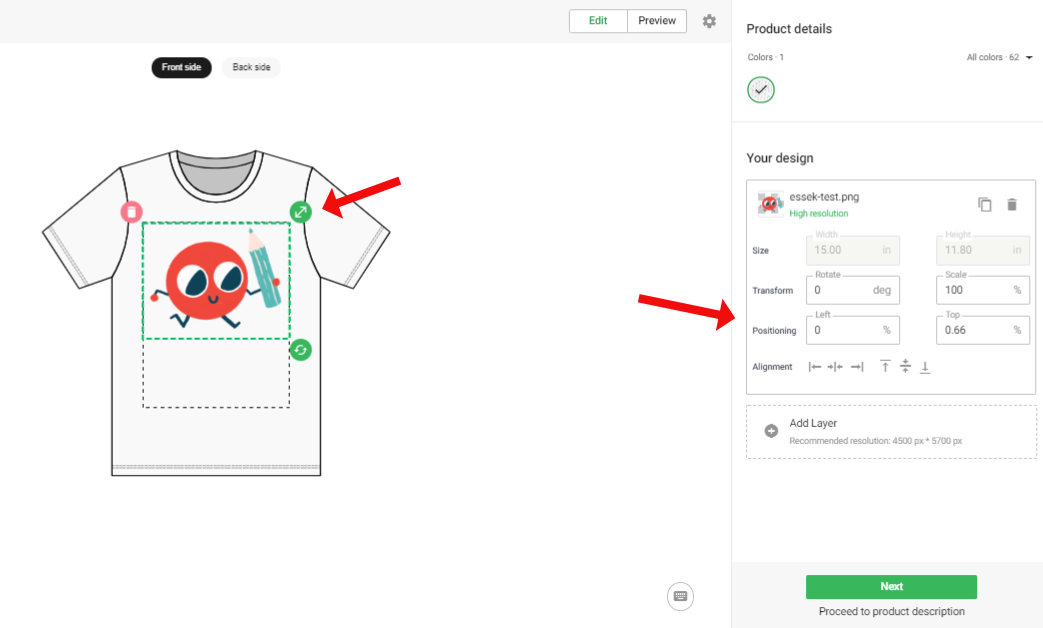
- Check the positioning of the image and adjust it by clicking and dragging, or using the tools on the right of the page.
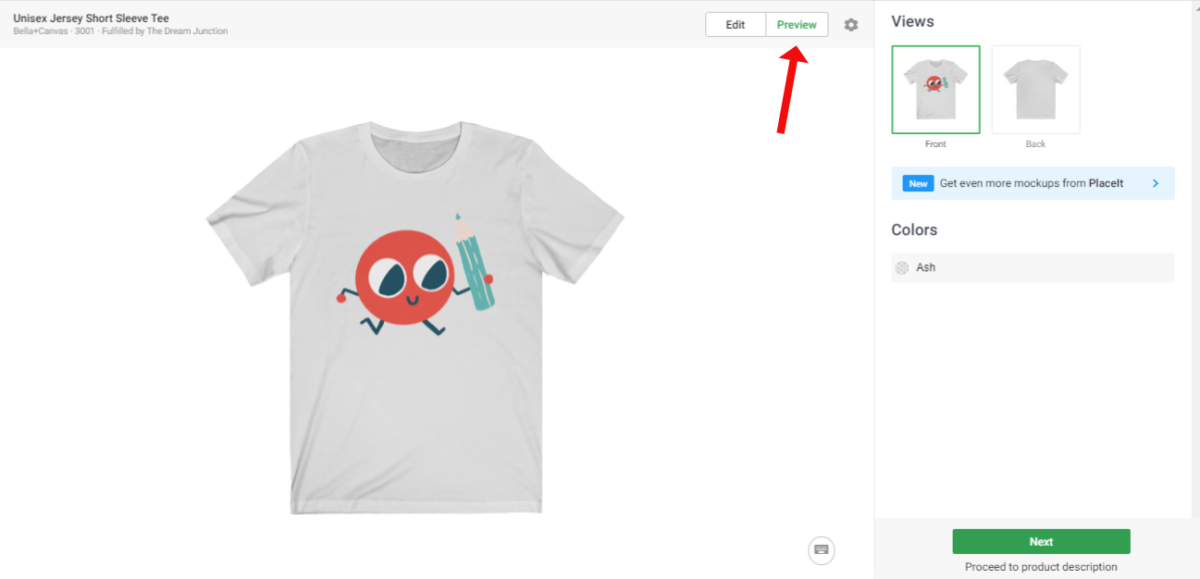
- Click Preview to see how your garment will look on a mock up.
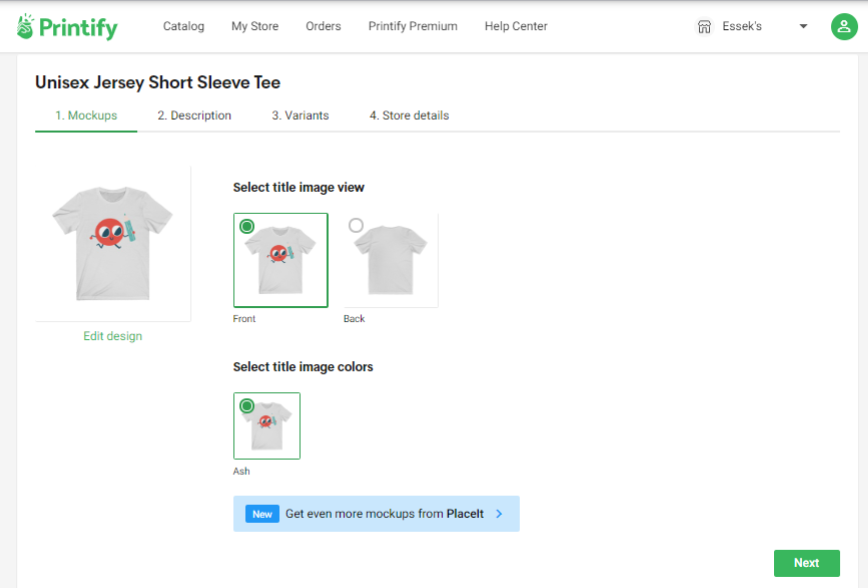
- Select the title image and continue by clicking Next.
- Enter your product title and description and click Next (this Title would be public if you were pushing this product out to a store – eg. Shopify, Etsy etc. – but you can always change it later).
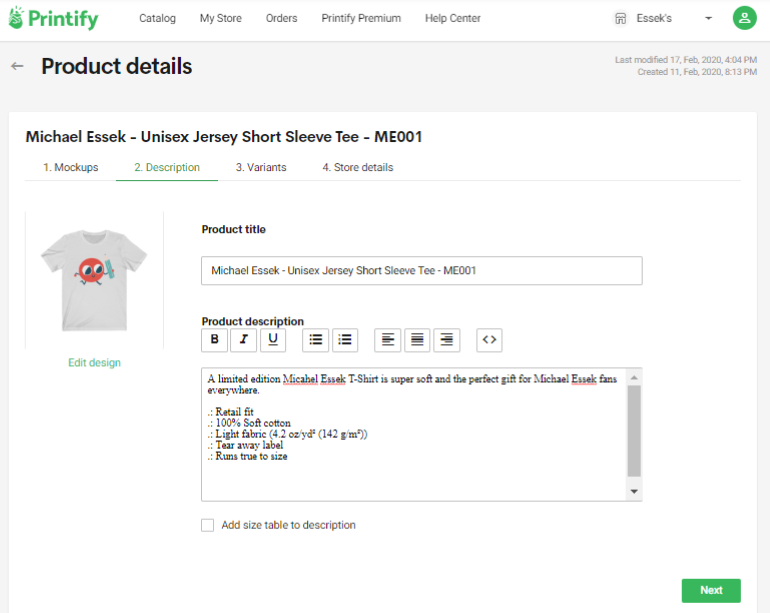
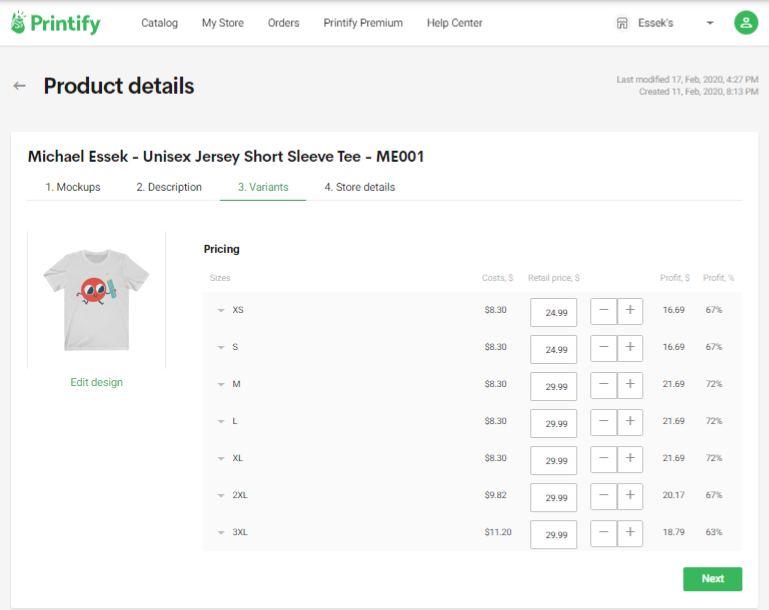
- Enter your RRP into Retail Price box to give you an idea of your profit margin, then continue by clicking next
- For this sample order click Save as draft (Important!)
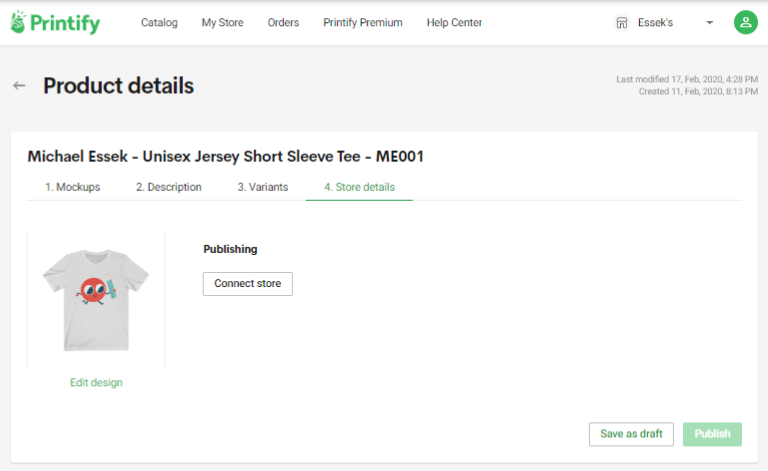
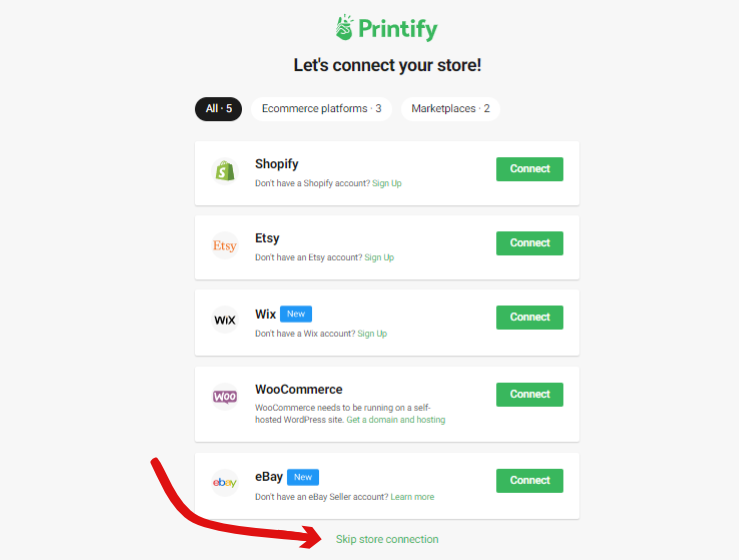
- Printify can connect to numerous selling platforms (shown below) and automate your orders, but for now as we only want a sample order – so click Skip store connection.
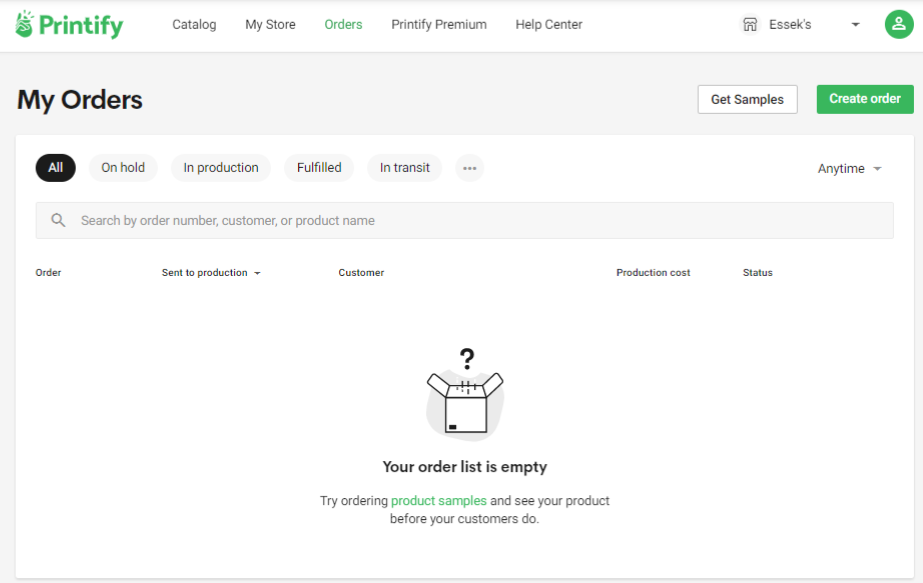
- Now click the Orders tab at the top of the page, followed by Get Samples
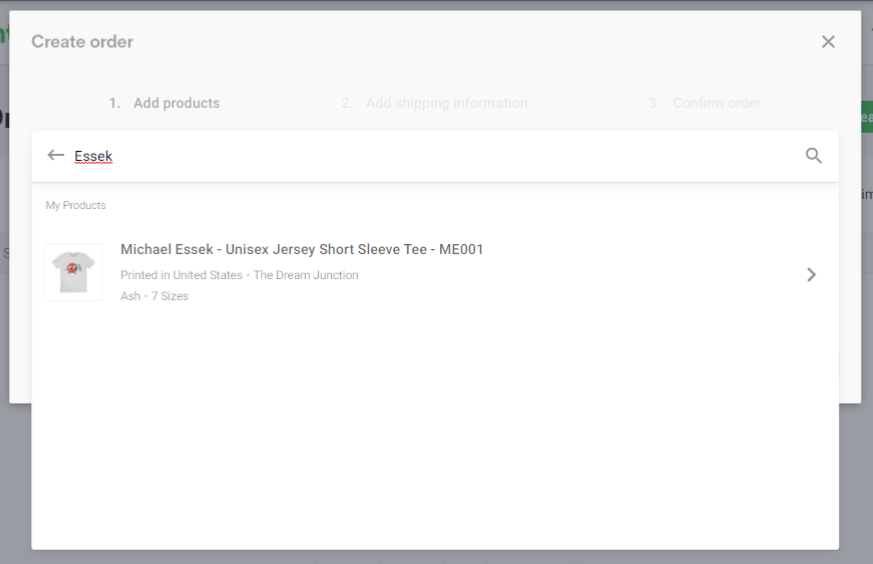
- You can now search for the product you just created
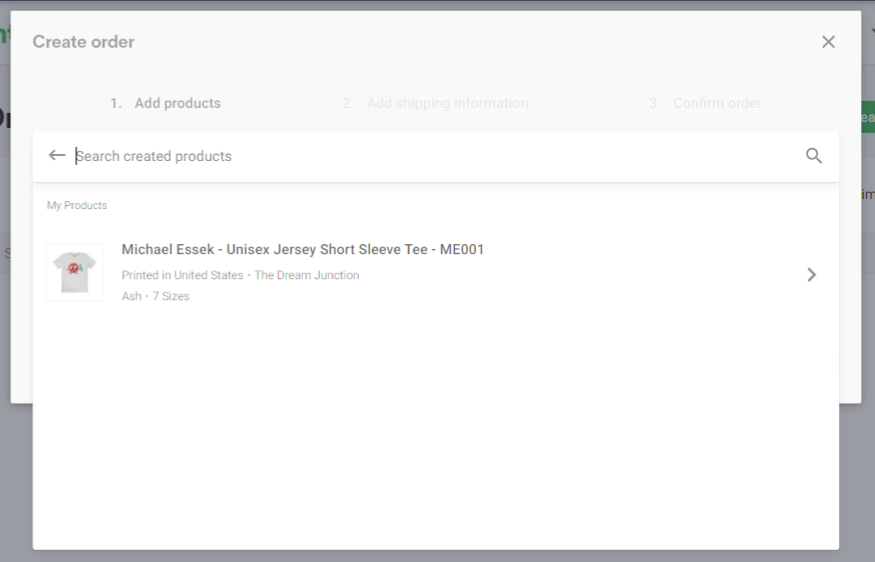
- Click on the selected product in the dropdown
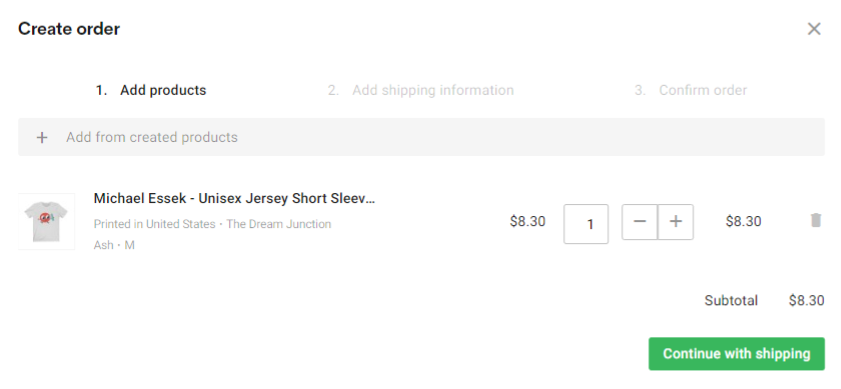
- Choose the size and colour you wish to order

- check size and colour selected and click Continue with shipping
- Your address will automatically be inserted from the info you inputed into Printify earlier – but you can change it if you wish.
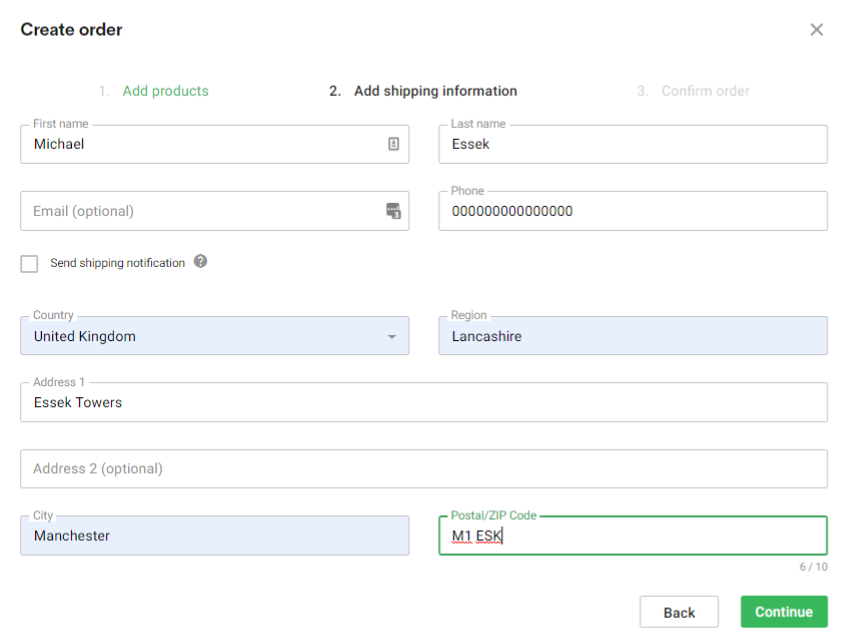
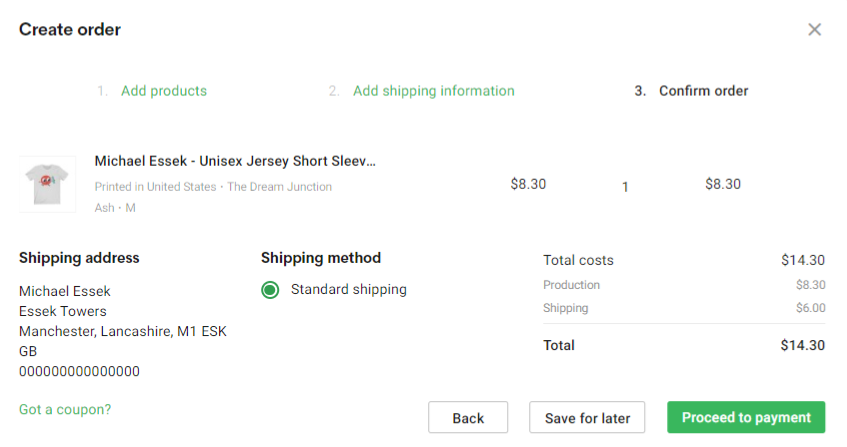
- Confirm the size, colour and shipping details (some print providers may offer alternative shipping options which you can choose here – but this one only offers standard)
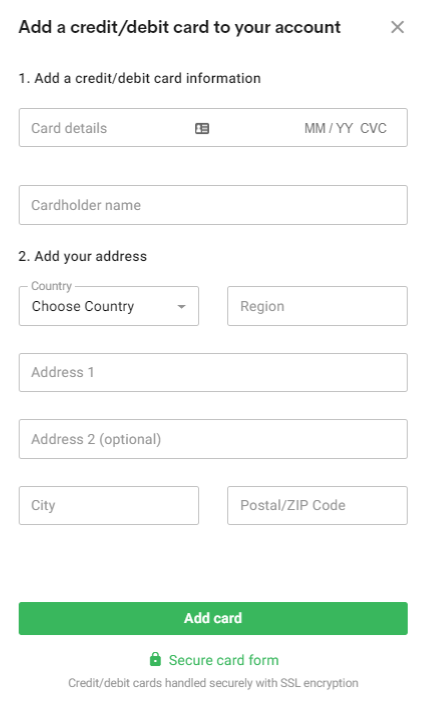
- Enter card payment details, these will be stored to speed up future purchases – but this will only be charged for this single order.
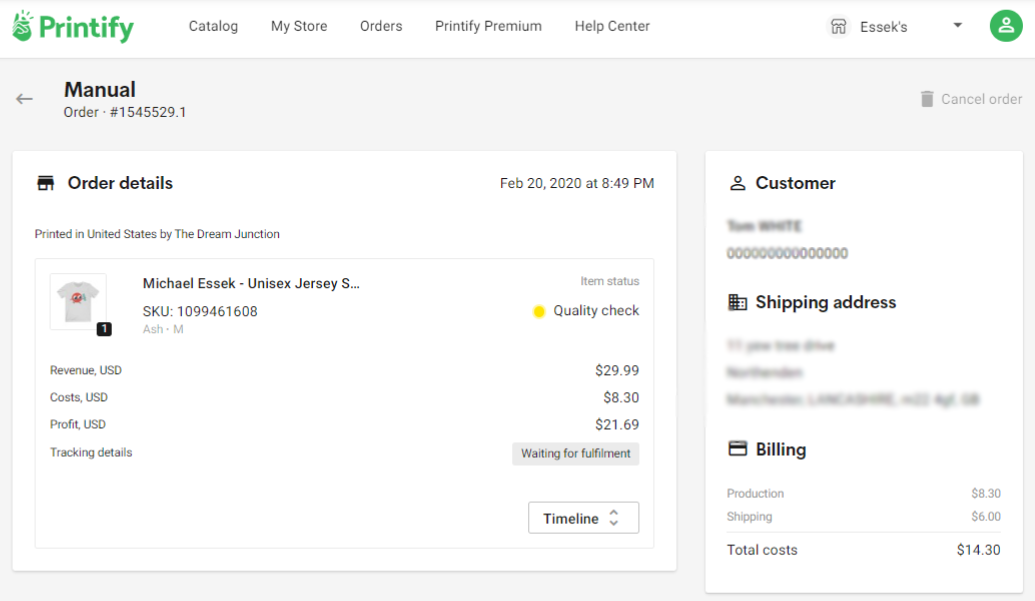
- Now your order is placed you will be directed to the orders page. Here you can easily see the status of your orders. You can click them more info.
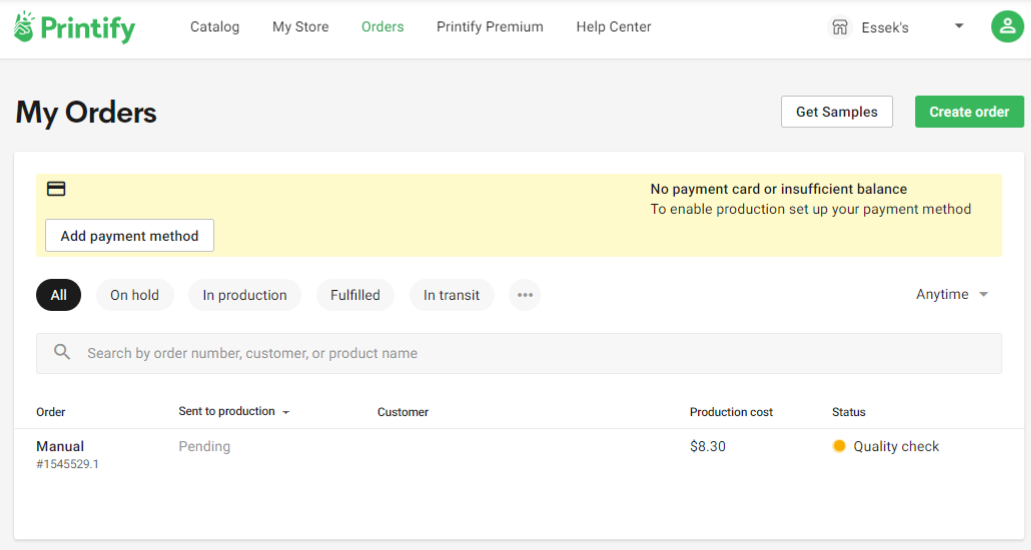
- This is how your order looks when you drill into it. You can keep up to date with the status of your order and tracking info once your item has shipped.
3. Reviewing Your Printify Sample
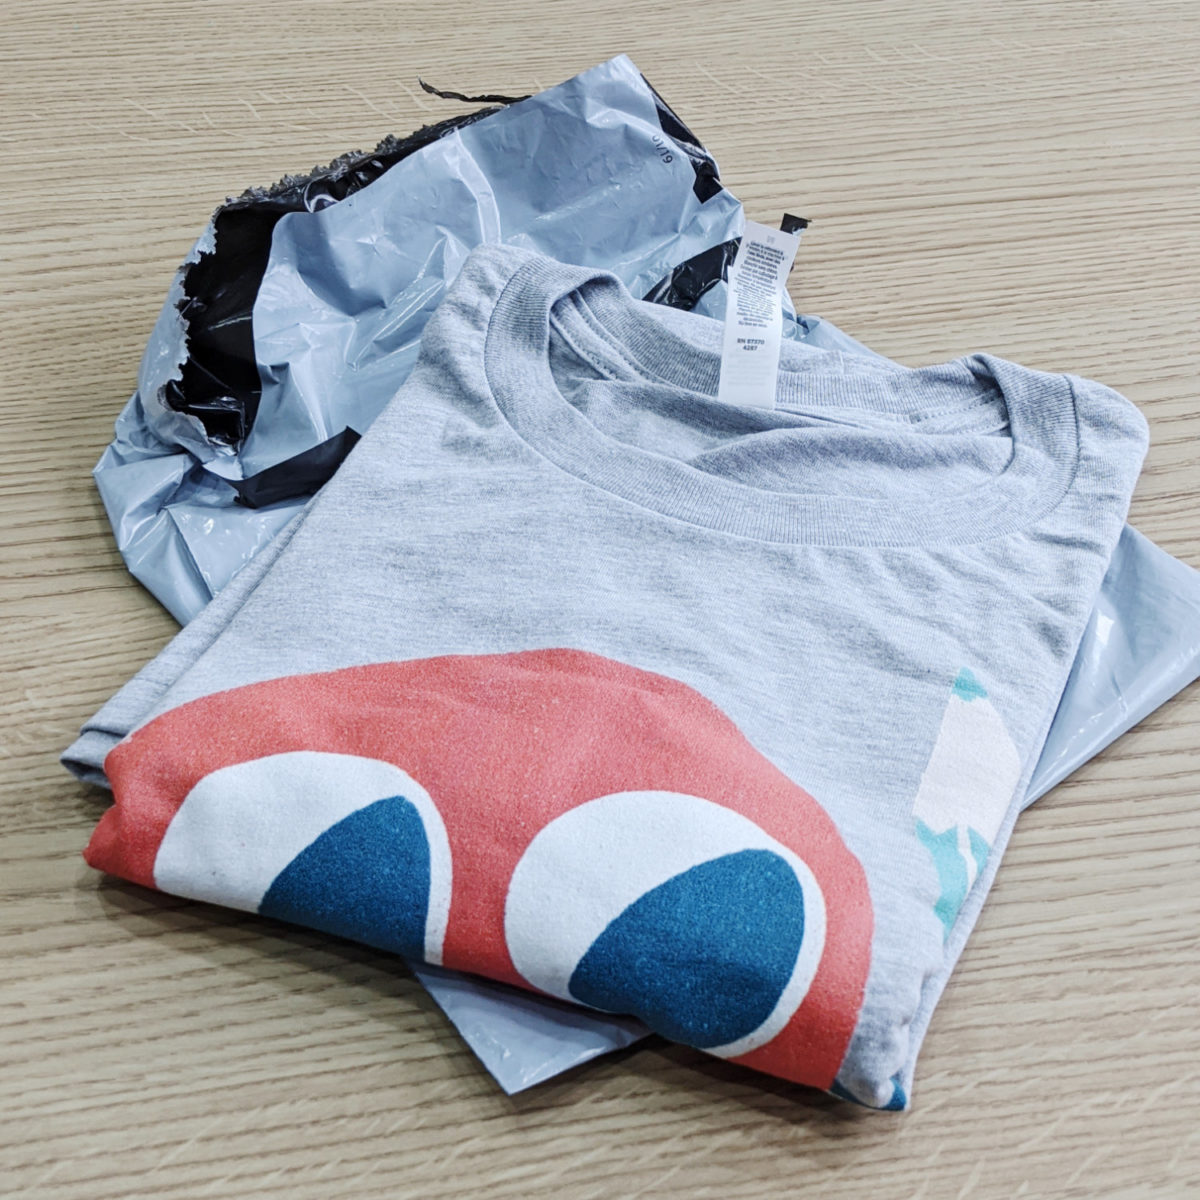
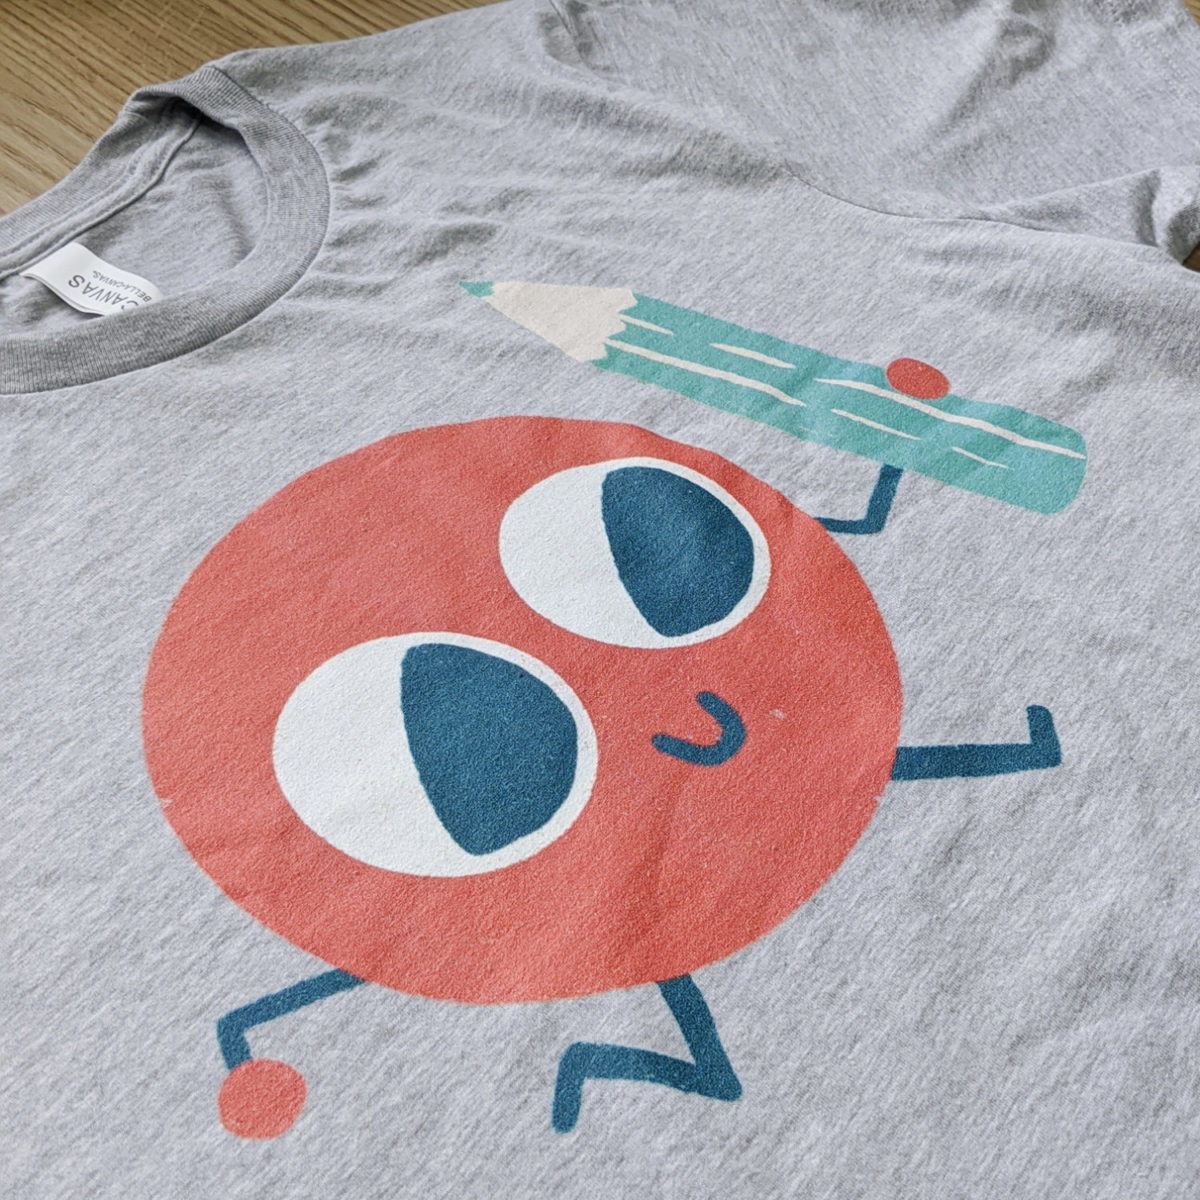
My Printify sample order from the UK based T-Shirt & Sons arrived within a few days.
Quick Tip: If you want to test out a few providers to compare their quality and turnaround time – make sure you vary something in each of the orders to make it easier to identify which came from where. I recently ordered a bunch of samples at once, and figuring out which came from which print partner was not easy!
Here’s what you can expect your Printify sample order to look like when it arrives:
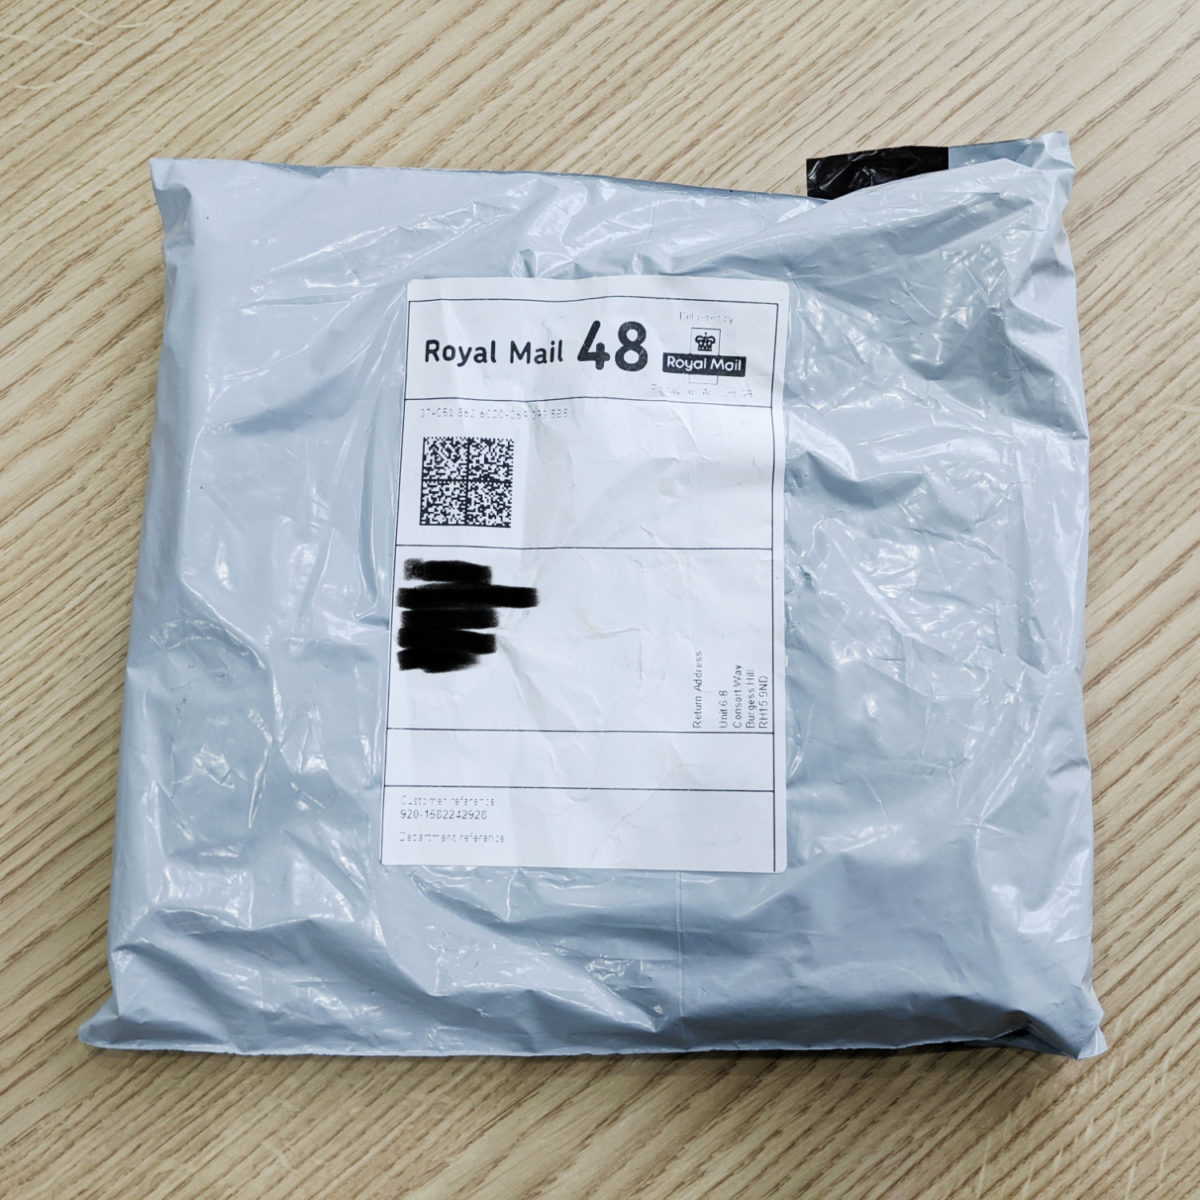
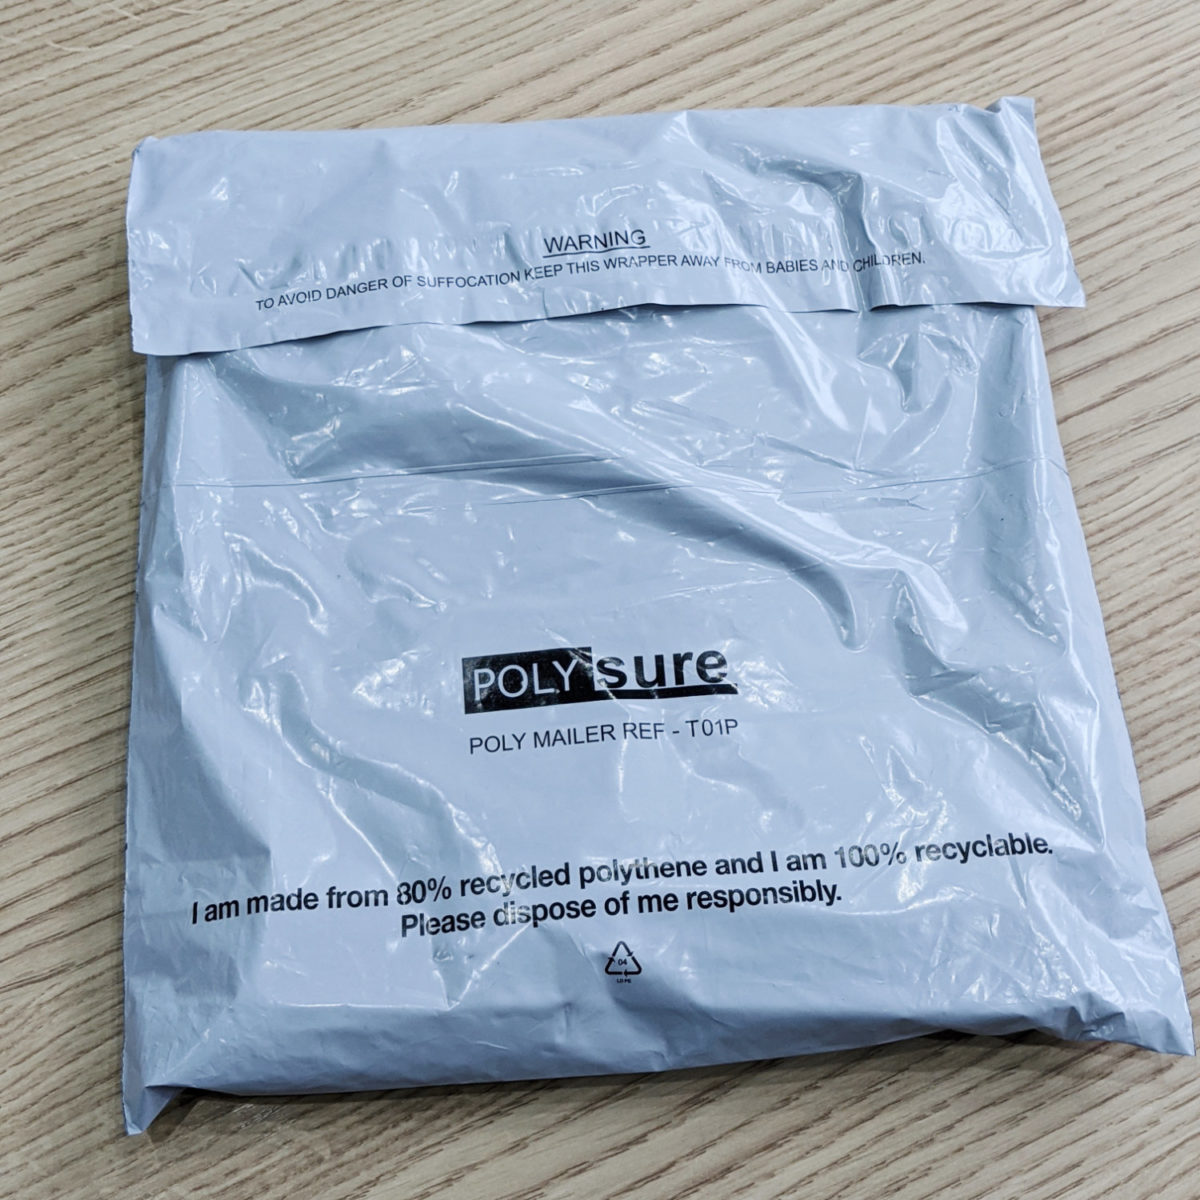
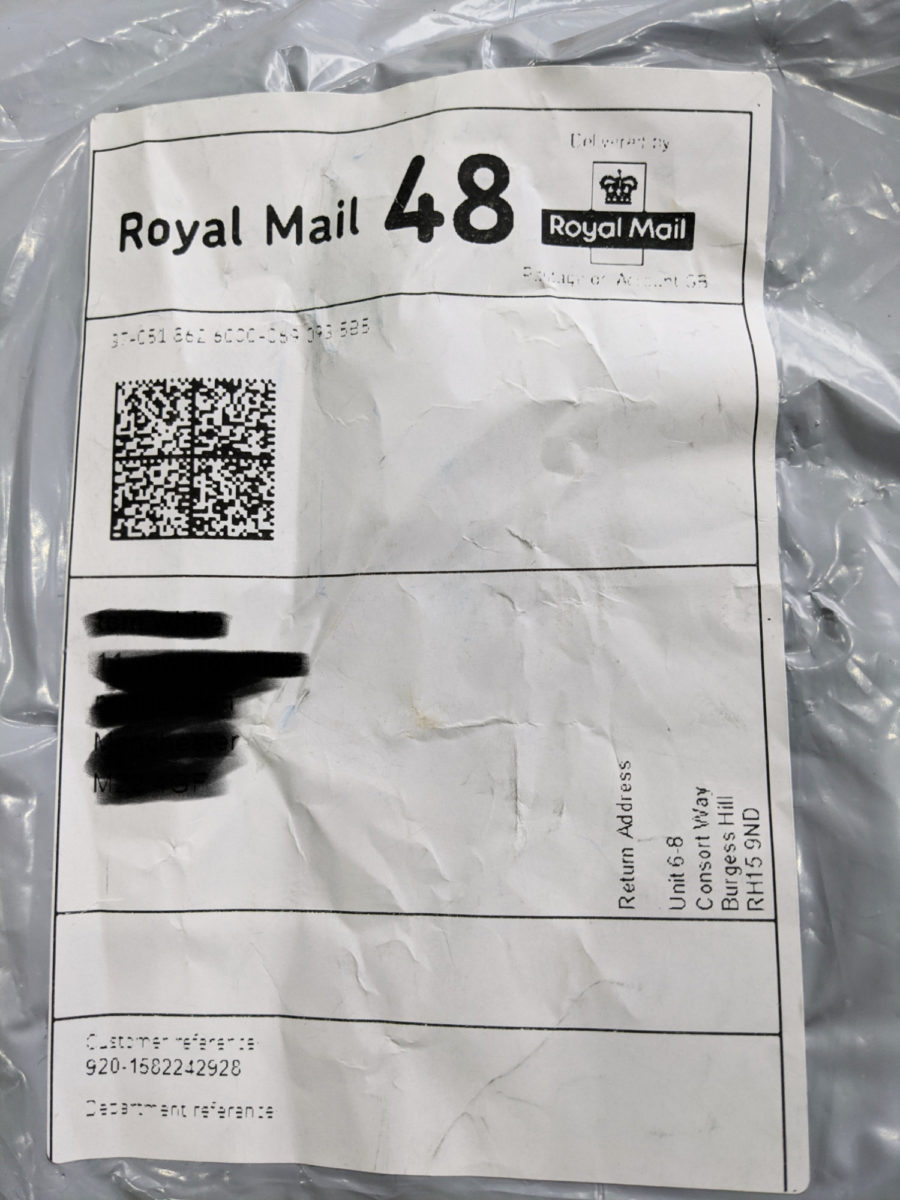
What’s inside;
- Our T-Shirt & Sons Sample arrived with just the T-shirt, no packing slip or additional packaging (good news for the turtles!)
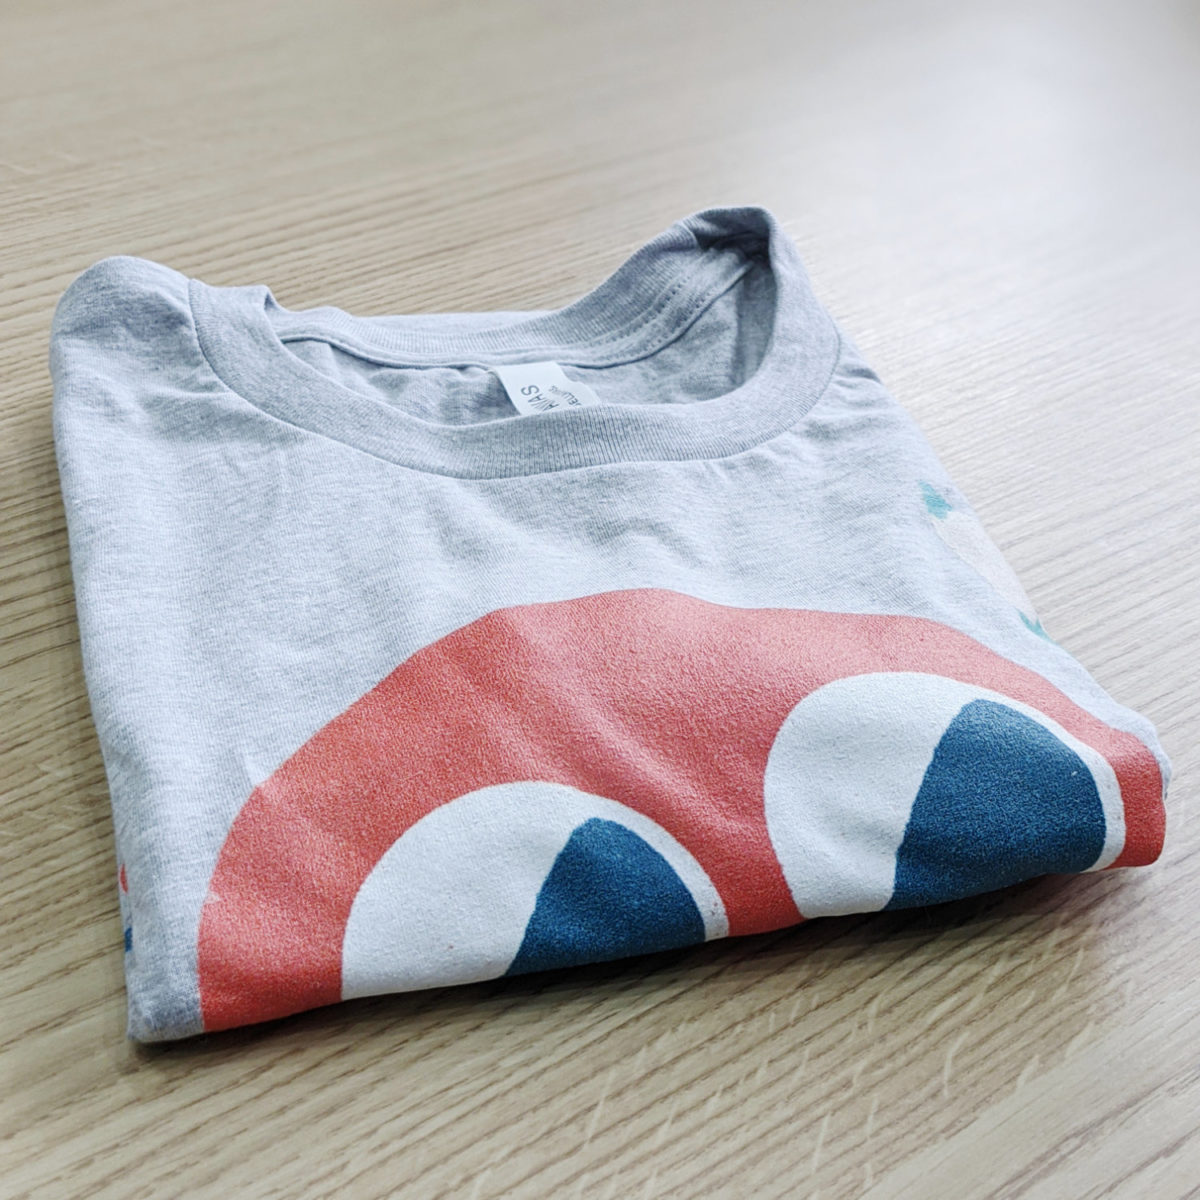
What To Look Out For…
When it comes to the product itself, here’s what to look out for:
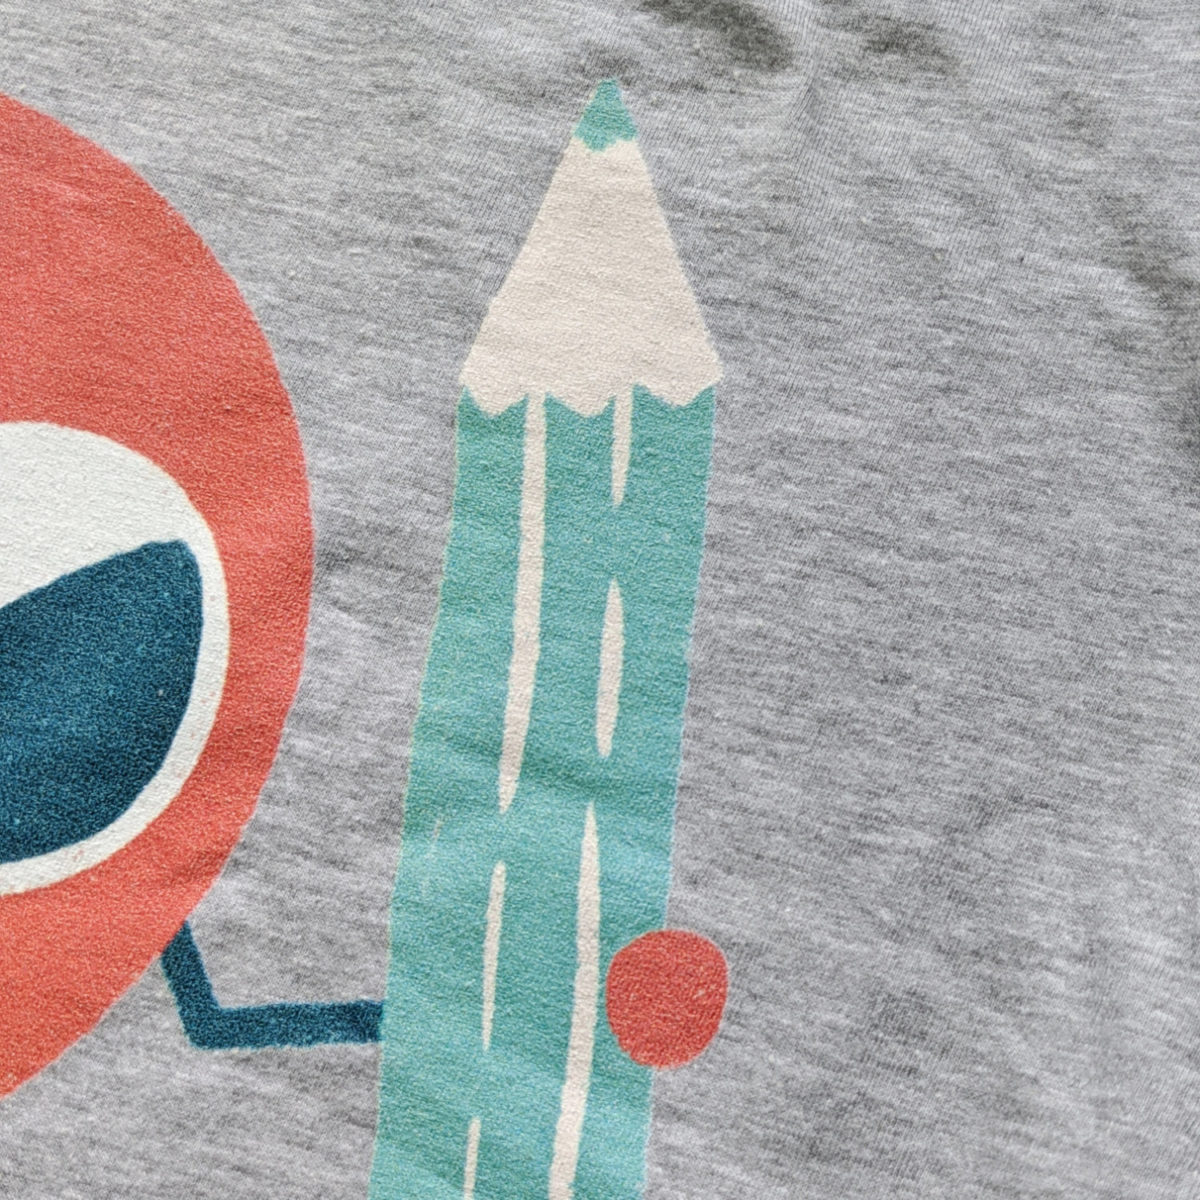
- Any obvious errors, blemishes, or damages to the print or product. (If you spot any of these – contact Printify about it).
- Does the product itself match your expectations? Is the garment soft, and does it fit as you’d expect?
- Print Quality. Are the colours how you would expect them? Is the image sharp enough? How does the print feel? (It’s normal for the print to feel a little ‘sticky’ at first – and this should decrease after a wash or two.)
Smells weird? Don’t be alarmed. Almost all DTG printers use a vinegar-like substance in the printing process, but the smell will disappear after a wash.
-
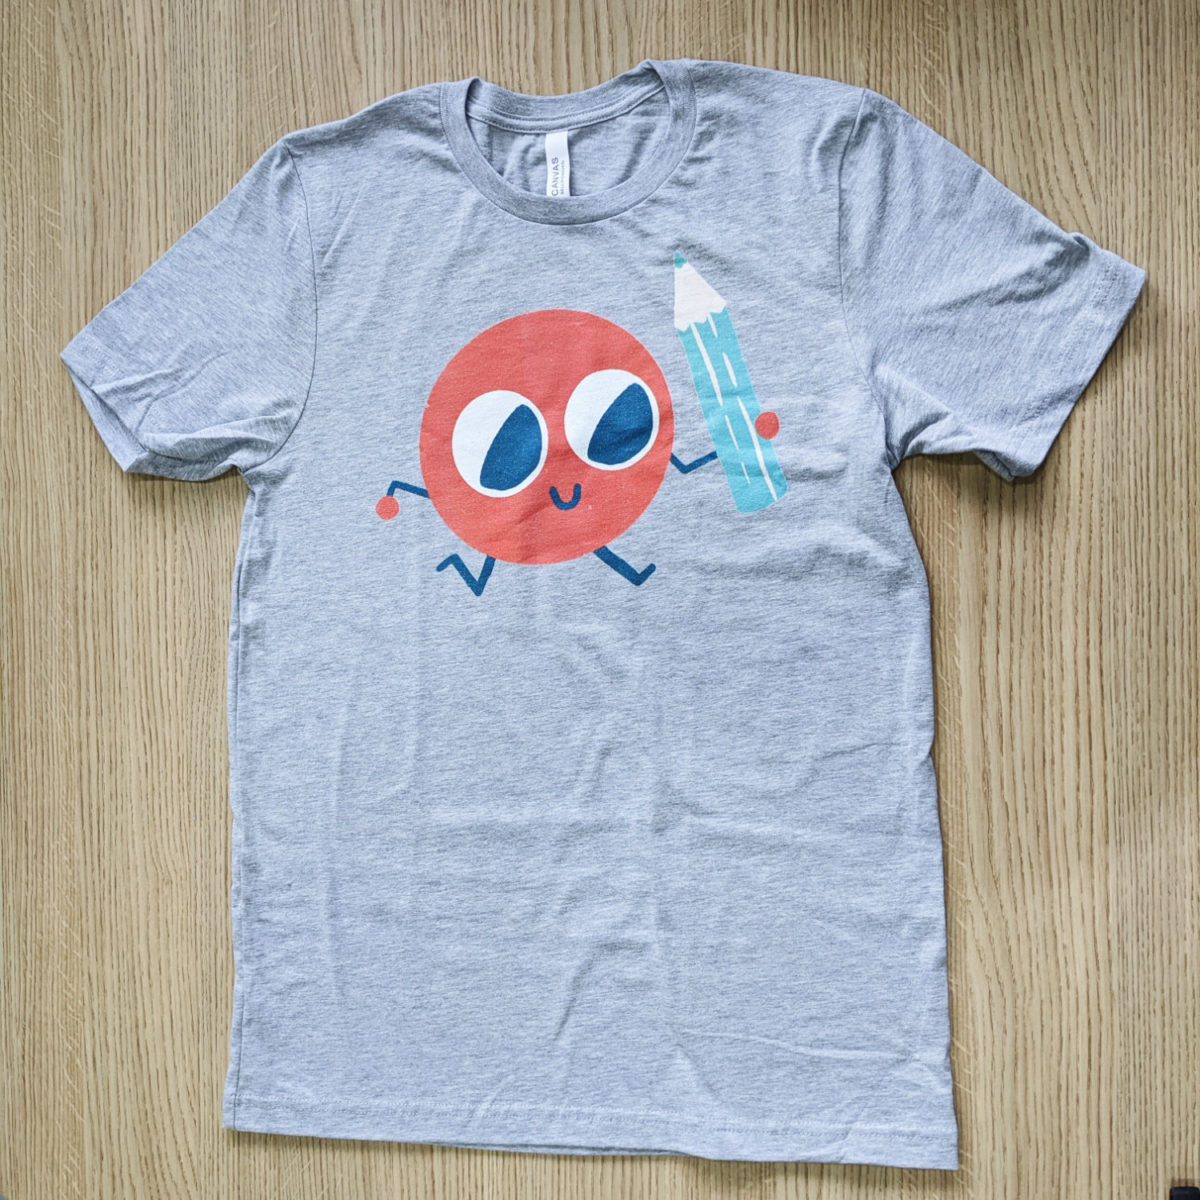
This particular print turned out nicely, and barely distinguishable from my similar Printful sample order.
When reviewing your product, the most important question you need to answer is this:
- Am I comfortable sending this product out to my customers?
If not, you will want to pinpoint why that is and fix it. (It could be an issue with your artwork, with the product itself, or with the printing quality).
If you think there has been a mistake made by the Print-Provider, reach out to Printify to them for help.
And if you really aren’t satisfied with Printify’s quality, you can test out an alternative provider like Printiful or Gooten, or any other of the Print-on-demand T-Shirt fulfilment companies.
So there you have it – your first Printify order done right.
Some final things to note:
- Although Printify do not offer a discount on a sample order, if you choose to upgrade to their Premium Plan ($29/m) you will receive $29.00 credit to spend on your next sample orders.
- Printify’s Premium Plan also reduces the cost of their products by up to 20%. You will need to work out if that subscription is worth it for you – based on how many items you are selling (Printify have a handy diagram for that here)
I hope this tutorial will help you place your first Printfify order, so you can feel confident selling your art to your customers, wherever they are.
To place your sample order, just click the button below to get started.
Notice a problem or mistake in this post – or something you think I should add? Please leave a comment below so I can keep it up to date!


Thank you very much. I hope to join printify as you suggested. I have a question-
Does it allow to place the same design on multiple products as we see on redbubble or teespring?
I am worried with the uploading process of my upcoming custom store, please suggest
Thanks
Abu Monsur
Hi Abu – yes you can place the same design on multiple products.
Great article, thank you Michael! One question: do you have experience with the email Printify sends with shipping information? I’m curious what this looks like to customers, and if pricing information is included. Thanks in advance!
Printify won’t send anything to your customers directly – that’s all on you. They are just the backend – and they will only communicate with you.