How To Place Your First Order With Printful The Right Way (with FREE Shipping & 20% Off)
by Michael Essek · Updated: May 12, 2022If you’re thinking of using Printful as your Print-on-demand fulfilment partner – then placing a sample order is an absolute must.
By placing a sample order you’ll get familiar with Printful’s website and ordering process, plus you’ll be able to judge for yourself the quality of Printful’s products and printing.
In this article I’ll show you..
So let’s get to it!
Legal note: This article contains affiliate links to products and services I use and recommend.
1. Get A Free Printful Account
The first thing you need to do is to setup your Printful account.
(If you already have a Printful account, you can skip down to step number 2.)
Setting up your Printful account is completely free and very easy – let me walk you through it:
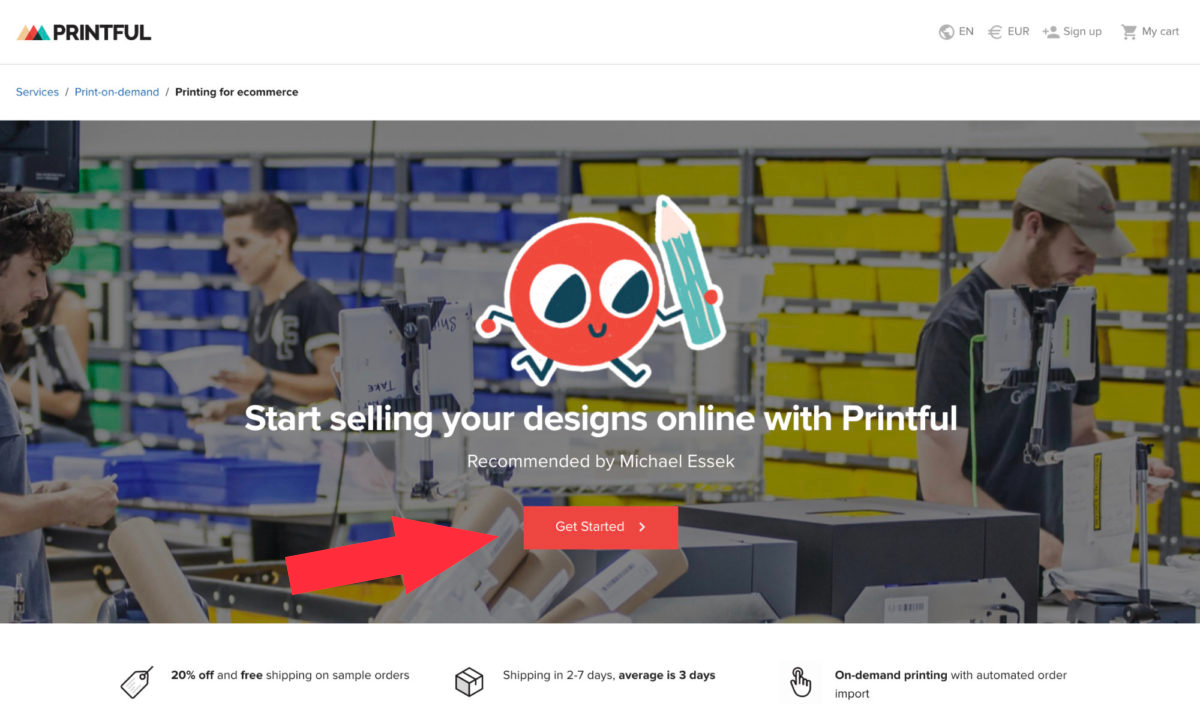
- First, click the button below to visit Printful.com, then click on the big ‘Get Started‘ button.
- Next, enter your Full Name, Email and Password in the specific fields.

- Printful will then ask you 3 simple questions about your business: (you can answer whatever you like – this won’t impact anything else)
- What would you like to do with Printful? (ie. grow my online business)
- Where are you mainly selling online? (ie. Etsy, Amazon)
- What’s your current yearly revenue from merch/apparel sales? ( ie. Just starting out)
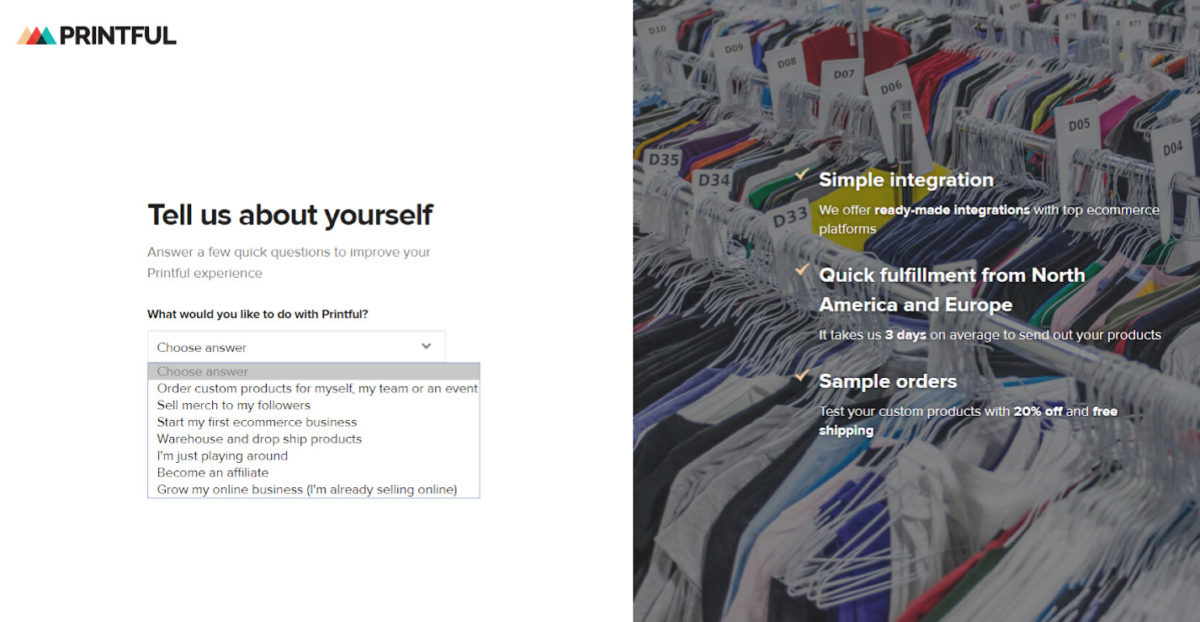
Once done – that’s it – your Printful account is live!
Make sure you’ve saved your password somewhere safe (I use LastPass) – then let’s go to the next step…
2. Placing Your First Order
- Click “New order” on the top right

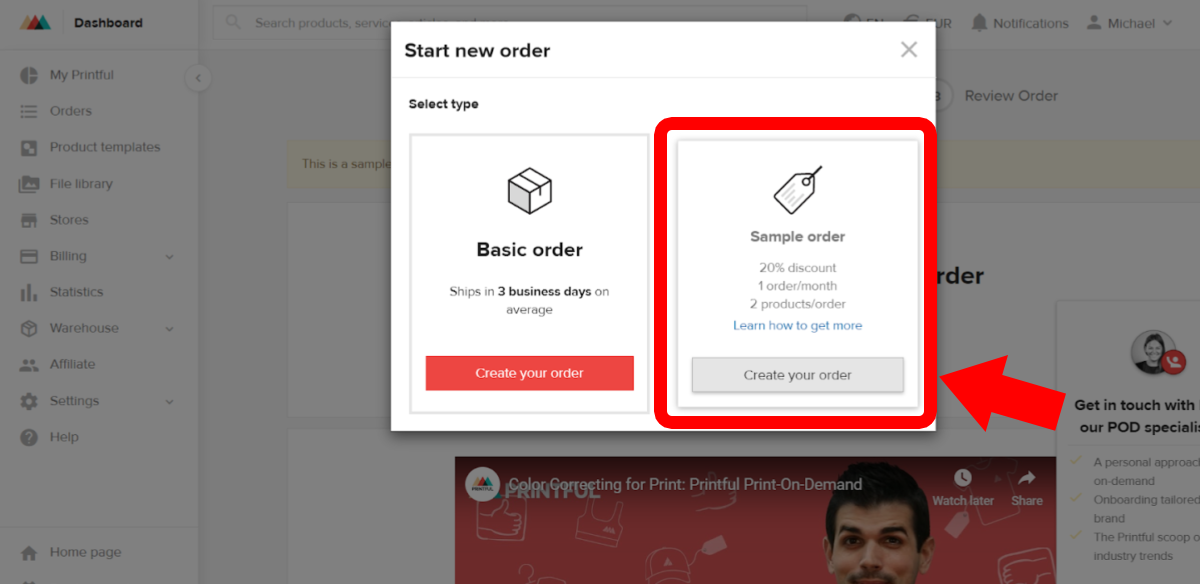
- A ‘Start new order’ pop up will appear with options to create a ‘Basic order’ or ‘Sample order’.
As this is our first order, we want to choose ‘Sample Order‘ – as that will allow us to get a 20% discount and FREE Shipping.
So click the ‘Create Your Order‘ button from the ‘sample order‘ side:
- Next we need to choose a product for our sample.
So click ‘Add Product‘ as shown:

- Now you choose the product you would like to print onto.
I’m going to click on ‘Men’s Clothing’ > ‘T-Shirts’ – but you can choose whichever product you’d prefer.

- Choose the specific product you want to go with.
I’m choosing the Bella + Canvas 3001 – which is a soft, unisex, fashion fit T-Shirt, and Printful’s bestseller.
(Note: Choosing a bestselling garment like this should ensure there won’t be any delay in production and shipping – as Printful are more likely to have plenty of stock).

- Now we need to upload our design to the garment.
You can;
- Drag your image from a folder on your computer and drop it directly onto the shirt
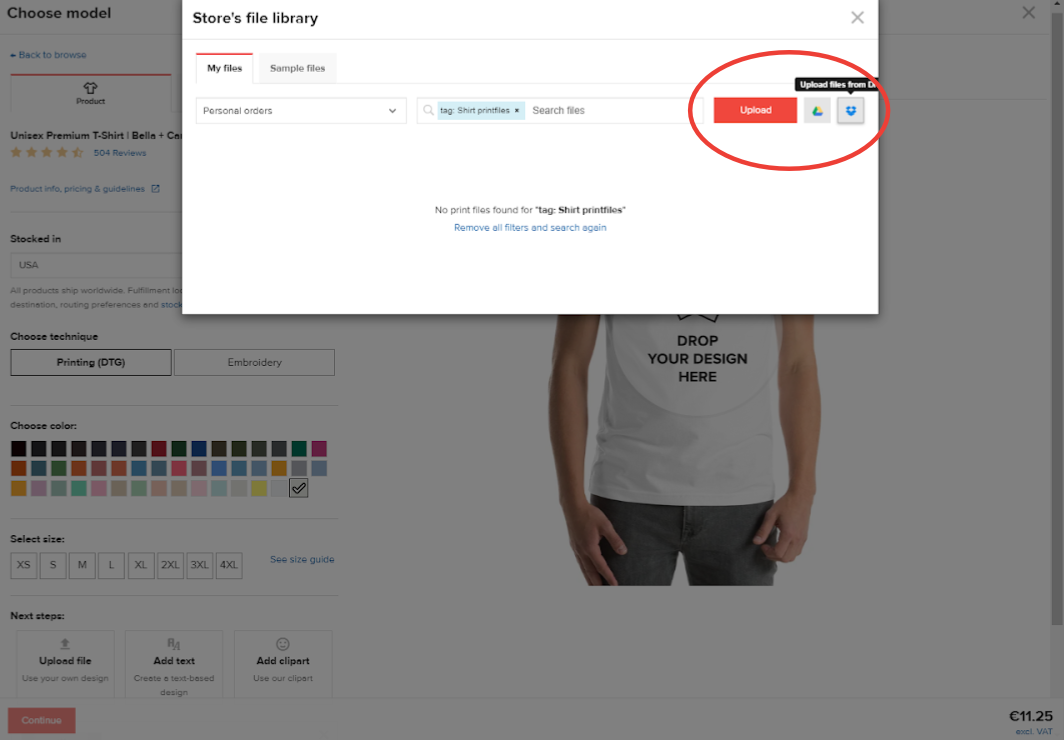
- click on the shirt to upload from your computer, Dropbox or Google Drive
- Alternatively, you can click the “design tab” and upload from there

- Whichever way you choose to upload, your artwork will be saved inside ‘My Files’ for easy future access.
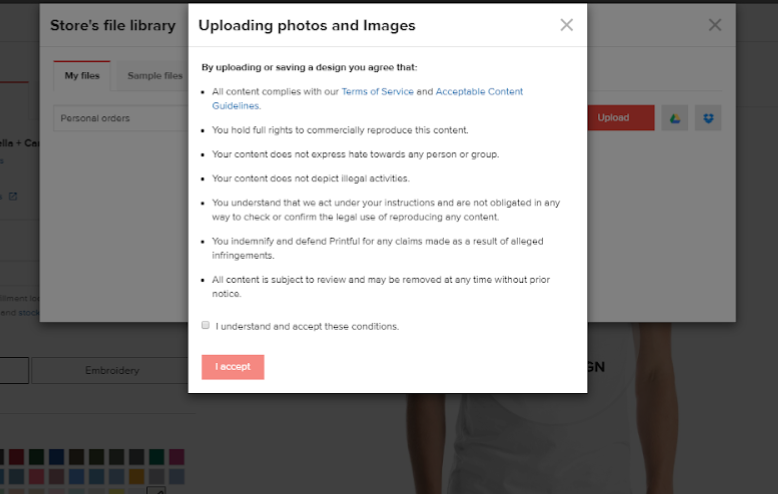
- As you upload, Printful will pop up a terms and conditions box.
This will only appear on your first upload, but it’s worth checking your design (and any future designs) will meet Printful’s terms, otherwise your order could be stalled or rejected entirely.
Tick the box and click ‘I accept’ to proceed.
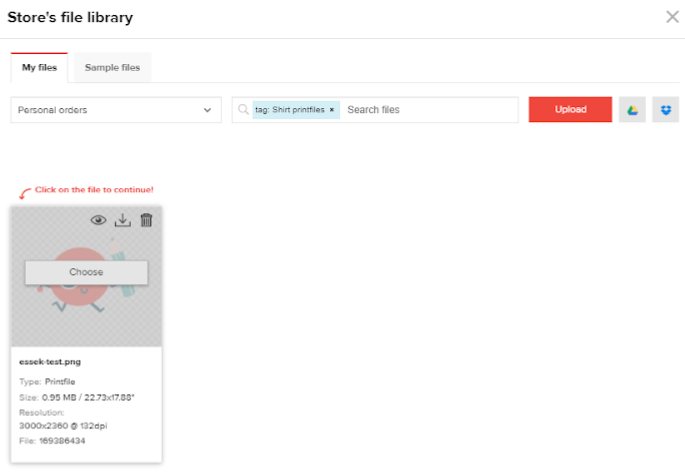
- Your image will be uploaded to your file library.
Click ‘choose‘ to select the image you want to use for your sample order.
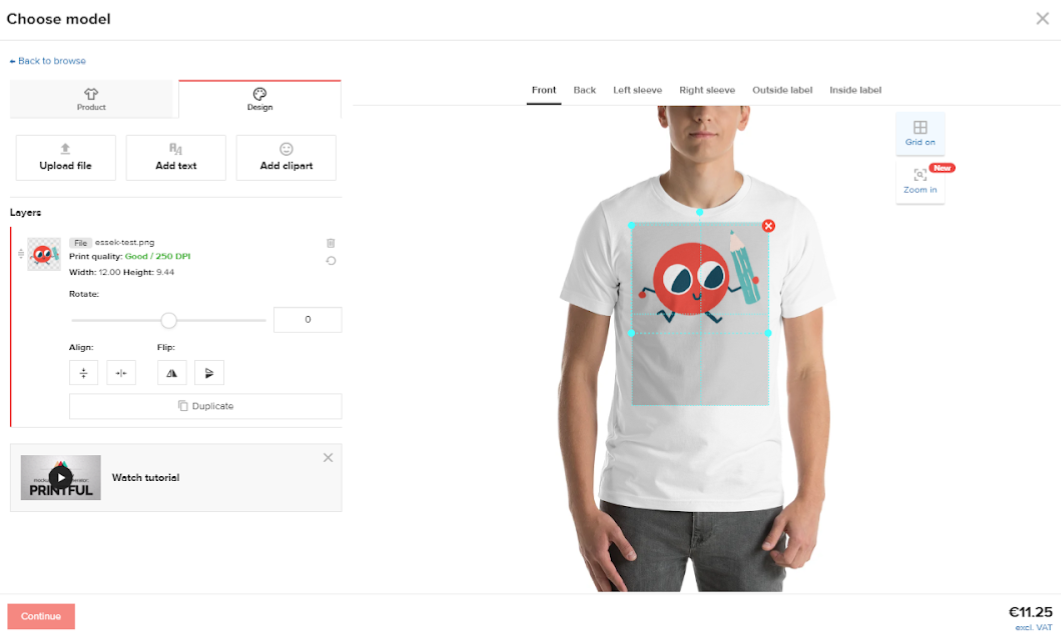
- The image will now appear on your selected garment, inside the printable area (the grey rectangle).
You can reposition or resize your image within that rectangle using the tools on the ‘Design’ tab, or the re-sizer on the t-shirt mock-up itself.
(Note: In most cases you won’t want your artwork to entirely fill the grey rectangle – and I recommend leaving a little padding at the top and sides – unless you’re looking for that ‘oversized’ print look).
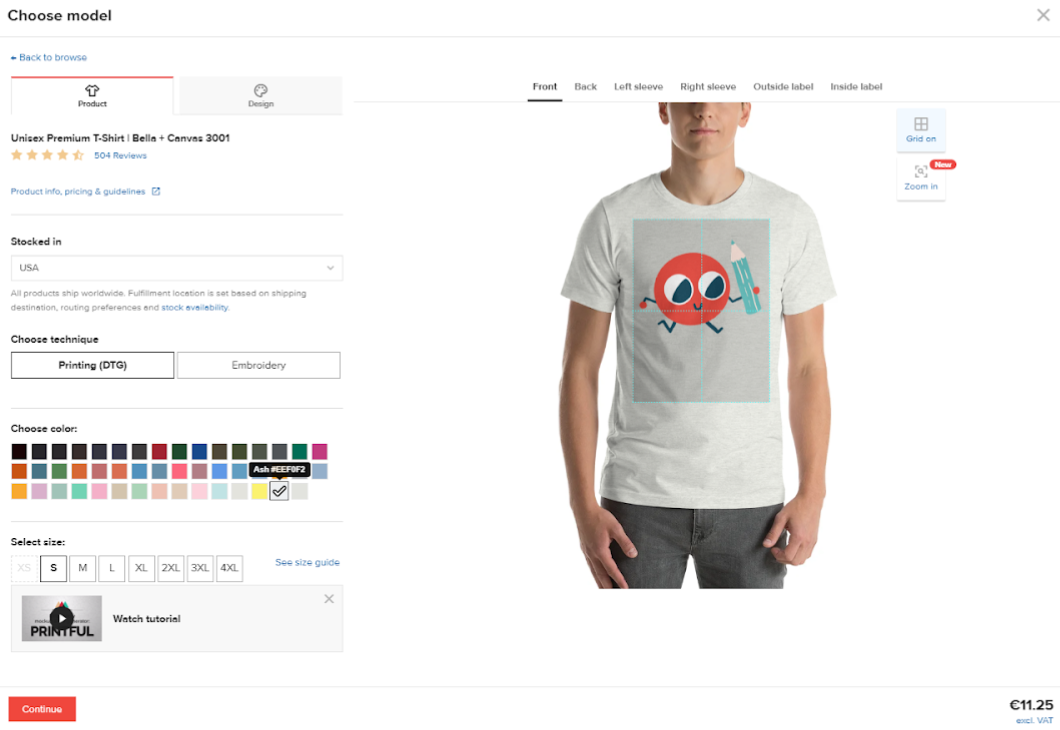
- Once you’re happy with the positioning, click back to the ‘Product‘ tab to select the size and colour of garment you’d like (I’m going for a Small in ‘Ash’ colour).
The mockup will update to reflect your colour choice.
Make sure that ‘Printing (DTG)’ is selected under the ‘Choose Technique’ section.
Click ‘Confirm’ when you’re happy with the look of your mockup.
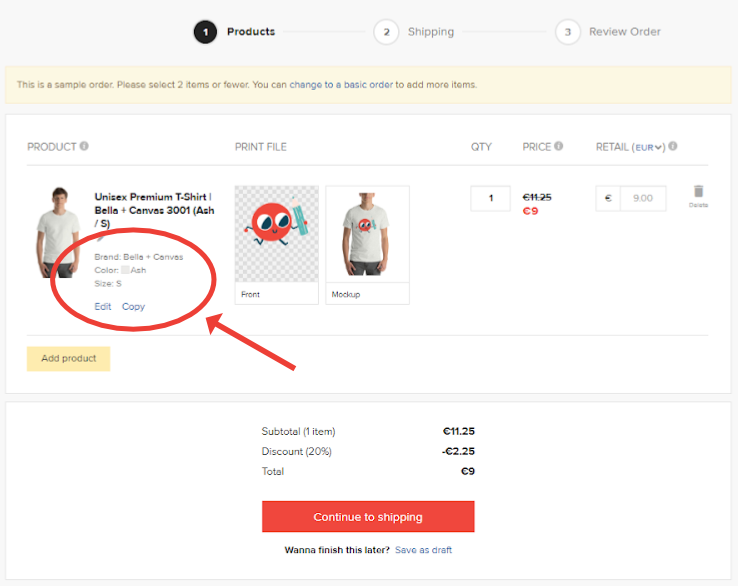
- Check your order is correct (double check the size and colour) before clicking ‘Continue to shipping’:
(Note: Printful allows upto 2 items per sample order – so if you have another product you’d like to test alongside this one – now is the time to add another product to your order. Just click ‘Add Product’ and repeat the previous few steps).
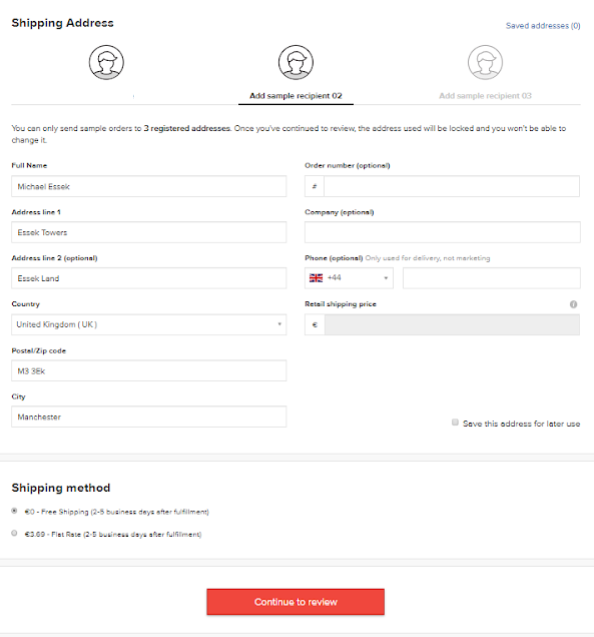
- Now complete the shipping details (where you would like your sample order to be shipped to) and choose your shipping rate (it should be Free).
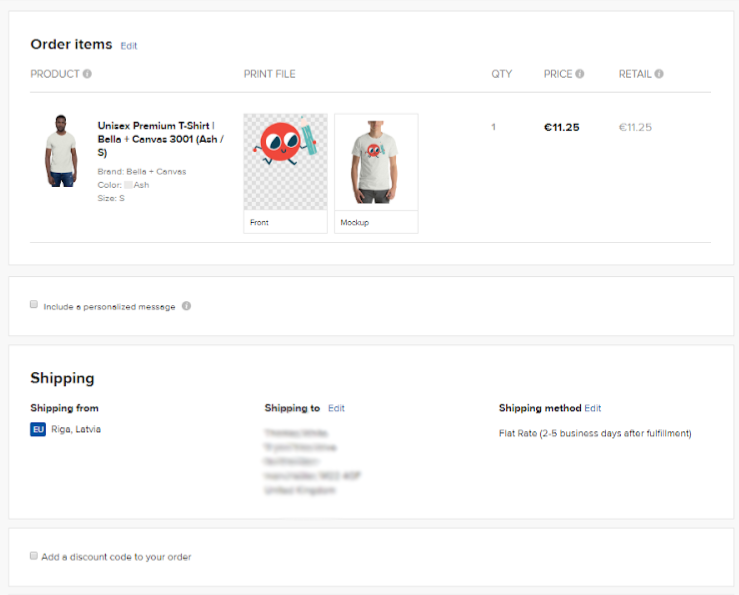
- You can now check and confirm that your order and shipping details are correct, before scrolling down to the payment section.
Note: Make sure you’re getting your 20% discount and free shipping!
If you think you’re being charged standard price, go back and re-start a new sample order, or message Printful for help.
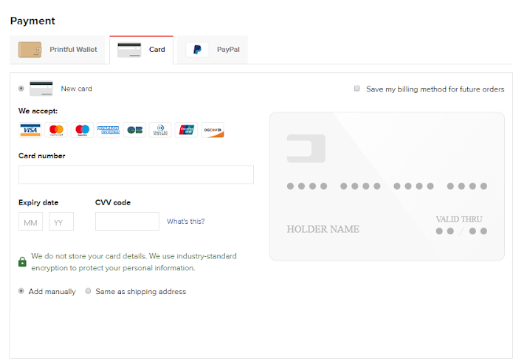
- Enter your payment details with your credit card or paypal. These details will be remembered for your next purchase.
- That’s it! Once you’ve paid, Printful will give you an estimated fulfilment date, and you can track the progress of your order within your Printful account.
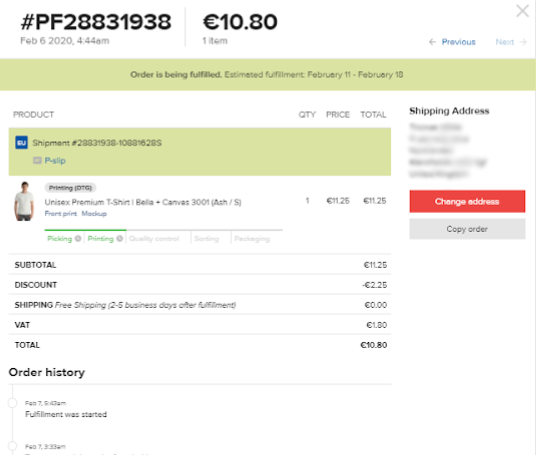
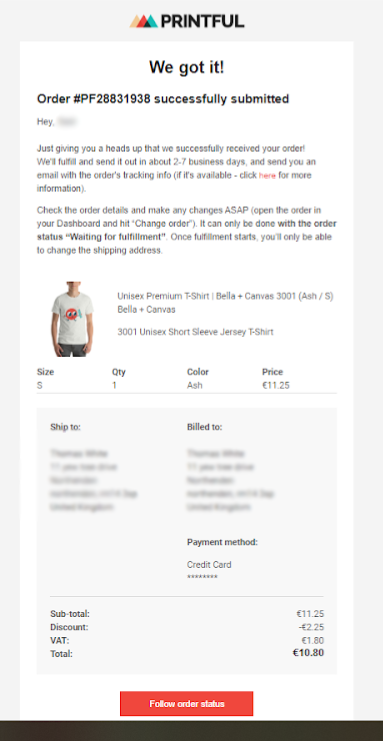
- Printful will also send you an Email Confirmation of your order. This is a good opportunity to double-check the mock-up image and the size and colour you ordered.
If you do spot any issues – contact Printful right away – as once an order enters production it will be difficult to change or cancel.
3. Reviewing Your Sample
A few days later, assuming everything went smoothly – you should receive a shipping confirmation email like this:
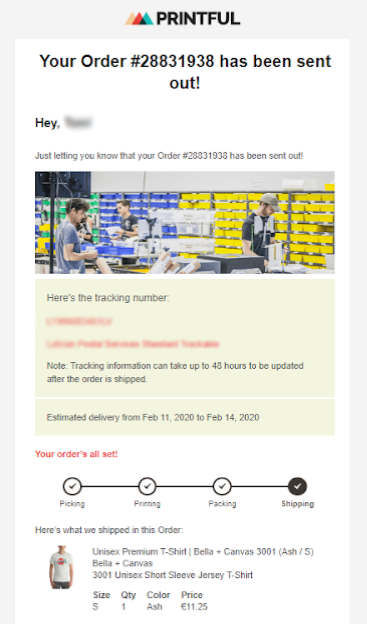
…that means Printful have printed and shipped your order, and you can now track the shipping with the tracking number.
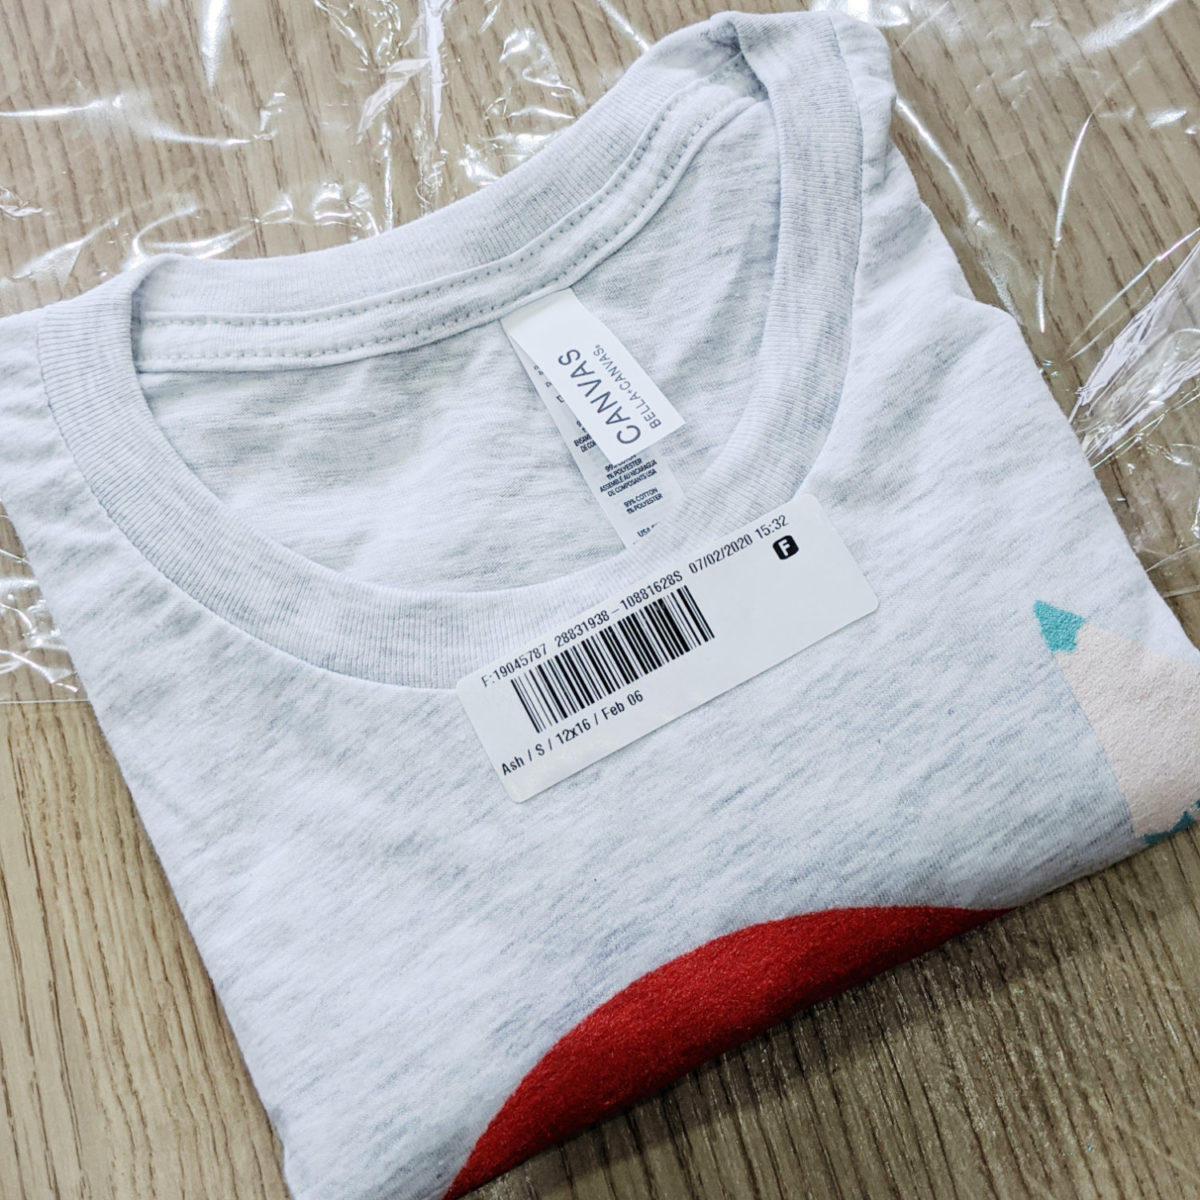
When it finally lands, here’s what you can expect the package and labels to look like:
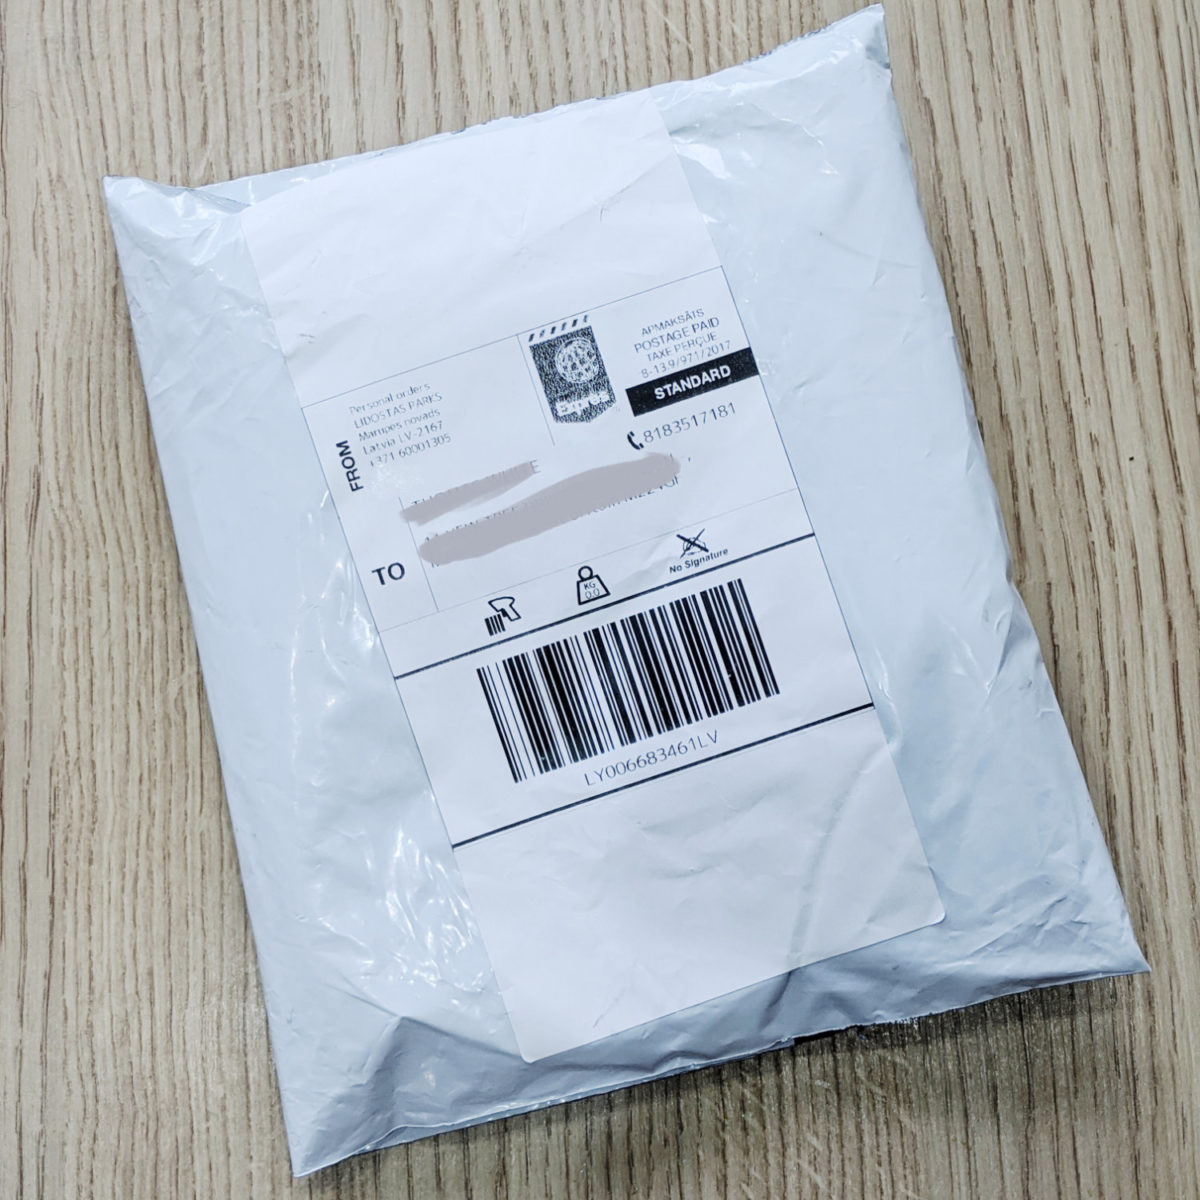
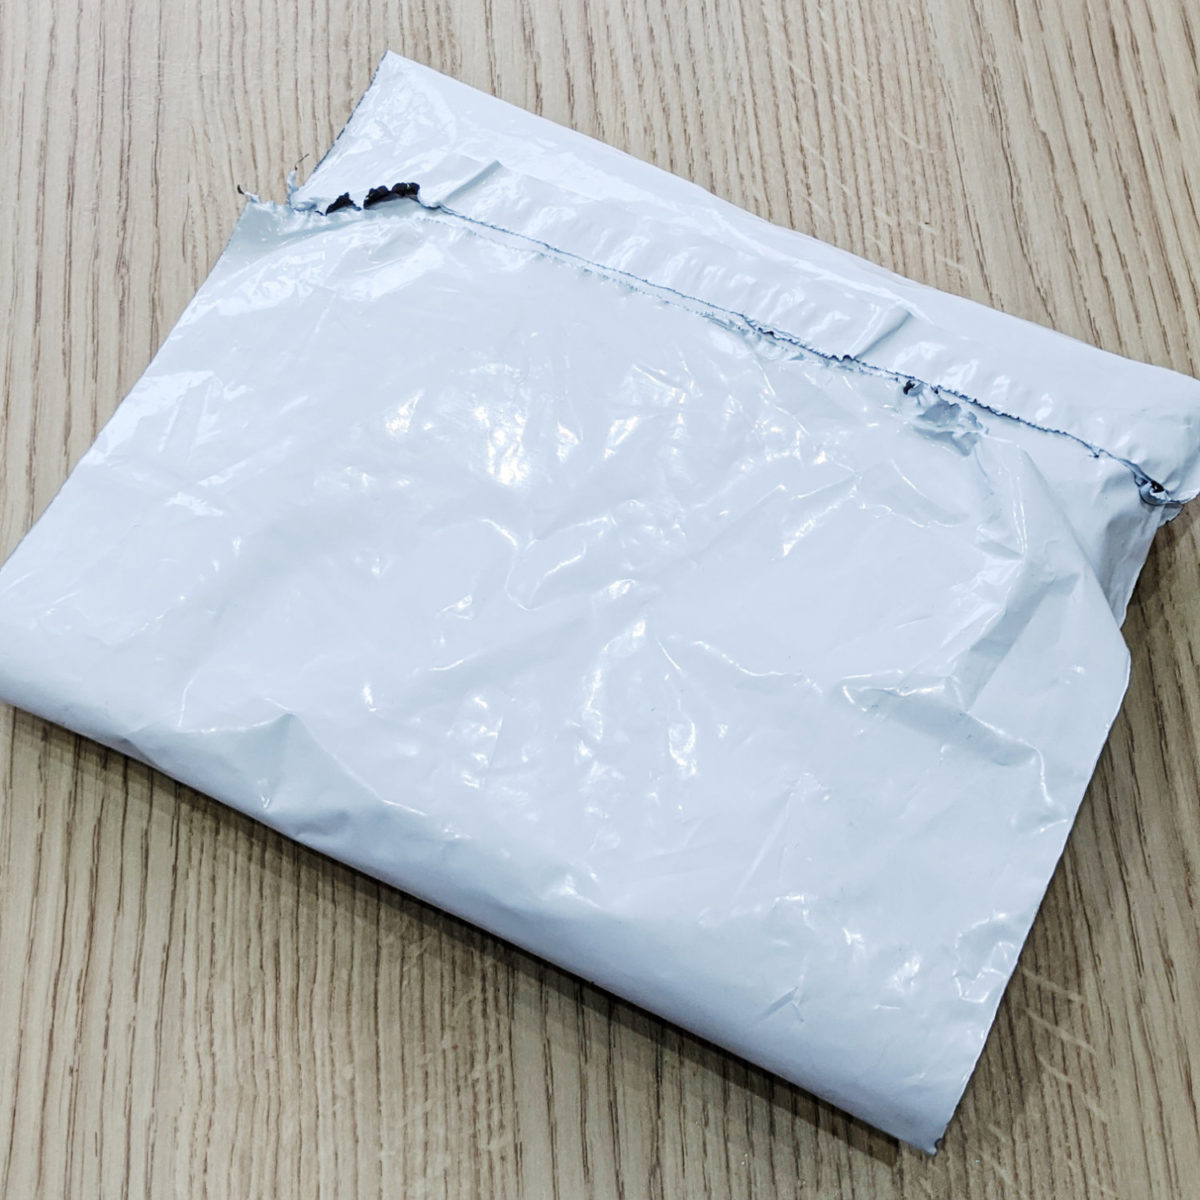
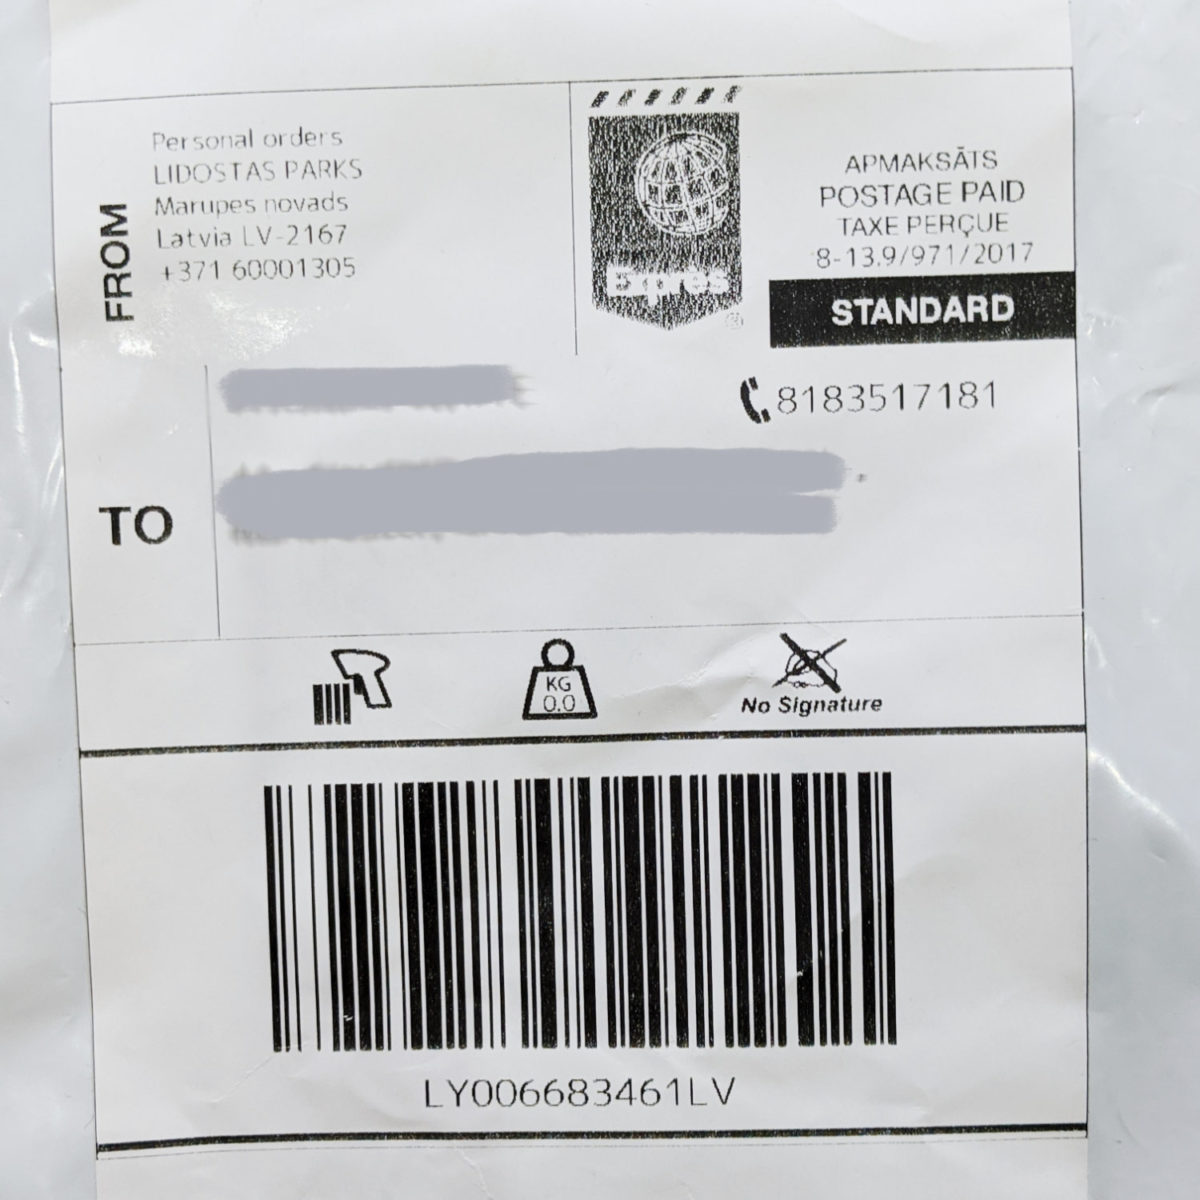
What’s inside;
- T-Shirt in clear poly bag
- Packing Slip with order details
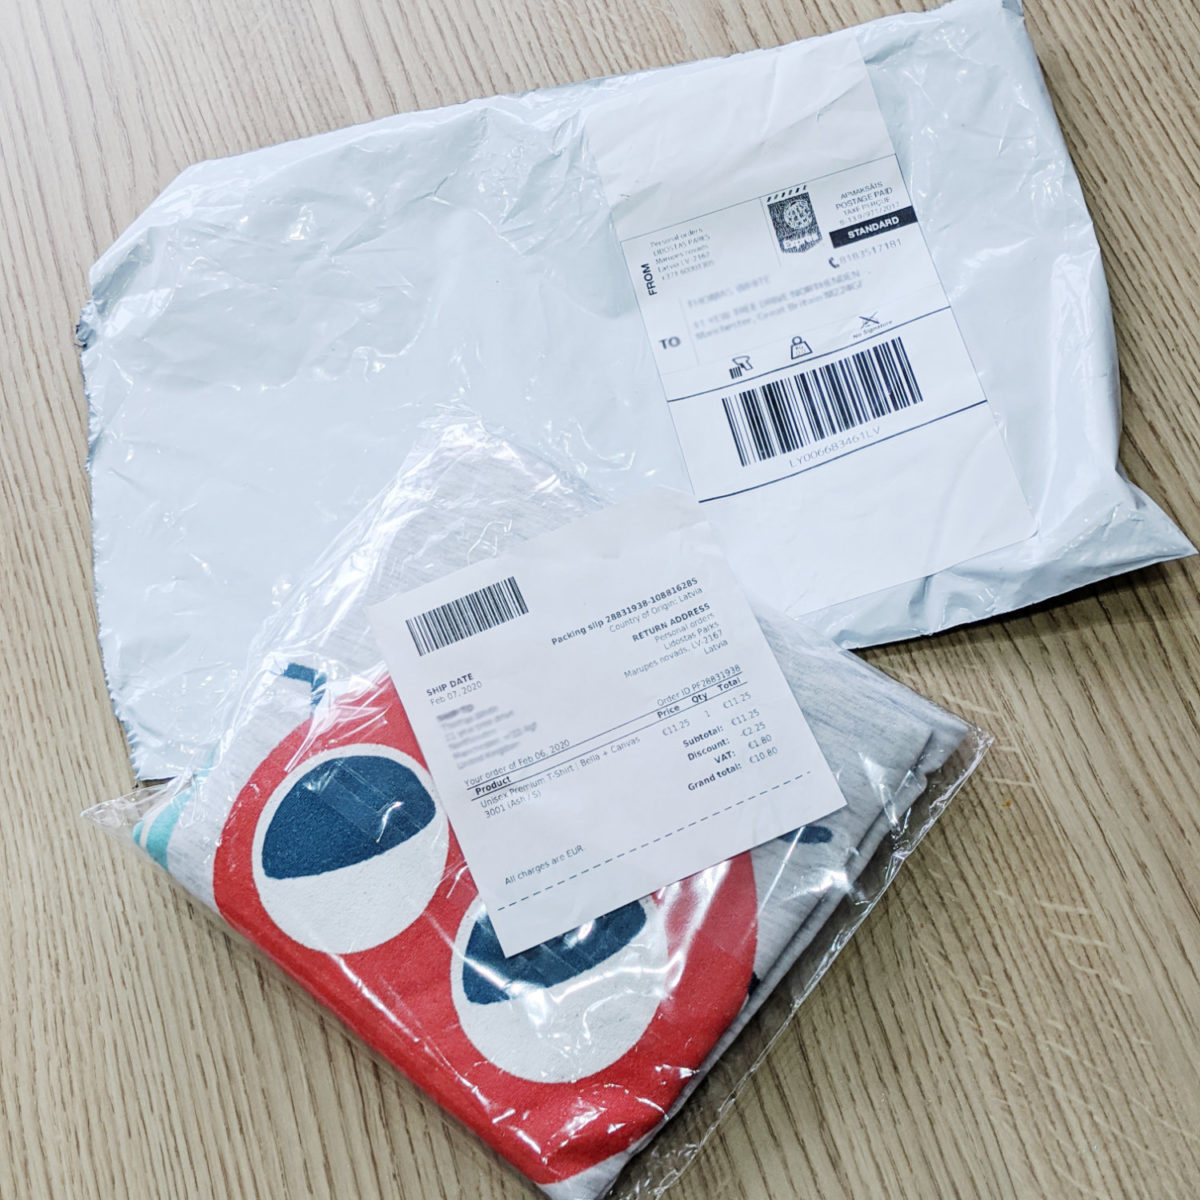
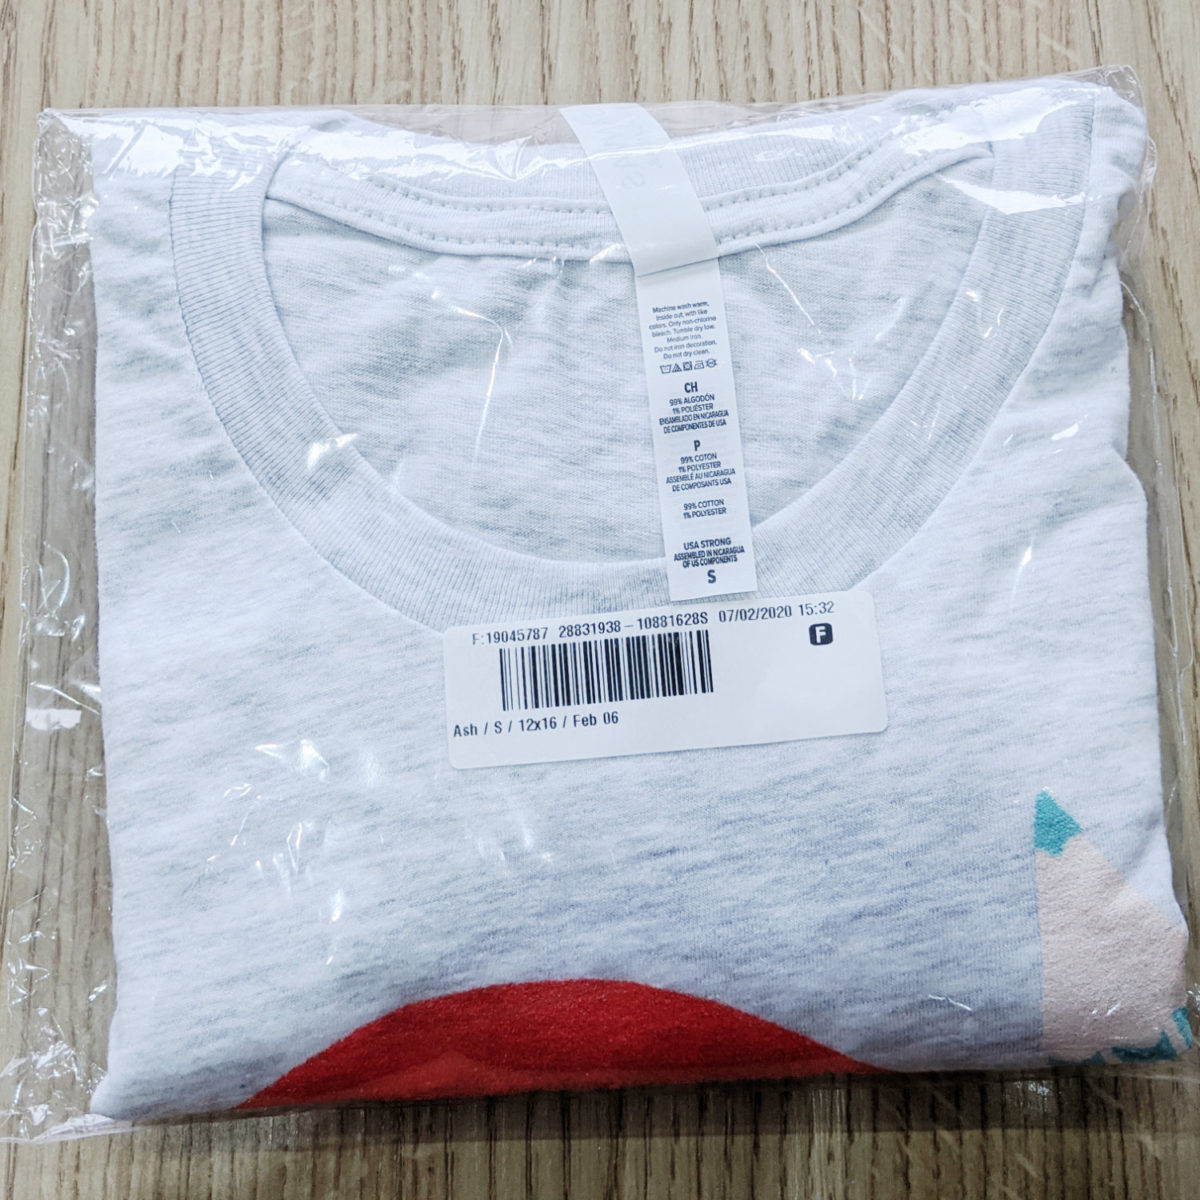
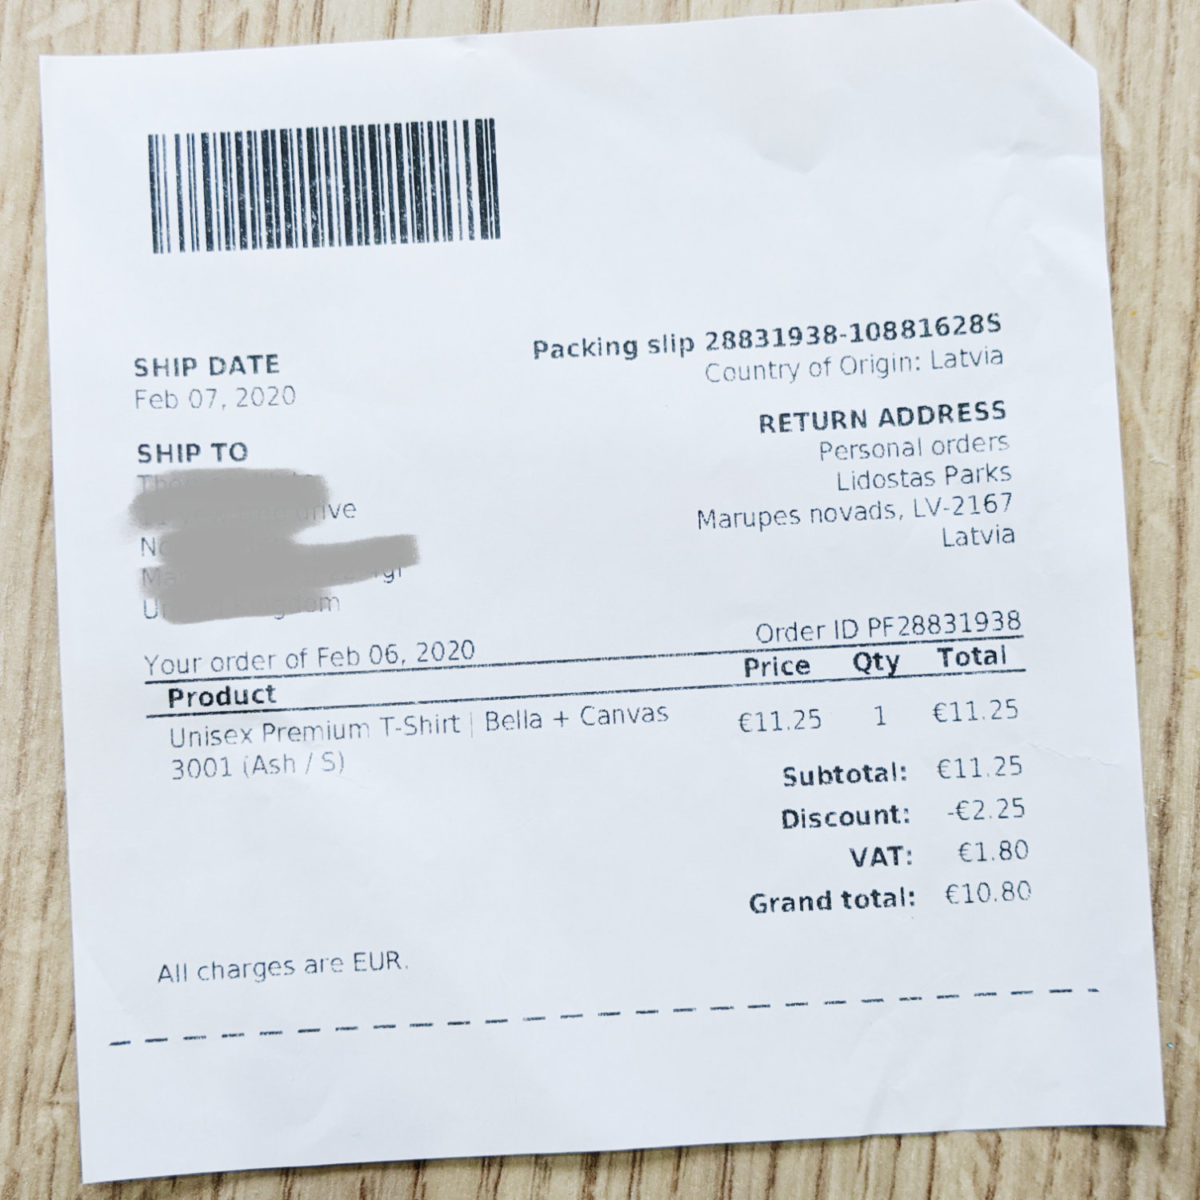
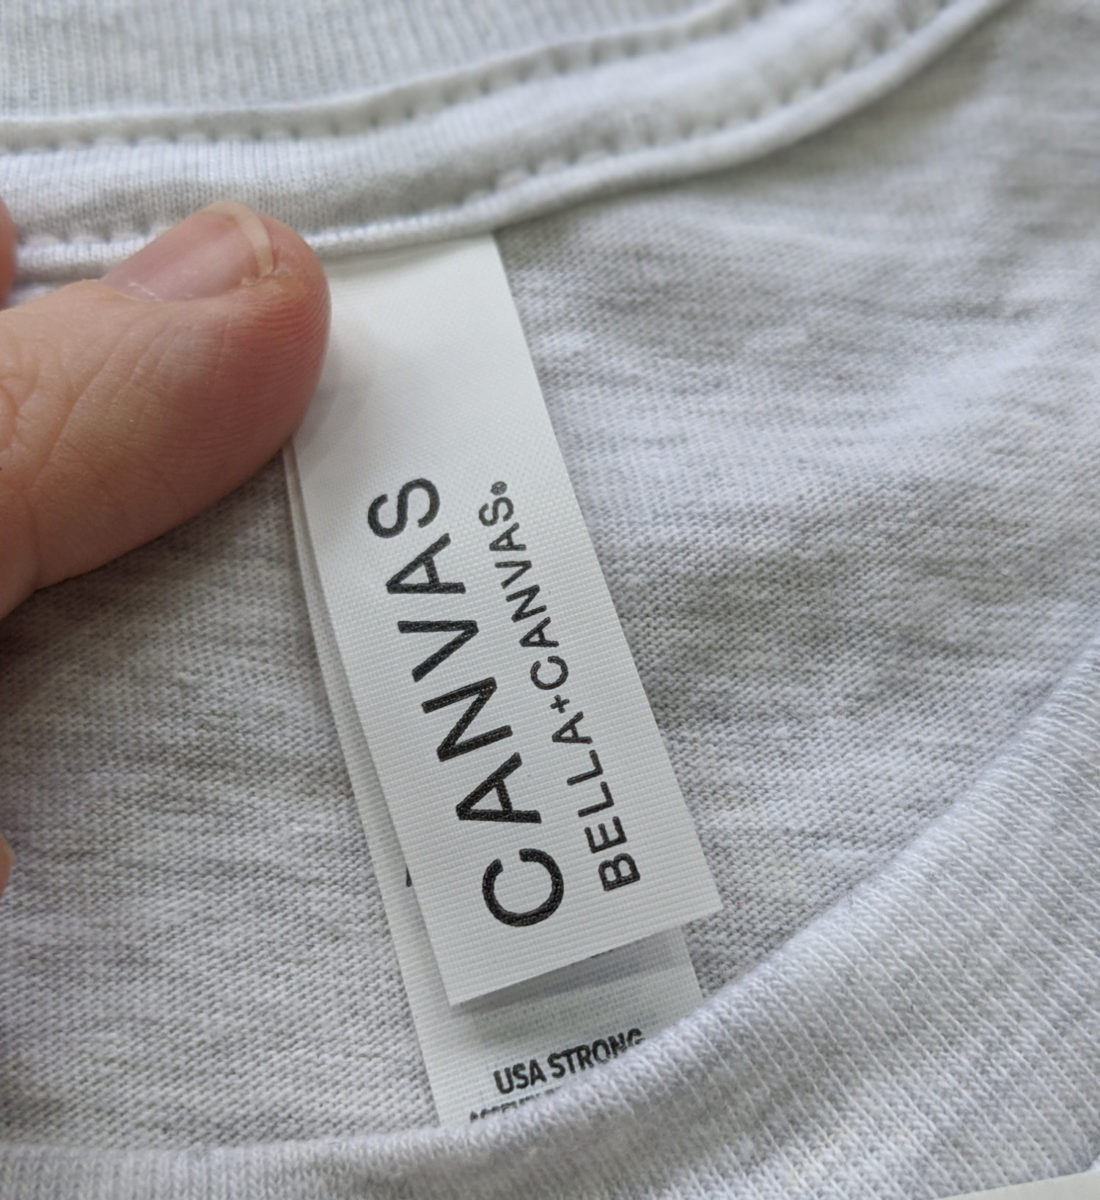
As you can see, the package labels and packing slip include Printful’s details – as this was a sample order.
With a genuine customer order, this packing slip can include your custom return address, plus it can feature your logo and a message of your choice.
What To Look Out For…
When it comes to the product itself, here’s what to look out for:
- Any obvious printing errors, blemishes, or damages to the product itself. (If you spot any of these – message Printful about it).
- Does the product itself match your expectations? Is the garment soft, and does it fit as you’d expect?
- Print Quality. Are the colours how you would expect them? Is the image sharp enough? How does the print feel? (It’s normal for the print to feel a little ‘sticky’ at first – and this should decrease after a wash or two.)
Smells weird? Don’t be alarmed. DTG printers use a vinegar-like substance in the printing process, but the smell will disappear after a wash.
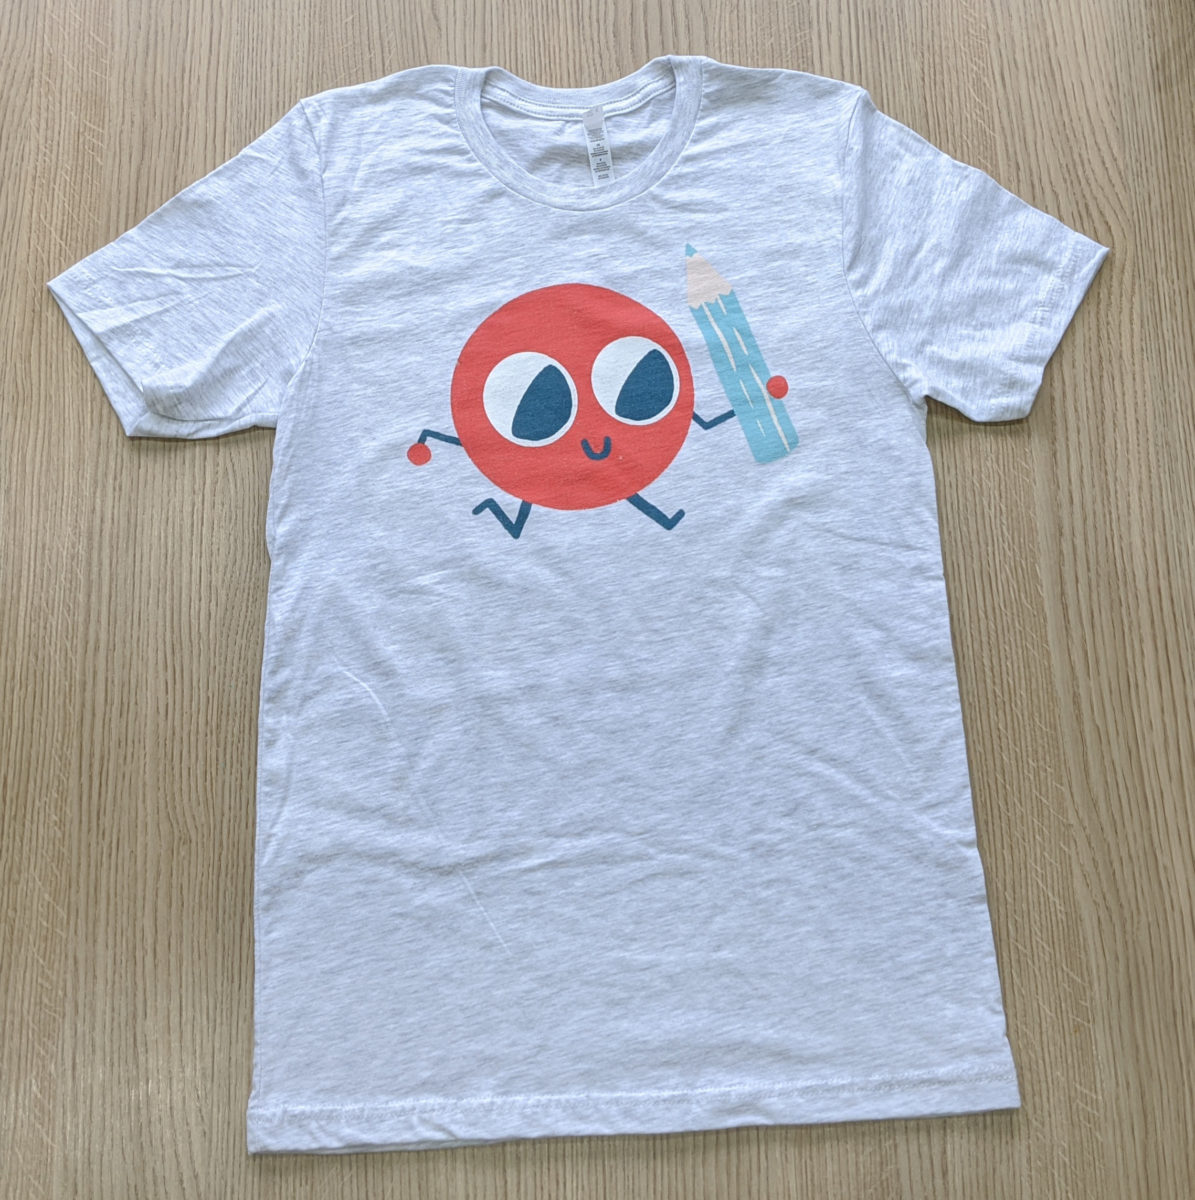
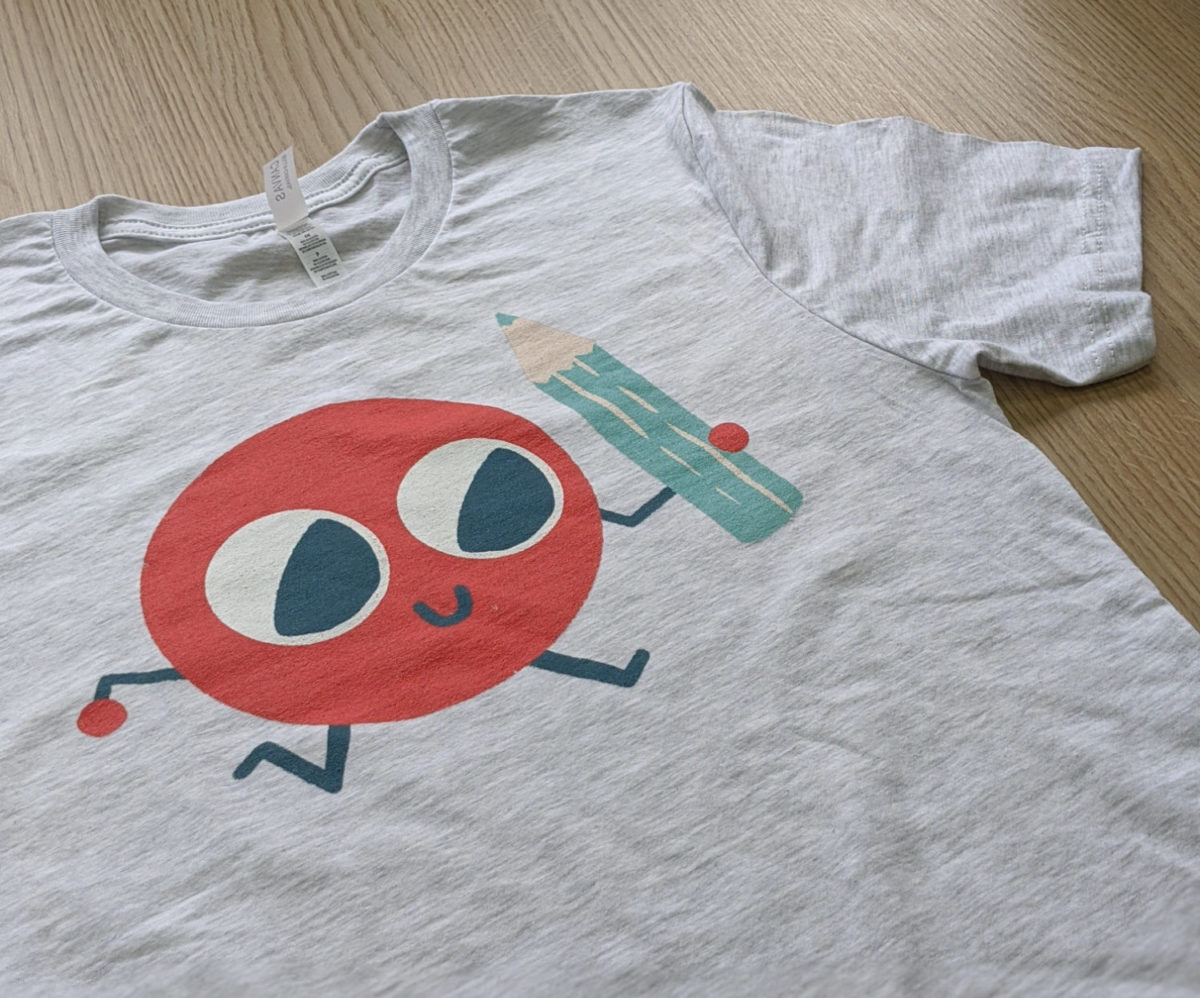
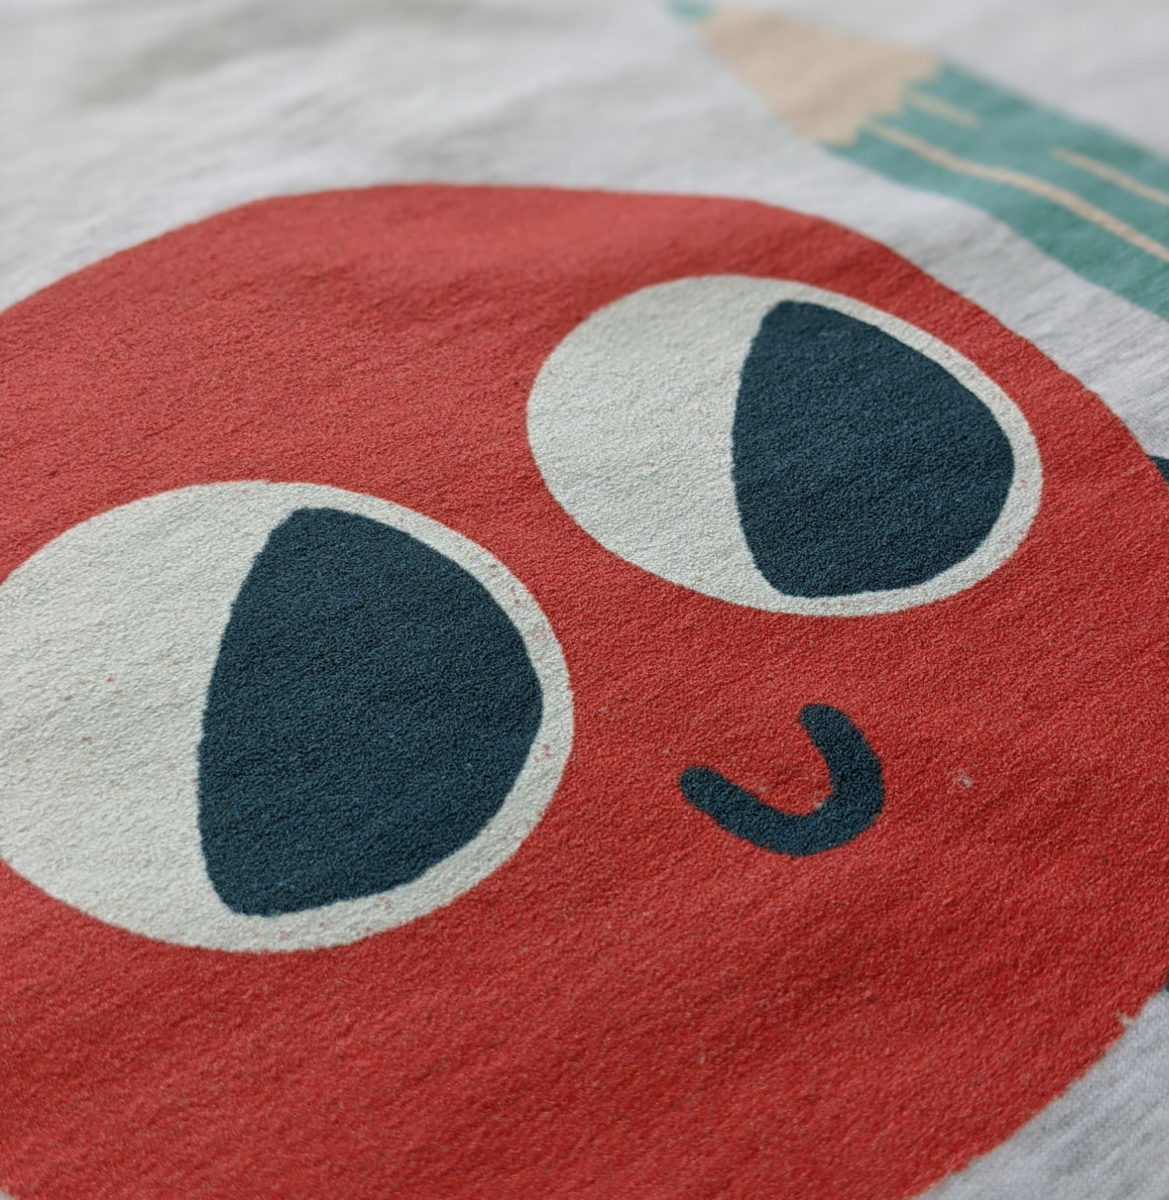
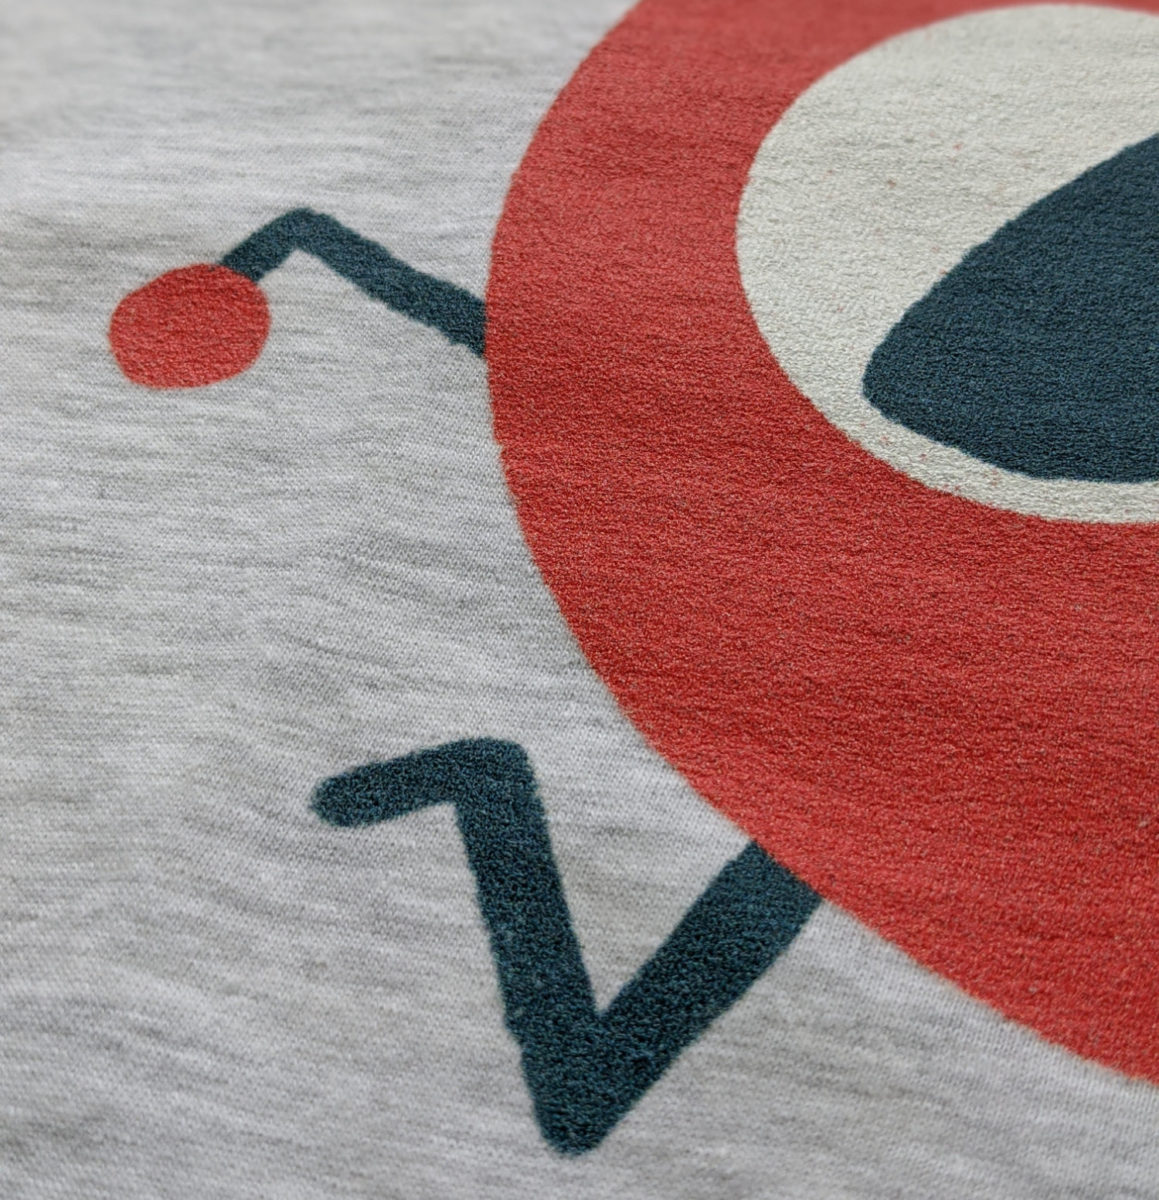
As my artwork wasn’t 100% sharp to start with (I used a kind of ‘blotted’ paintbrush effect for my logo) – I’m pleased with how this print turned out.
My only issue is that the off-white colour of the pencil blends in to the shirt too much – which means I should alter my artwork to help that stand out a little more.
When reviewing your product, the most important question you need to answer is this:
- Am I comfortable sending this product out to my customers?
If not, you will want to pinpoint why that is and fix it. (It could be an issue with your artwork, with the product itself, or with the printing quality).
If you think there has been a mistake made by Printful, reach out to them for help. I have always found their support team to be responsive and helpful.
And if you really aren’t satisfied with Printful’s quality, you can test out an alternative provider like Printify or Gooten, or any other of the Print-on-demand T-Shirt fulfilment companies.
So there you have it – your first Printful order done right – and with a healthy discount to boot!
Some final things to note:
- Printful allow you to place one sample order a month (with the 20% discount and free shipping) – with up to 2 different products per order.
- If you integrate an ecommerce platform with your Printful account (eg. Shopify, Etsy or Woocommerce) – Printful increases your sample limit to 2 orders a month – and 3 items per order.
- When you’ve generated revenue of $300 in your previous month with Printful, you are entitled to 3 sample orders per month and up to 4 items per order.
- Printful’s Framed posters and canvases are available as samples – but only in certain sizes. (8”x10” for framed posters and 12”x12” for canvas.) However, unframed posters are available as samples in all sizes.
- Want to see some recent examples of Printful’s UK products? Checkout this review: Print on Demand UK – Is Printful the best option?
I hope this tutorial will help you place your first Printful order, so you can feel confident selling your art to your customers, wherever they are.
To place your sample order, just click the button below to get started.
Notice a problem or mistake in this post – or something you think I should add? Please leave a comment below so I can keep it up to date!



Hi Michael,
Loved the article, very helpful and easy to follow.
Just noticed one thing and it’s not a major issue, but just above the Leave a Reply box are two options normally on websites the >NEXT is on the right. You have it on the LEFT.
Probably being picky – but that’s what we do right 🙂
Regards,
Colin
Great article thanks
There is a way to get discounts with Printful based in total orders or anything else?
yes, they have a volume discount system. More info here: https://www.printful.com/monthly-discounts
Thank you Michael—very helpful guide—and can’t wait to order some samples!