How To Make T-Shirt Designs With Procreate
by Michael Essek · Updated: March 25, 2021Is it possible to create a great looking T-Shirt design just using Procreate on the iPad?
The answer is yes – but there’s a few things you should bear in mind.
In this video, I walk you through my T-Shirt design process inside Procreate on the iPad – covering everything from illustration, to adding custom text, to finishing off with textures and a vintage effect.
…and here’s a more detailed look at some of the things you should bear in mind when creating T-Shirt designs on the iPad using Procreate…including links to the brushes and tools I used to create this design.
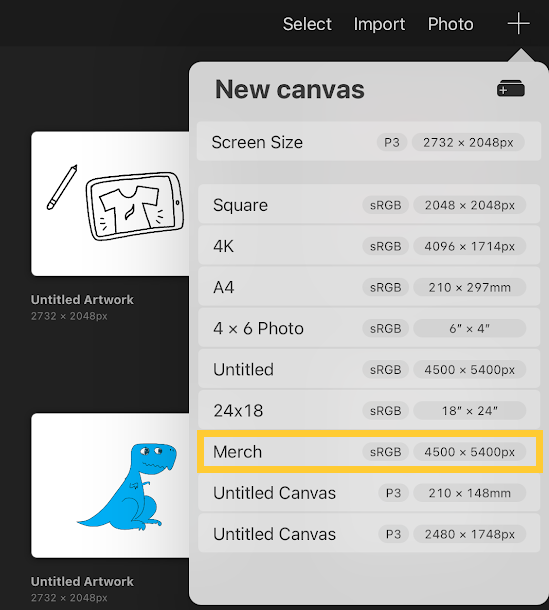
1. Canvas Size
Procreate is not a vector based – which means if you’re not careful you could end up with some lovely looking artwork that looks horrible when eventually printed on a shirt.
To avoid this problem – make sure the canvas size you’re working on is going to be big enough to deliver quality artwork when the time comes to export.
You don’t want to use your default screen size – instead I would recommend a canvas size equal to the Merch by Amazon artwork file specifications: 4500px wide by 5400px high – at 300dpi.
2. Fonts, Text, Lettering
Procreate doesn’t (yet) offer all the the font-based features you have in software like Photoshop.
Procreate does have some text features – but I often find it easier to export my Procreate artwork to Photoshop, and then add fonts and text over there.
If you’d prefer to keep everything inside Procreate – the solution is Hand Lettering. Simply hand draw your text, and you have no need to ever leave Procreate.
To make your hand lettering a lot easier, I recommend using Stefan Kunz and Ian Barnard’s Letter Builder and Letter Grid Builder Brushes for Procreate:

These allow you to place lettering grids on your artwork, so you can easily draw your text over the grids, and create hand-crafted text and fonts that are readable and stay in position.
3. Adding Textures and Vintage Effects
There’s no shortage of Procreate brushes – so every possible texture, effect or style you’re looking for is out there somewhere, and can be added using Procreate.
Just remember that T-Shirt Designs require transparent backgrounds – so any ‘effect’ you add should essentially be ‘cutting out’ from the underlying artwork.
The best way to achieve this is to use Layer Masks inside Procreate – and to add any texture to the Layer Mask – rather than on a separate layer, or erasing from the underlying artwork itself.
Using layer masks will preserve the underlying artwork – with is always a good idea (you never know when you might want to scale back the effect, or lose it altogether for another project or product).
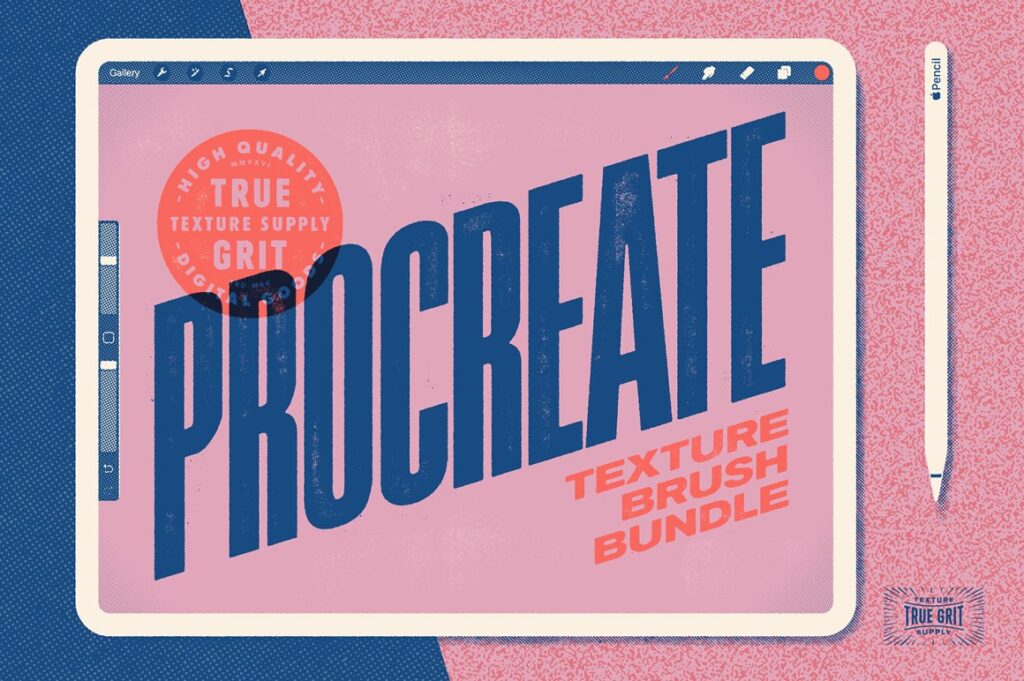
For some great quality vintage brushes and textures (such as halftones that work great for T-Shirt designs) – I recommend the Procreate pack from True Grit texture co.
So there you have it – a crash course in creating great looking T-Shirt designs inside Procreate on your iPad.
For more tutorials like this, be sure to subscribe to my Youtube Channel, and my free weekly newsletter.
See you there!

Michael Essek


THANK YOU so much! Just what I needed to help with my colleague’s Etsy shop
Can you please explain how to use the layer masks to keep the design background transparent?
This tutorial is incredibly helpful for understanding how to use Procreate for T-shirt design, especially the tips on canvas size and hand lettering. I have a question about the use of layer masks: could you provide more details on how to effectively use layer masks for adding textures and maintaining transparent backgrounds? Thanks!