How To Sell On Tapstitch [With 10% Off Your First Order]
by Michael Essek · Updated: July 1, 2026Welcome to How To Sell On Tapstitch – my complete beginner’s guide to getting started with Tapstitch.
I’ll explain how Tapstitch works, why it’s such a strong choice for fashion-led brands, and walk you through creating your first product and placing a sample order.
So let’s dive in!
What Is Tapstitch?
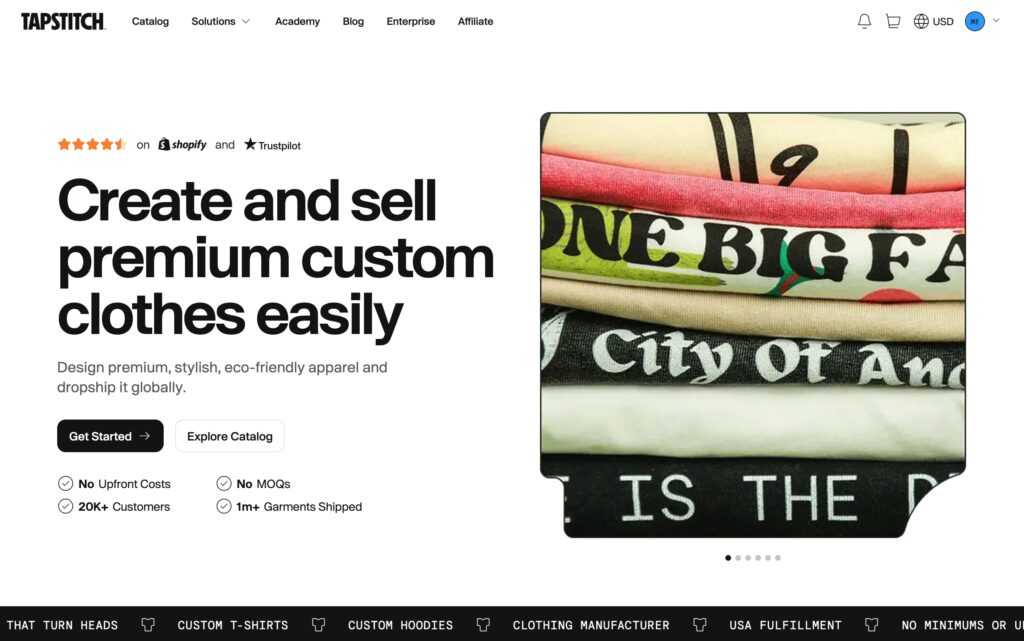
Tapstitch is a fashion-led print-on-demand and made-to-order clothing manufacturer. Tapstitch designs and produces its own premium garments – washed, heavyweight, trend-driven pieces that you won’t find on other platforms.
That makes it a natural fit if your goal is to build a genuine clothing brand rather than just sell merch. With custom neck labels, hang tags and fully white-label fulfilment, your customers receive something that feels like it came straight from your own label.
It’s free to get started, with no monthly fees, no setup costs, and a minimum order quantity of just one. You can sign up by clicking the button below: (affiliate link)
Sign Up For TapstitchIs Tapstitch Good For Brand Builders?
Absolutely – in fact, building a brand is exactly what Tapstitch is designed for. Here’s what makes it stand out:
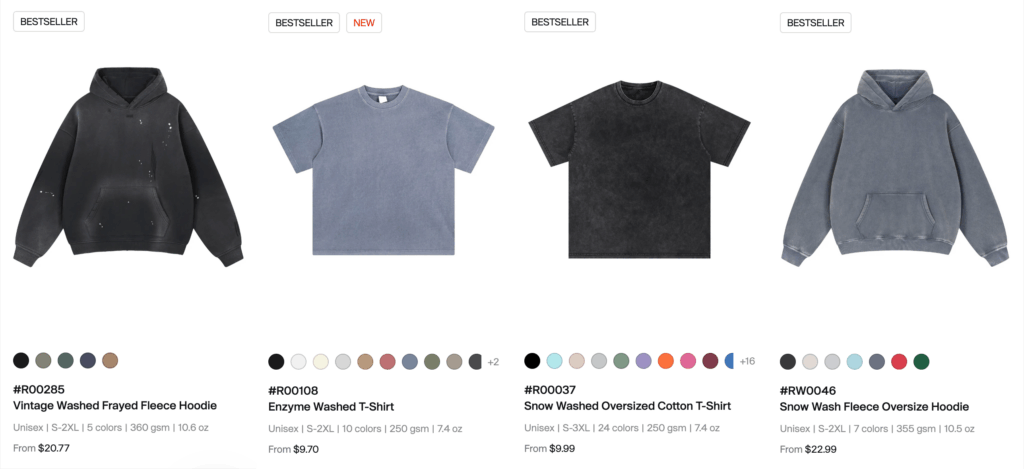
Fashion-Led Blanks You Can’t Get Elsewhere
This is the headline feature. Where the major POD providers print onto standard catalog blanks, Tapstitch offers snow-washed and acid-washed tees, raw-edge and frayed hems, boxy and oversized fits, heavyweight fabrics up to 400-500 GSM, and even matching hoodie-and-sweatpant sets. These are boutique-quality garments, not generic promotional stock.
No-Minimum Custom Branding
Custom printed neck labels, hang tags and insert cards – all with no minimum order quantity and no subscription. This is the kind of white-label branding that usually demands a bulk order elsewhere, and it’s what turns a printed tee into a genuine branded product.
No Fees, No Minimums
You only pay when you make a sale, the minimum order is a single unit, and you set your own prices and margins.
Fast US Fulfilment Option
For US orders, Tapstitch’s Los Angeles facility can deliver in as little as 5-7 days – genuinely quick for premium, made-to-order apparel. (Just note that not every item ships from LA.)
Large Print Areas
Print across the front, back, sleeves and inner neck – noticeably bigger print zones than many generic POD platforms allow, which gives you far more creative freedom.
How Much Do You Make on Tapstitch?
Tapstitch is your production partner – so you set your own prices and keep the margin above your production cost. Tapstitch’s premium garments mean you can comfortably charge premium prices.
Here’s a realistic example:
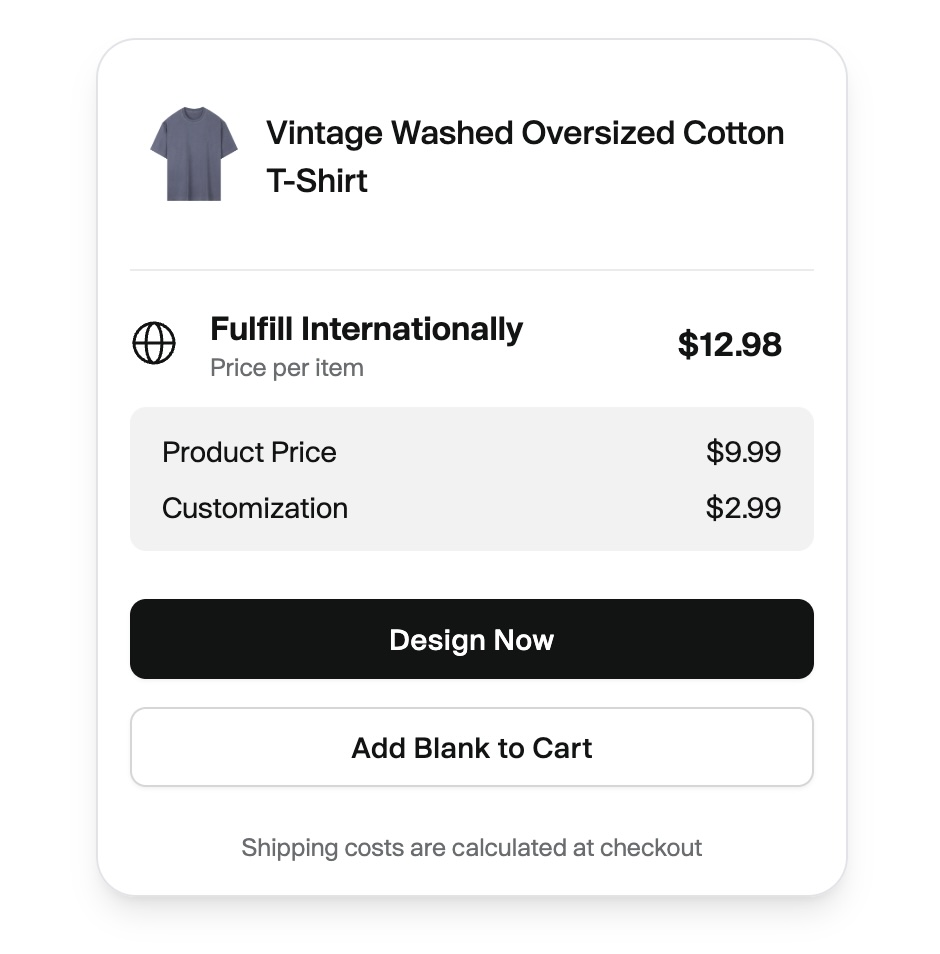
- Vintage Washed Oversized Cotton T-Shirt: $9.99
- Front print: $2.99
- Custom neck label: $1.50
- US shipping: $4.47
- Total cost: $18.95
Sell that tee for $39 and you’d pocket around $20 profit – roughly a 51% margin.
Example Base Product Costs:
- Classic T-shirts: from $2.99
- Heavyweight 400 GSM tee: from $12.99
- Hoodies: from $10.99(300 GSM) up to $29.99(420 GSM)
- Sweatpants: $10.99-$24.99
- Denim: $16.99 (shorts) – $34.99 (jackets)
- Yogawear: $6.99 (sports bra) – $16.99 (leggings)
Getting Started with Tapstitch: Step-by-Step Guide
Let’s walk through actually getting set up and building your first Tapstitch product the right way.
1. Setting Up Your Tapstitch Account
Getting started with Tapstitch is quick and free:
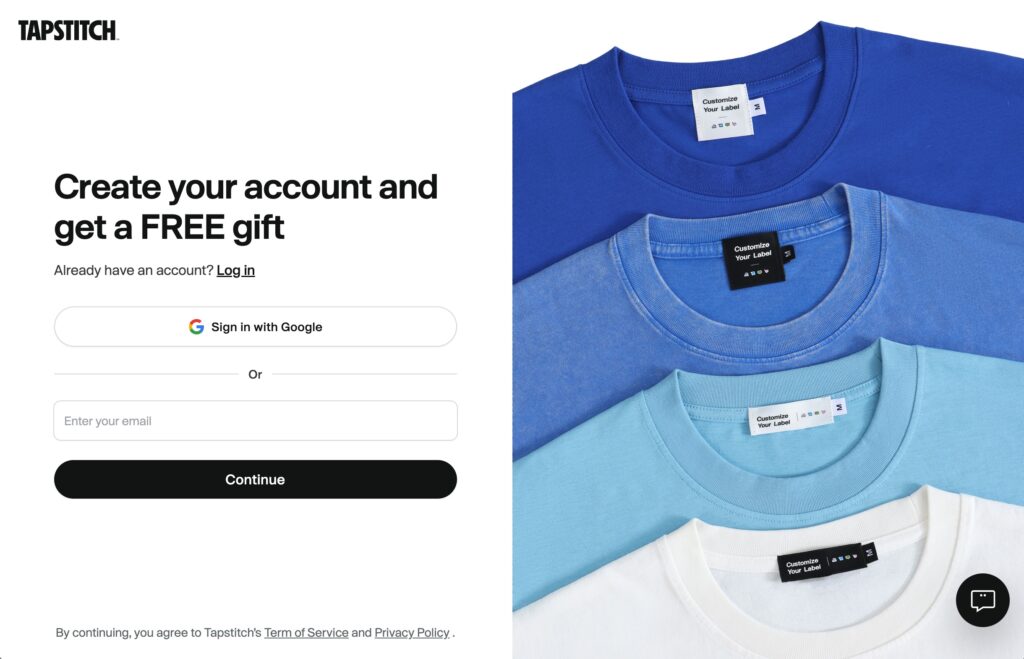
- Sign Up: Click here and create your free account:
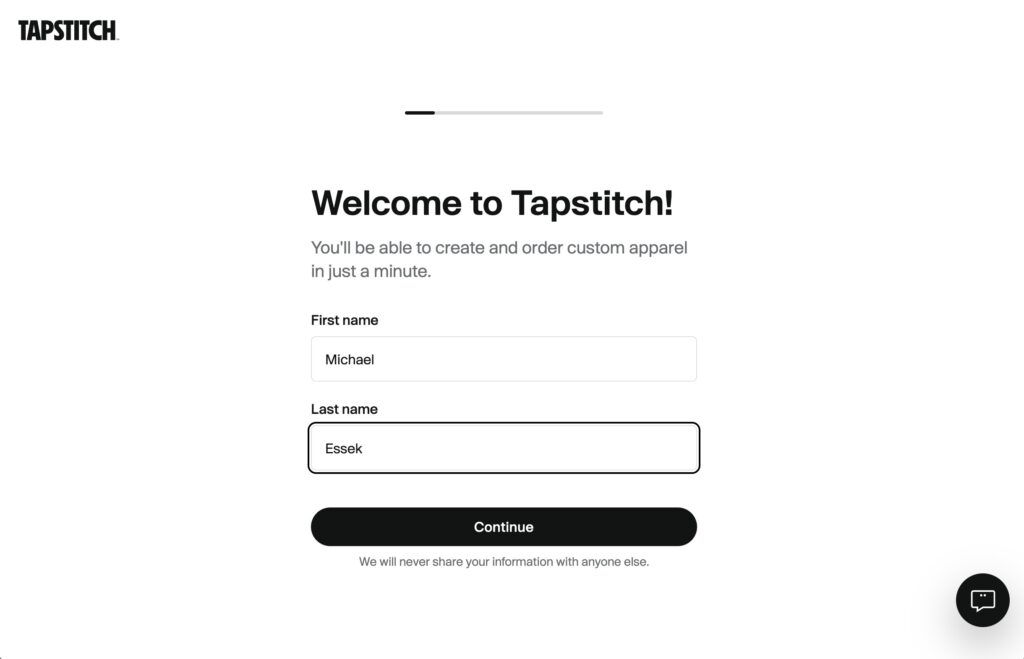
2. Complete the Onboarding: Work through the quick setup questions to tell Tapstitch a little about your brand. Don’t overthink these – you can adjust everything later.
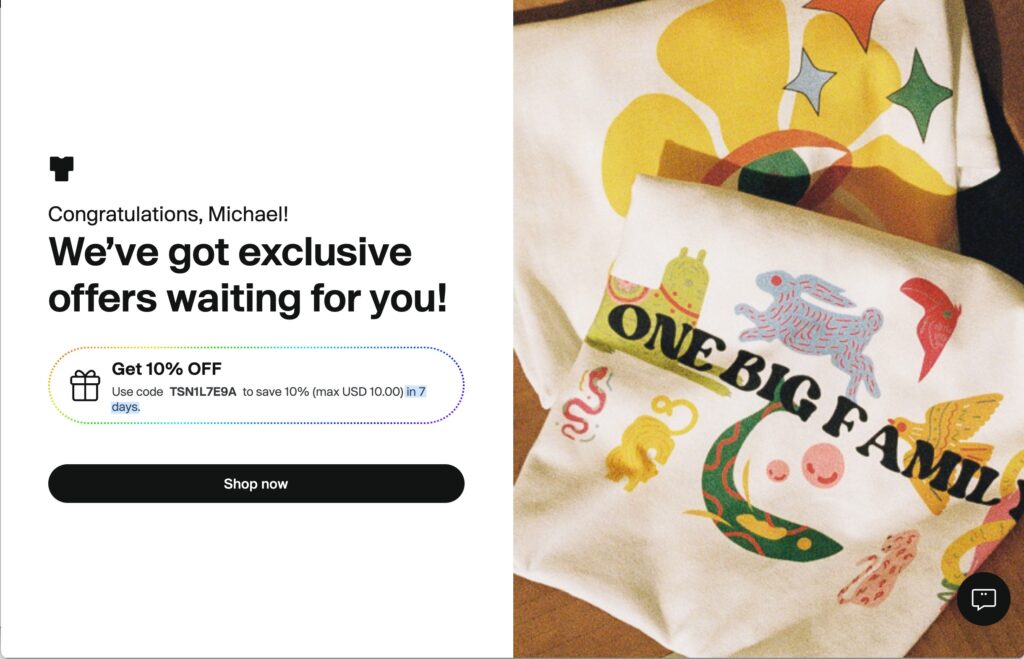
3. Once you’ve completed the onboarding you’ll receive your 10% welcome coupon – save this to get 10% off your first order (must be used within your first 7 days).
2. Creating Your First Product
With your account ready, it’s time to build your first product.
Step 1: Browse the Catalog
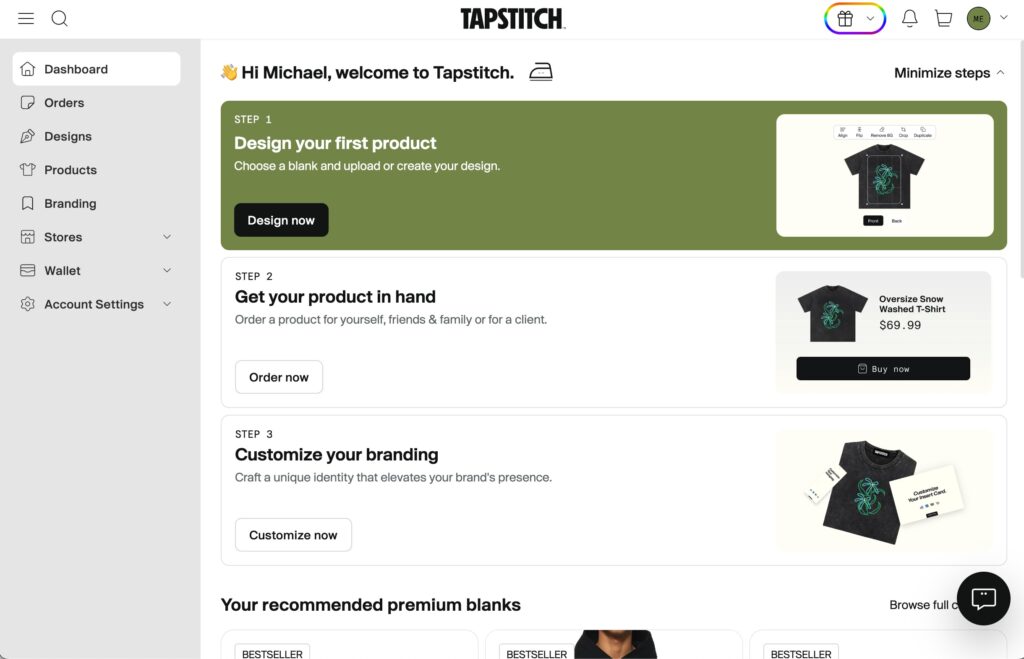
From your dashboard, click the ‘Design your first product‘ option to view all products and create your first one.
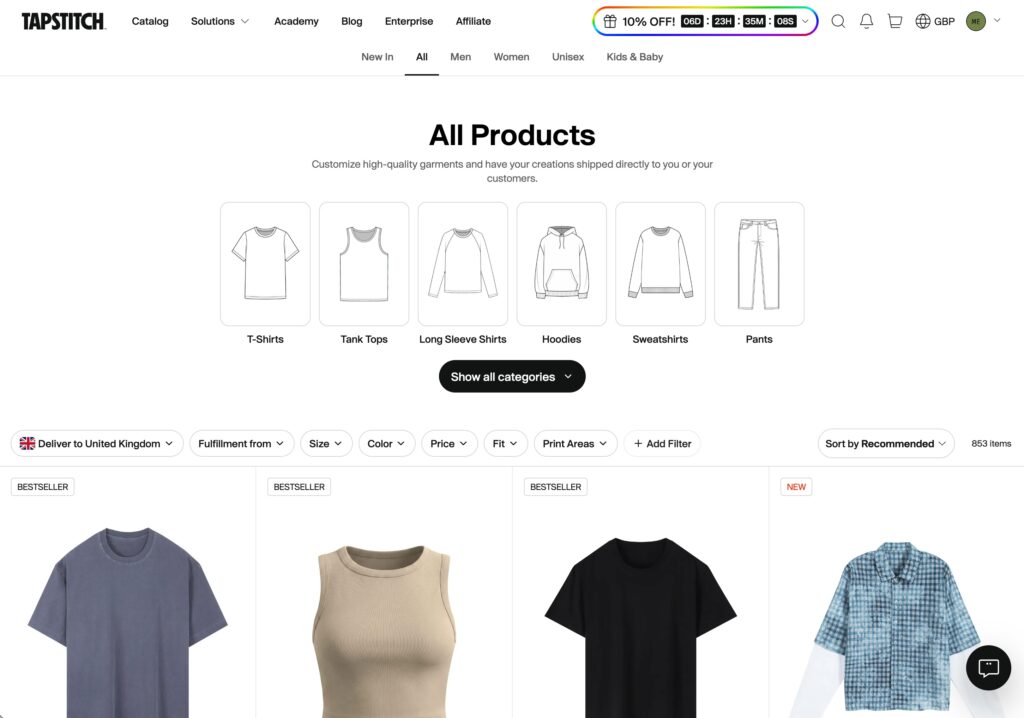
From the products page – click on the product you want to design.
I personally like the Unisex Oversized T-Shirt – but choose whichever product you would like.
Note: Some products are not available from Tapstitch’s US fulfilment centre. So if USA based fulfilment is important for you – make sure you select a product fulfilled from USA.
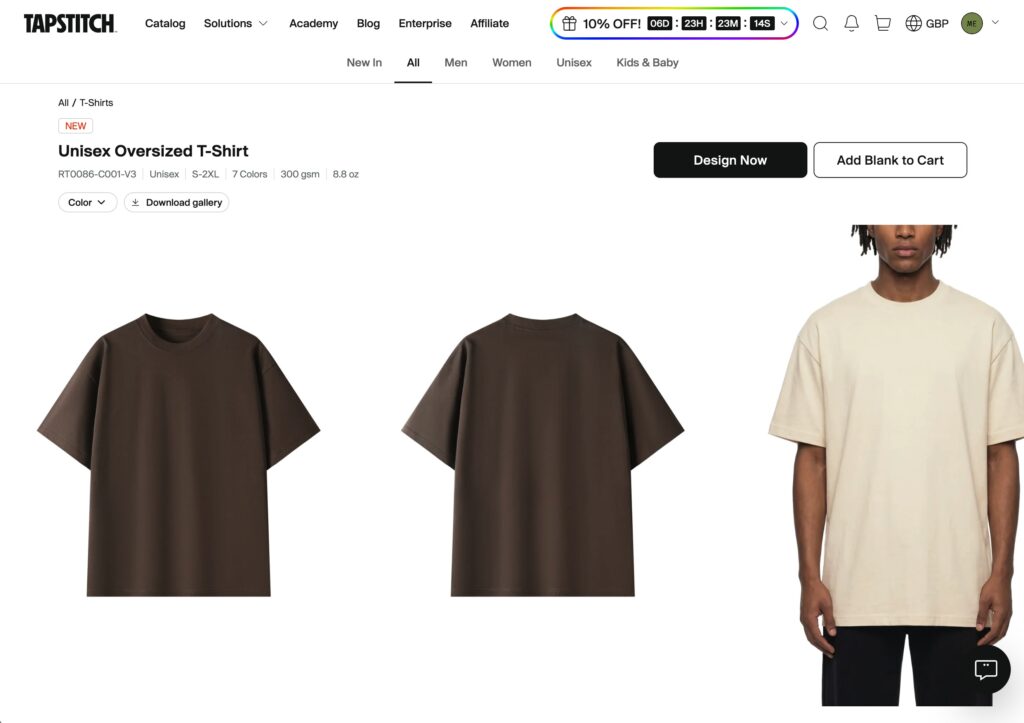
Once you’ve found the product you want to create – click ‘Design Now‘.
Step 2: Upload Your Design
Inside the browser-based designer, you can design your product:
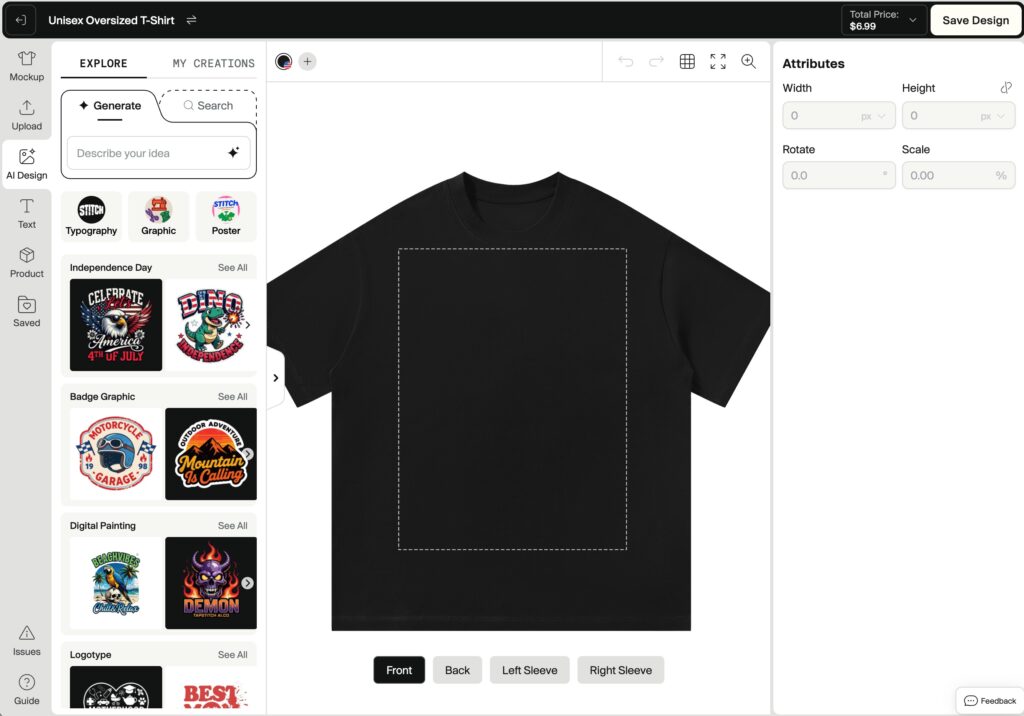
- Upload your artwork (PNG files with transparent backgrounds work best)
- Position it on the front, back, sleeves or inner neck – make the most of those large print areas
- Resize and fine-tune the placement
- Choose your print method – and assign custom branding options
Design Requirements:
- High resolution (300 DPI recommended)
- PNG format with a transparent background
Click ‘Upload’ on the left sidebar, then upload the design you want to create.
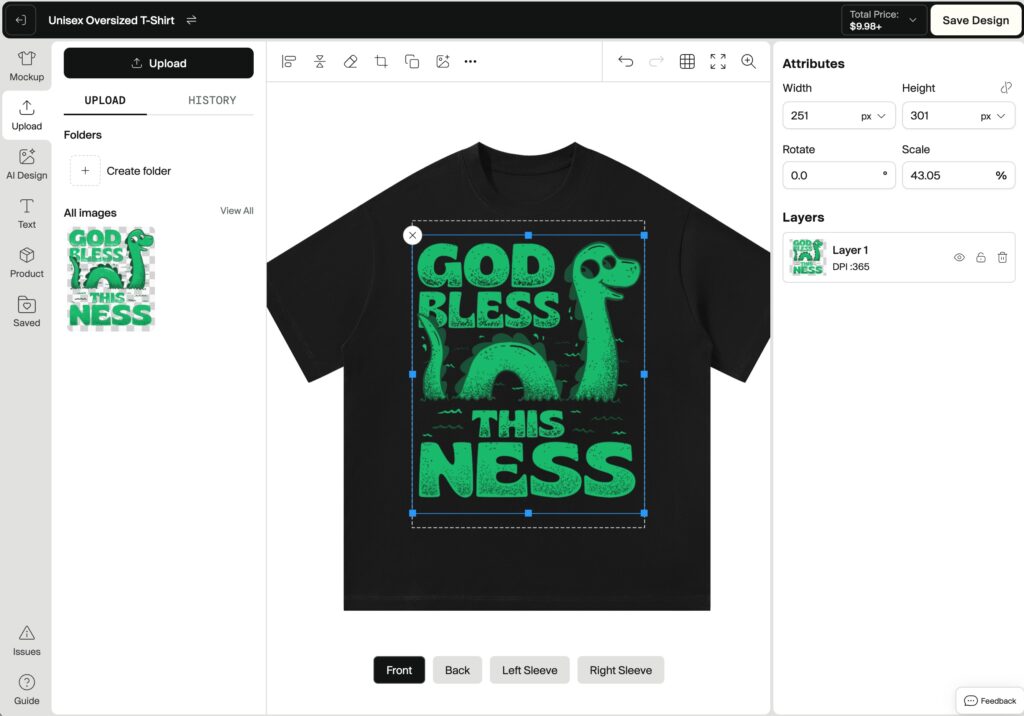
Click on your uploaded artwork from the ‘All Images’ section to apply it to your product.
Step 3: Choose Your Colours
Click the ‘Product’ label in the left sidebar to reveal the colour options.
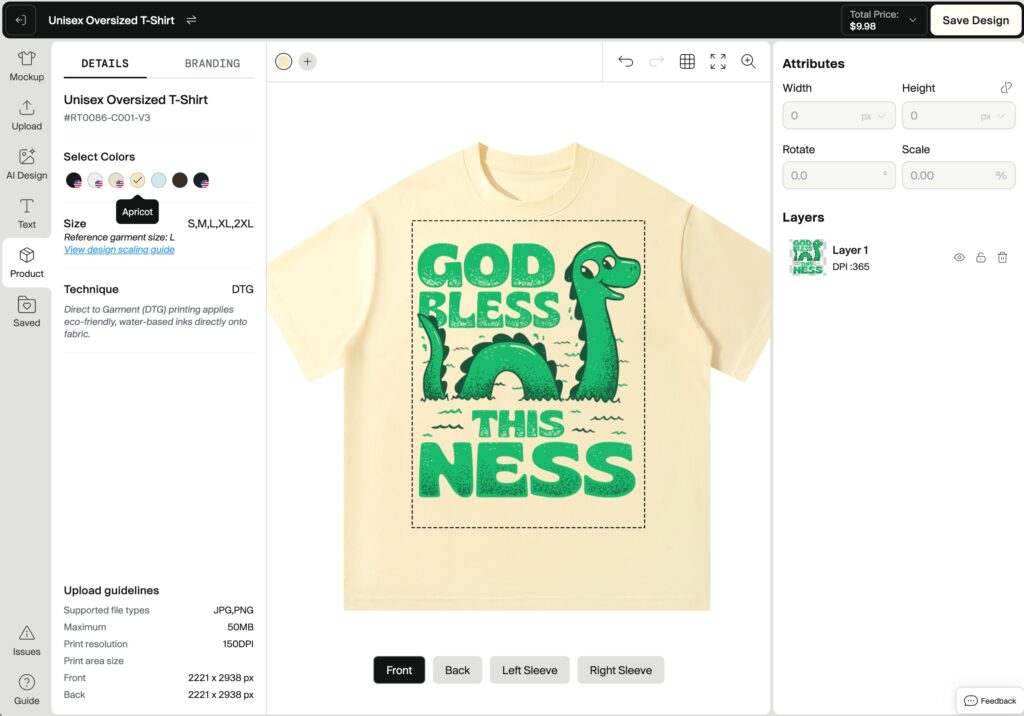
Select the colour options you want to offer, and deselect any that don’t work (in this example I’ve deselected the default black, and gone with the ‘Apricot’ option instead).
Step 4: Save and Finish
Once you’re happy with the position of your design and have selected all relevant colours, you can click ‘Save Design’.
3. Ordering a Sample (With A Discount)
As with any POD company – your first priority should be to order a sample of your design so you can verify the quality of the product. This is especially important with Tapstitch – as you aren’t ordering a known blank (eg. Gildan) – but a custom product not available elsewhere. So you want to make sure you’re satisfied with the quality of both the garment and the print.
Step 1: Head To Your ‘Designs’ Page
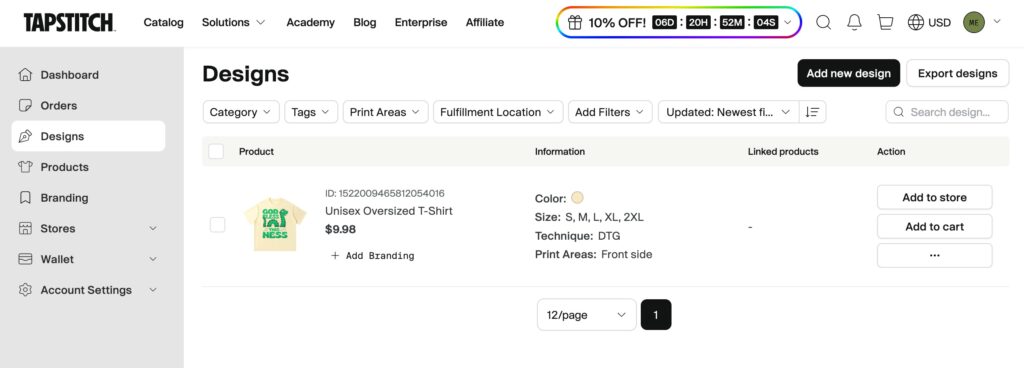
From your dashboard, click ‘Designs‘ in the left sidebar. This is where your previously created products will be displayed.
Click ‘Add To Cart‘ next to the product you want to place a sample order for.
Then navigate to your cart:
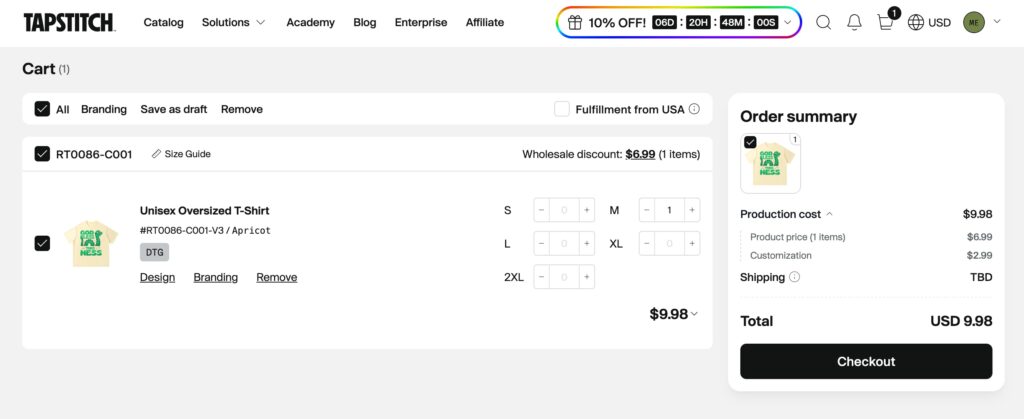
Set the quantity of the size you want to order – eg. in this example I’m ordering 1 Medium (M) Size shirt.
Click ‘Checkout‘ to proceed to checkout.
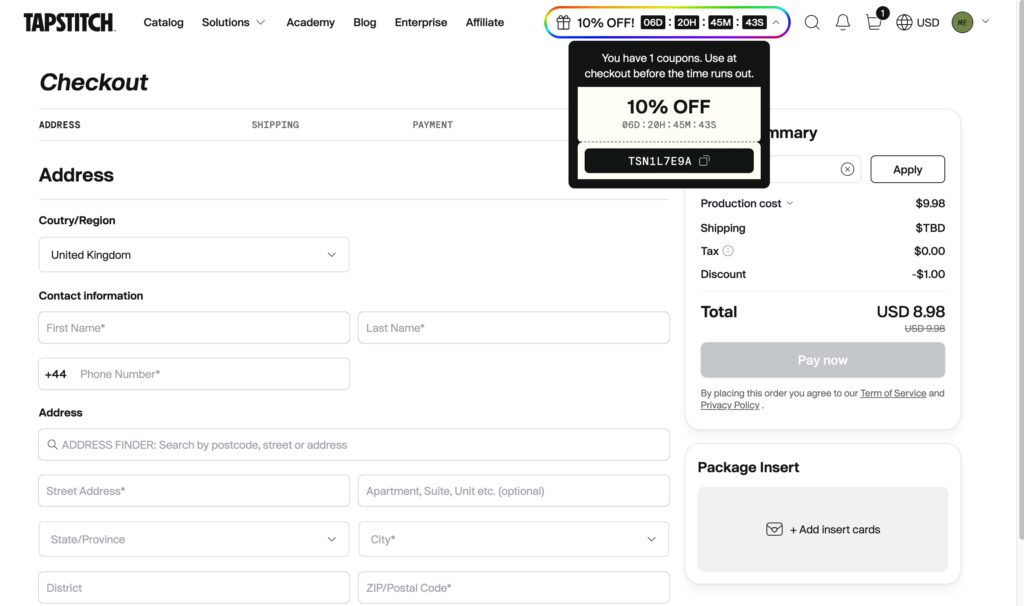
You should see the checkout details – along with an ‘Order Summary‘ including your 10% personal discount code automatically applied. If this isn’t auto-applied, you can click the countdown timer in the header to grab it.
Add your details, and click ‘Pay Now‘ to complete your sample order.
Congratulations – you just placed your first Tapstitch order! You can track its progress under your ‘Orders‘ tab.
4. Adding Your Custom Branding
If you want to add custom branding (hang tags, clothing labels or insert cards) – then you need to head to ‘Branding‘ in the left sidebar.
You then have three main options:
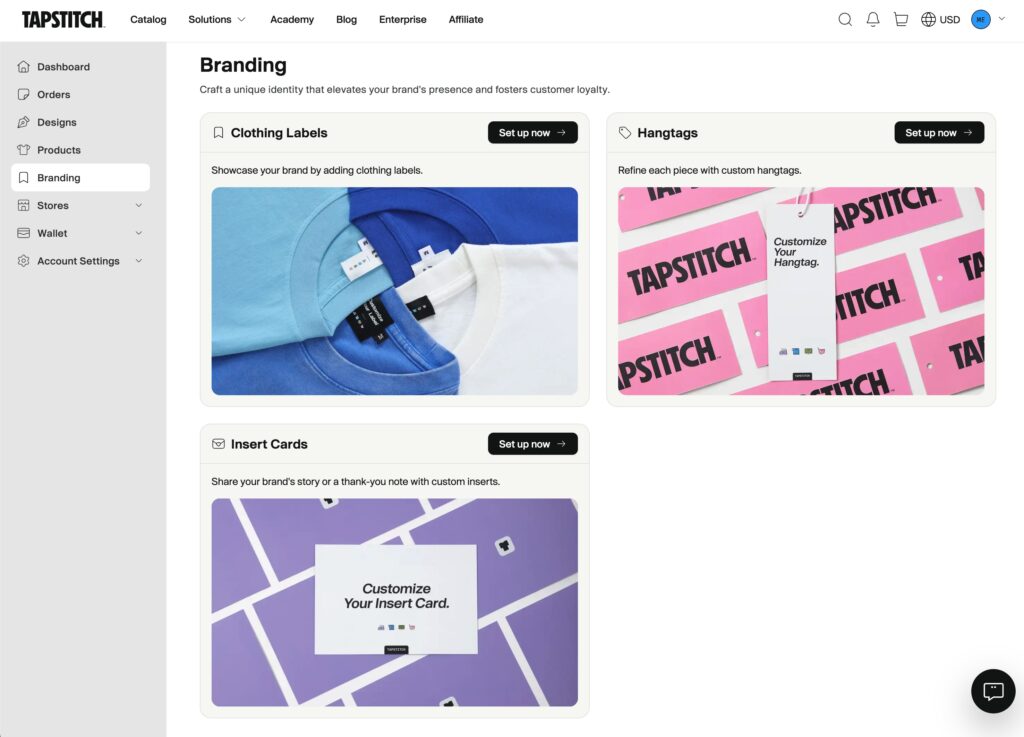
- Custom neck/inside labels (around $0.99 each, no minimum)
- Custom hang tags ($0.50, again no minimum)
- Insert cards ($0.50, again no minimum)
Note: At time of writing, these custom branding options are only available on products fulfilled internationally. So any products fulfilled from the USA are not eligible for custom branding options.
Creating your custom branding options is fairly straightforward – and works the same way for all options. You create a new label/tag/card and then upload or design your custom artwork.
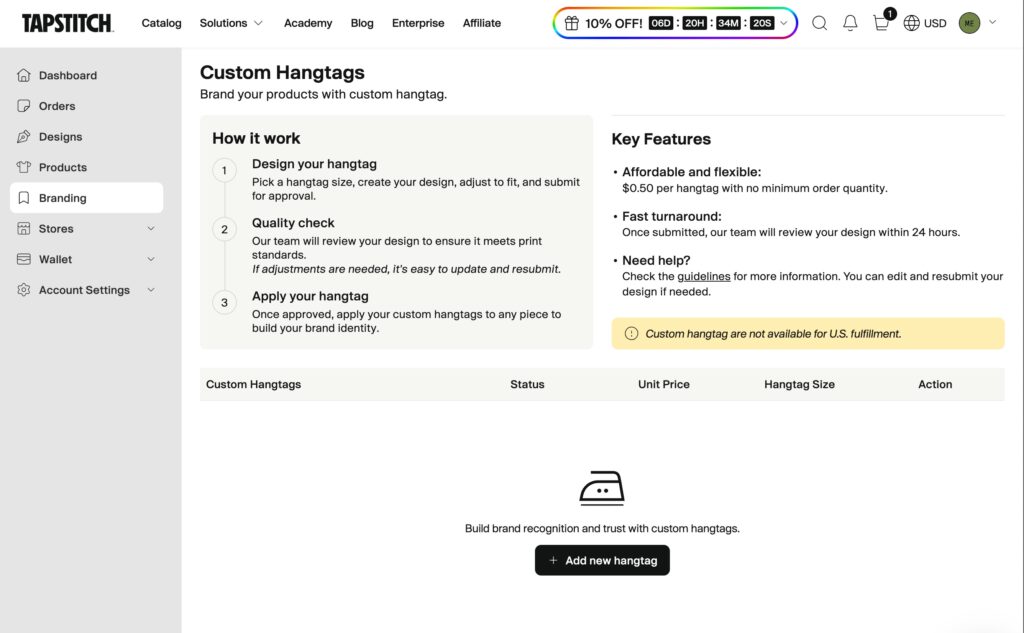
Tapstitch will guide you through the steps – giving you precise instructions for how to design each element:
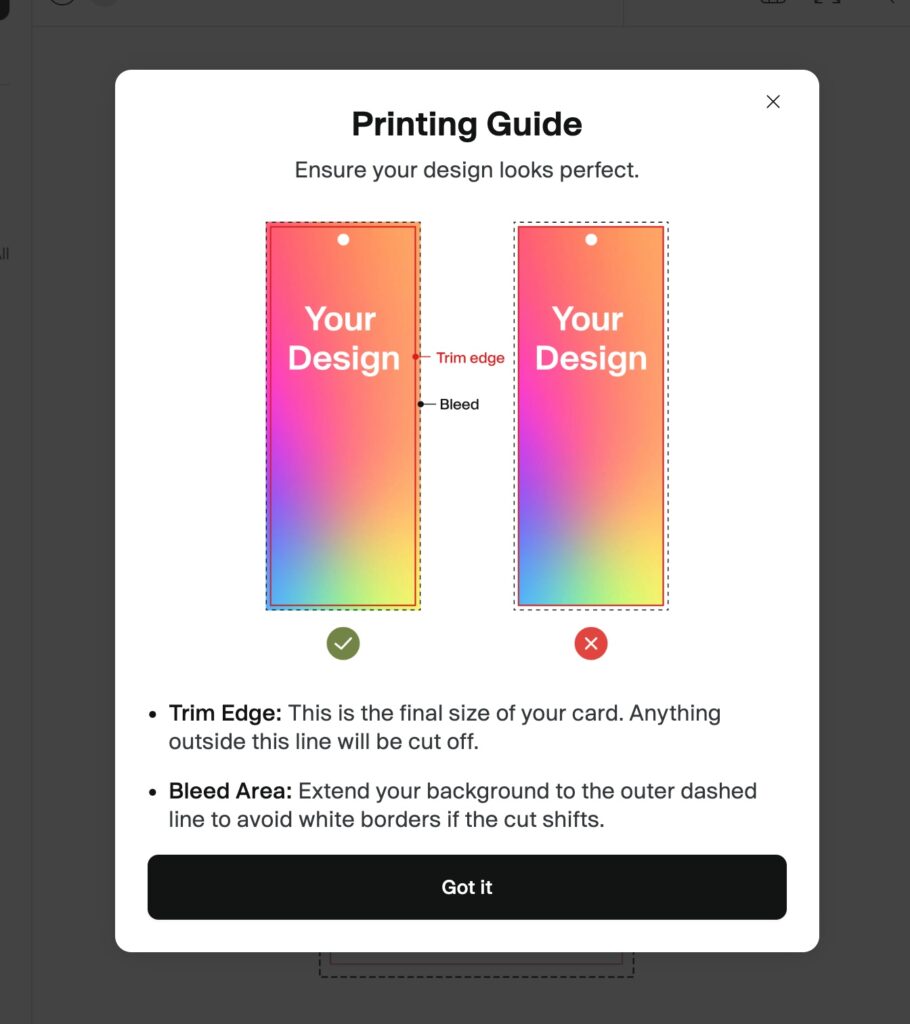
Once you’ve setup your custom branding options, you’ll see them laid out for you to edit or apply to products:
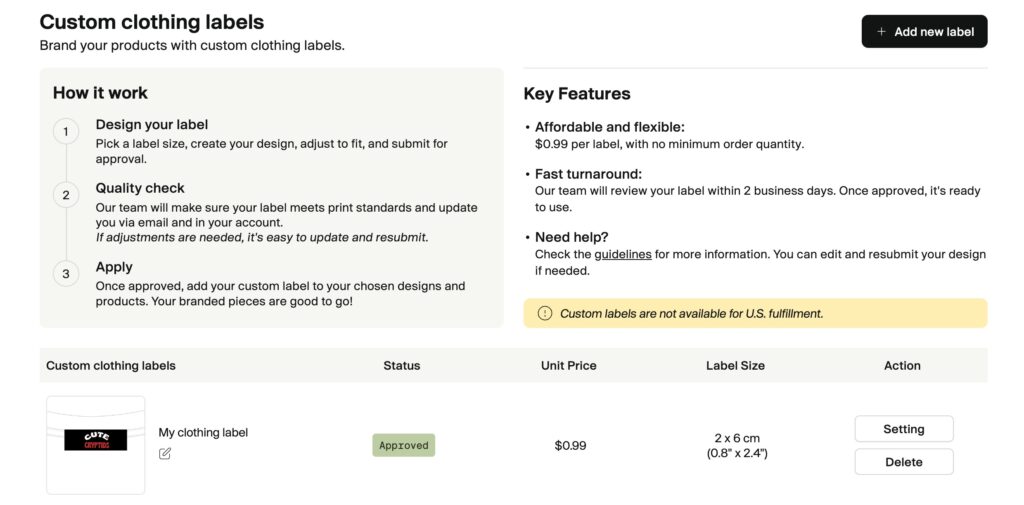
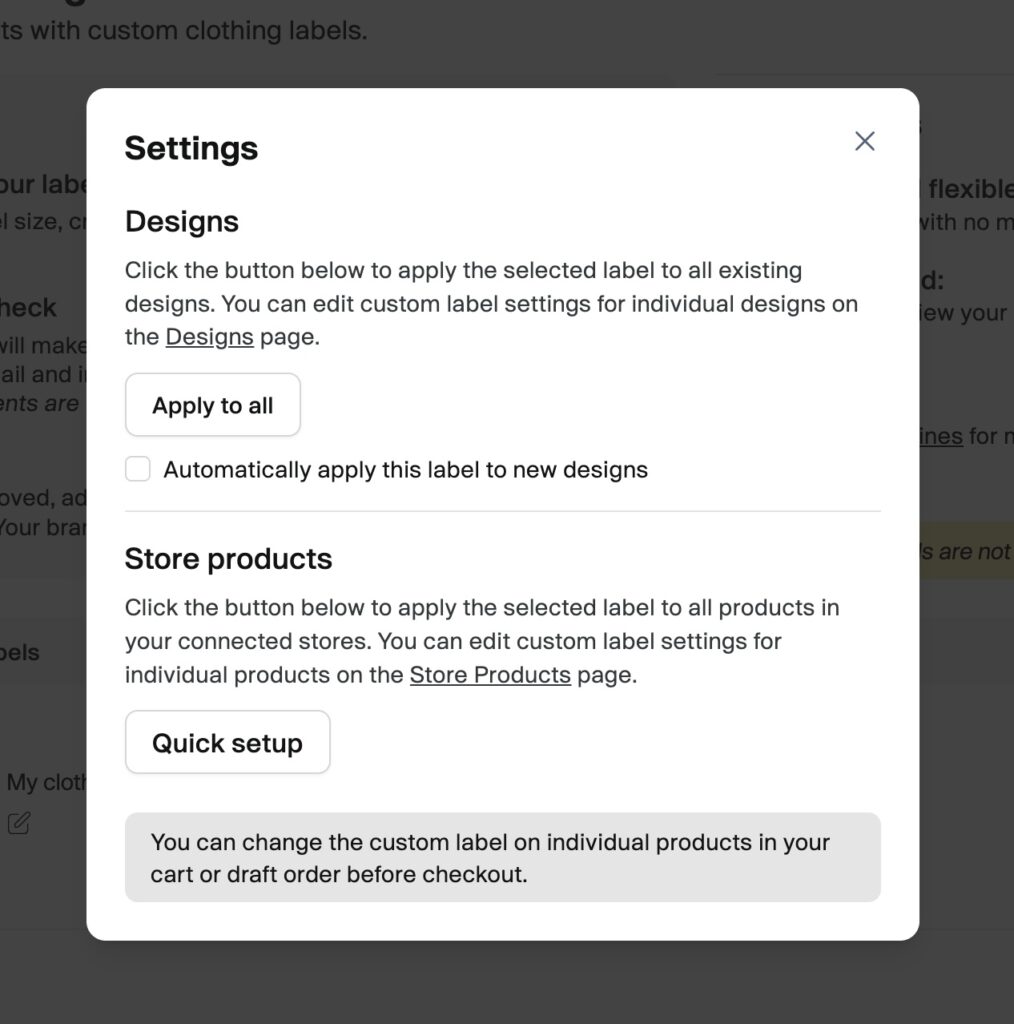
Just click ‘settings‘ to apply your label/tag/card to all your existing designs and products – and you can also select to automatically apply it to new designs.
This flexibility means you can have multiple tags for different brands – should you wish to – all under one Tapstitch account.
Pro Tip: Even a simple printed neck label makes a huge difference to how premium your product feels in a customer’s hands. It’s one of the cheapest, highest-impact upgrades you can make.
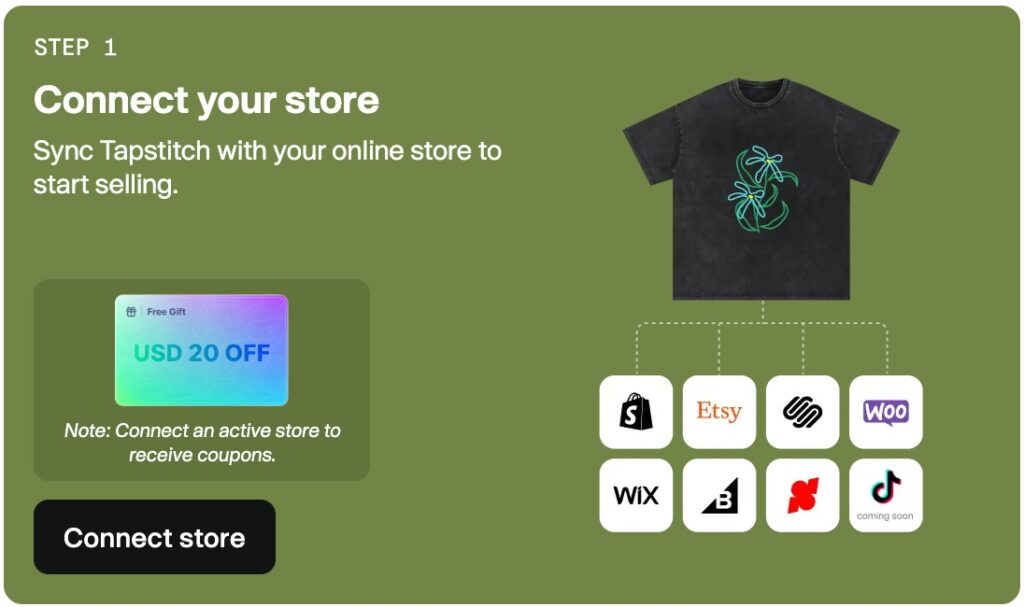
5. Connect To Your Store
If you already have a Shopify or Etsy store (or Squarespace, Wix, Bigcommerce etc) – you can sync up with Tapstitch to receive orders and automate the fulfilment process.
The best bit: Once you connect a store you’ll get $20 worth of free account credit.
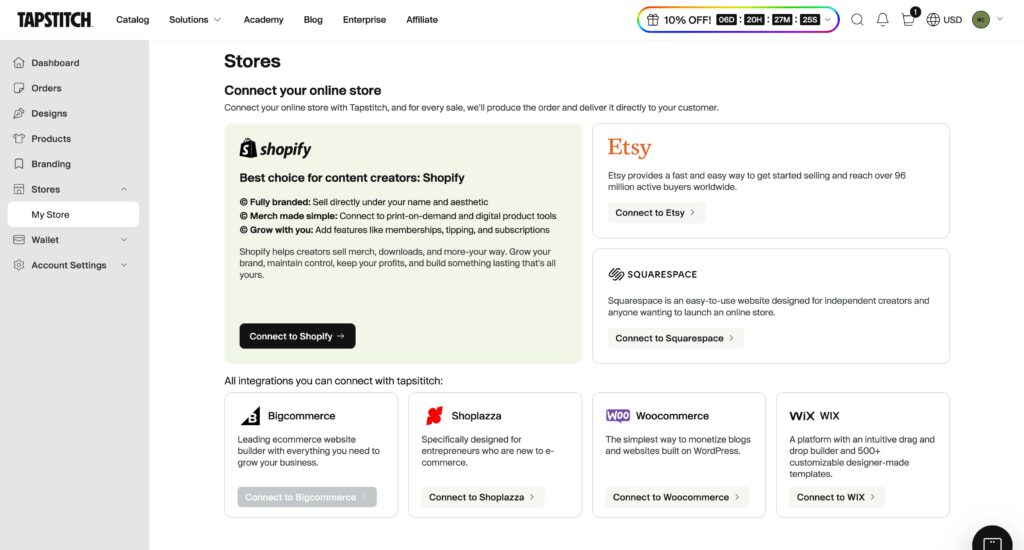
To connect a store – just navigate to ‘Stores‘ in the left sidebar (You can connect as many stores as you need).
Select your store option, and follow the instructions to connect everything together.
Once done, you’ll receive your $20 account credit – and your orders will automatically sync with Tapstitch for seamless fulfilment.
Final Thoughts
Tapstitch offers something genuinely different in the print-on-demand world: the ability to build a real, premium clothing brand – with fashion-led garments and proper white-label branding – without holding any inventory.
Try them today with a discounted sample order – and I think you’ll be impressed with their quality and turnaround (not to mention their competitive prices).
If you haven’t already, sign up for Tapstitch today and start building your fashion brand:
Start Selling With TapstitchHave questions about getting started with Tapstitch? Leave a comment below and I’ll do my best to help!